Strawberry Ice Cream
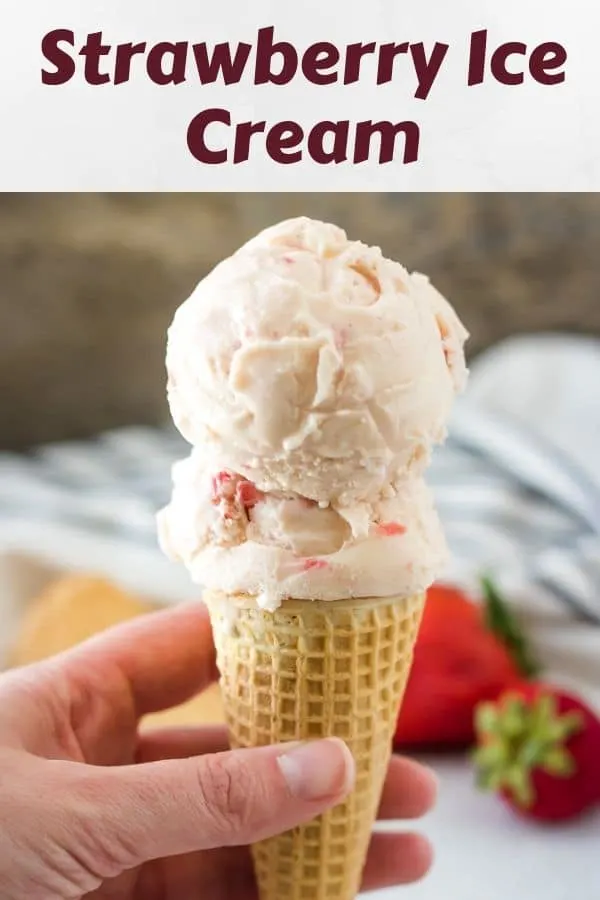
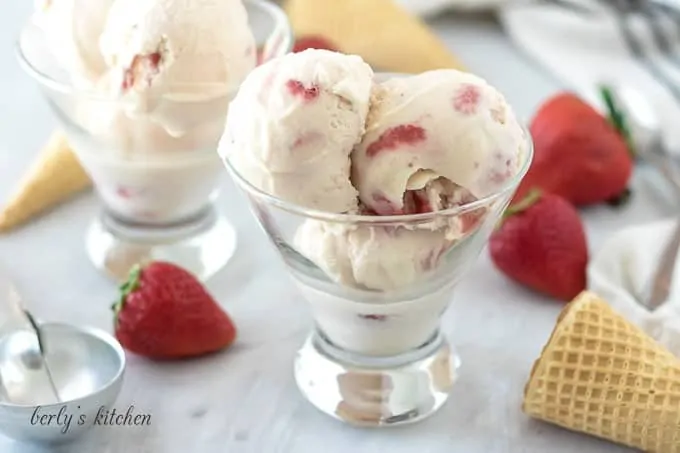
Our strawberry ice cream is smooth, creamy and full of fresh berry flavor. We used simple ingredients to create a frozen treat your whole family will love!
Who loves ice cream? I know I do. It’s one of my favorite Summer treats; especially, strawberry ice cream.
Given that strawberry season will soon be in full swing, this recipe is perfect for keeping you cool and using up those left-over berries.
For this offering, we went with a custard base and added a few simple ingredients to create an ice cream with a lot of depth. You can taste the layers of vanilla, strawberries, and sweet cream in every bite.
Also, I’ve provided some tips at the end of the post to help you out. Now let’s get started!
Love strawberries? Then check out our strawberry banana pudding and strawberry milk recipes!
Ice Cream Instructions:
Part One
As you might have figured, you’re going to need an ice cream maker. It’s important to make sure you follow the user manual and freeze the core well in advance.
If not, you won’t be making this recipe anytime soon. First things first, we’re going to start with prepping the berries.
Weigh them out, rinse them, and trim off the stems. After that, start cutting the strawberries into half (1/2) inch chunks.
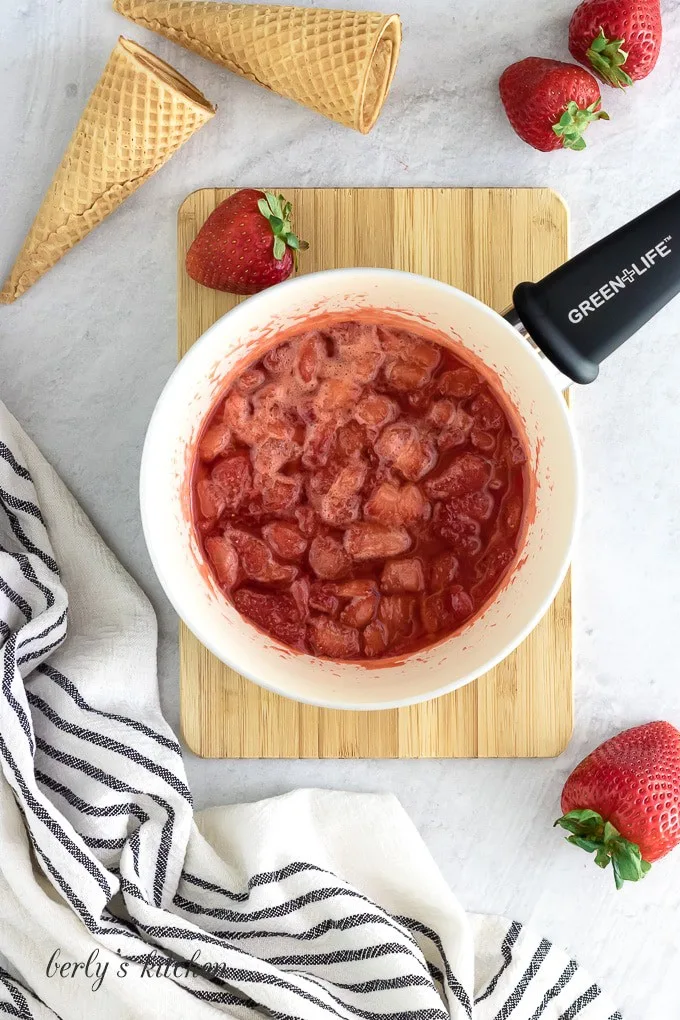
Once that’s done, take half the prepped fruit and place it into a saucepan with one-forth (1/4) of a cup of sugar and all the lemon juice.
Heat the mixture until the berries have softened and the sugar has fully dissolved. Take a look at the photo below as a reference.
When the simple sauce has cooled, drain away the excess juice and set the strawberries in your fridge to chill.
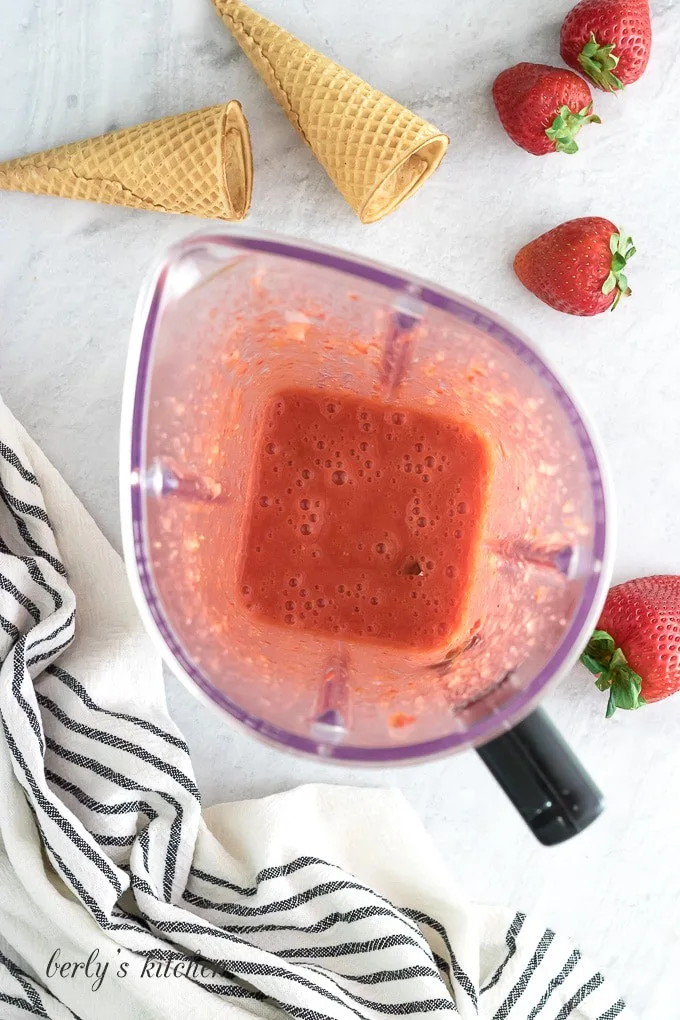
At this point, you can move on to the puree. In a blender or using an emulsion blender (or food processor), pulverize the remaining fresh berries.
We recommend straining the mixture to remove any seeds, but that’s optional. Set the pureed fruit aside, it’s time to start the custard.
Custards can be tricky, so if you already have a proven recipe or technique to making a custard base, then use it now. Or, you can follow our directions, they worked for us.
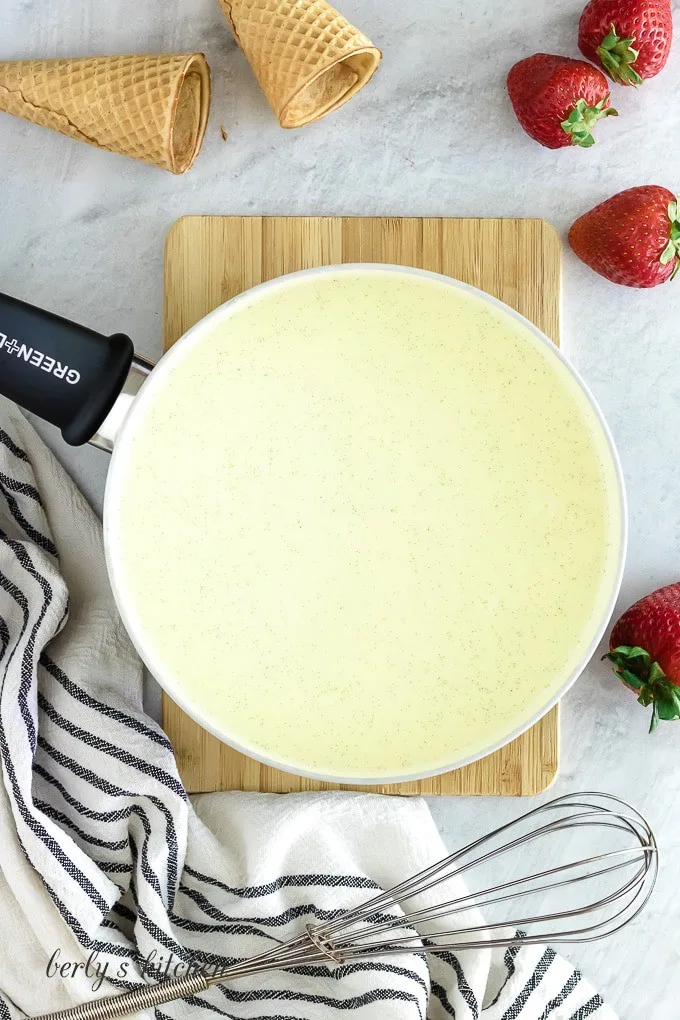
Grab a medium to large saucepan and toss in the egg yolks. Then, pour in the heavy cream, whole milk, sugar, and vanilla extract.
Looking at the picture, you can tell we used a high quality vanilla bean paste. You don’t have too, but you won’t get those pretty specks of vanilla bean in your finished ice cream.
Part Two
When you have all the ingredients in the pan, use a whisk to break up the yolks and mix everything together. Heat the custard over low to low-medium heat until you see tendrils of steam coming from the liquid.
Shut off the heat, transfer it to a bowl, and place it in your fridge to chill. Don’t be afraid to remove it from the heat if it starts to bubble.
Boiling is not the desired goal. If it boils, then you can kiss it goodbye. That happened to Kim while preparing the picture.
I came into the kitchen and remade the custard while she prepped for the replacement photograph. Moral of the story, be careful and babysit it throughout the cooking process.
Honestly, you have about 2 hours before the base will be cold enough for the ice cream maker.
Afterward, when everything has cooled, you can add the base to your maker and start the churning process.
Again, you’ll need to consult your ice maker’s instruction manual to determine how long the dessert needs to churn.
For us, the soft-set stage only took about 10-15 minutes, but that varies per model.
Part Three
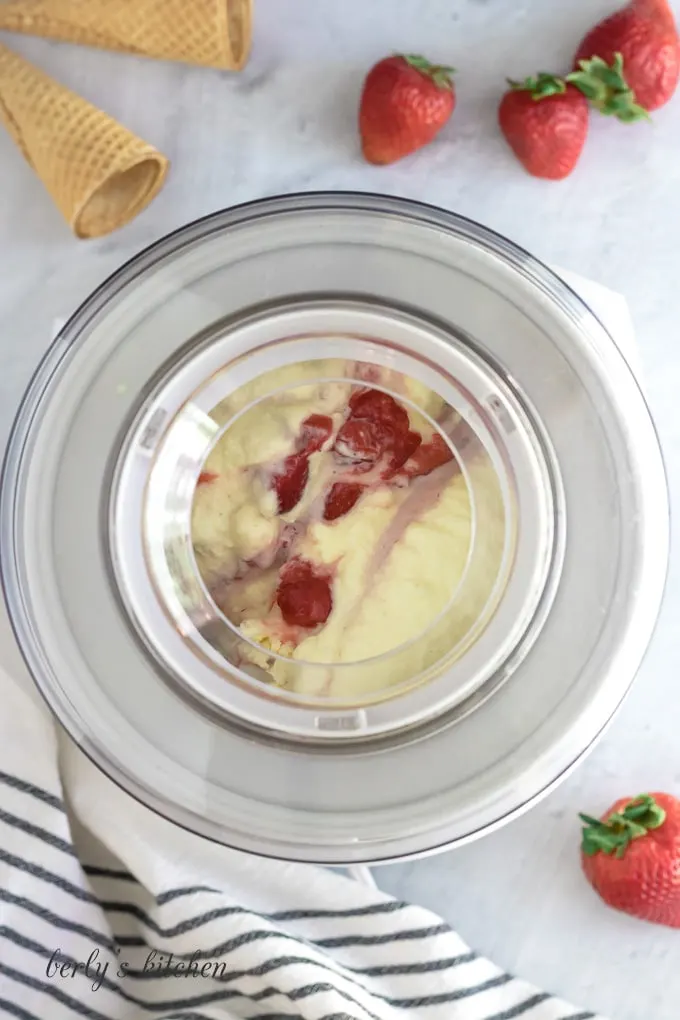
The moment the ice cream hits that point (soft-set) start adding the cooked strawberries and puree. Then, let it continue churning per the manufacturer’s recommendations.
Ours was only another 5-10 minutes. Regardless of the time, when the churning is done, move on to the next step.
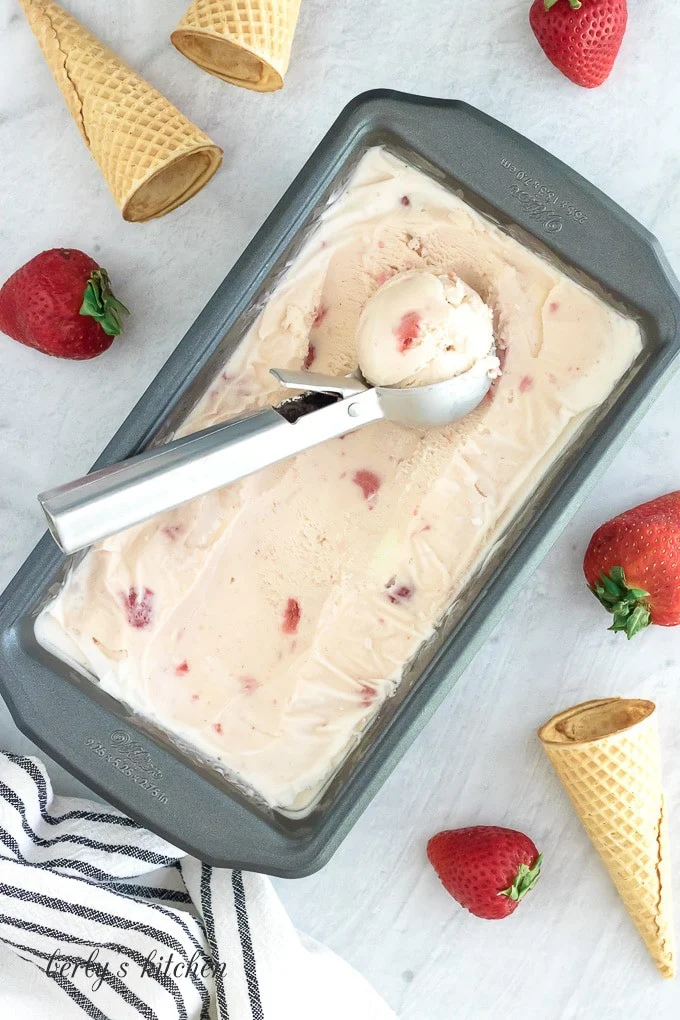
Scoop the strawberry ice cream out of the machine and place it into a container. As you can see from the photo, we used a loaf pan and some plastic wrap.
Place the ice cream into your freezer for about 5 hours to freeze. That’s it, all you have to do is wait.
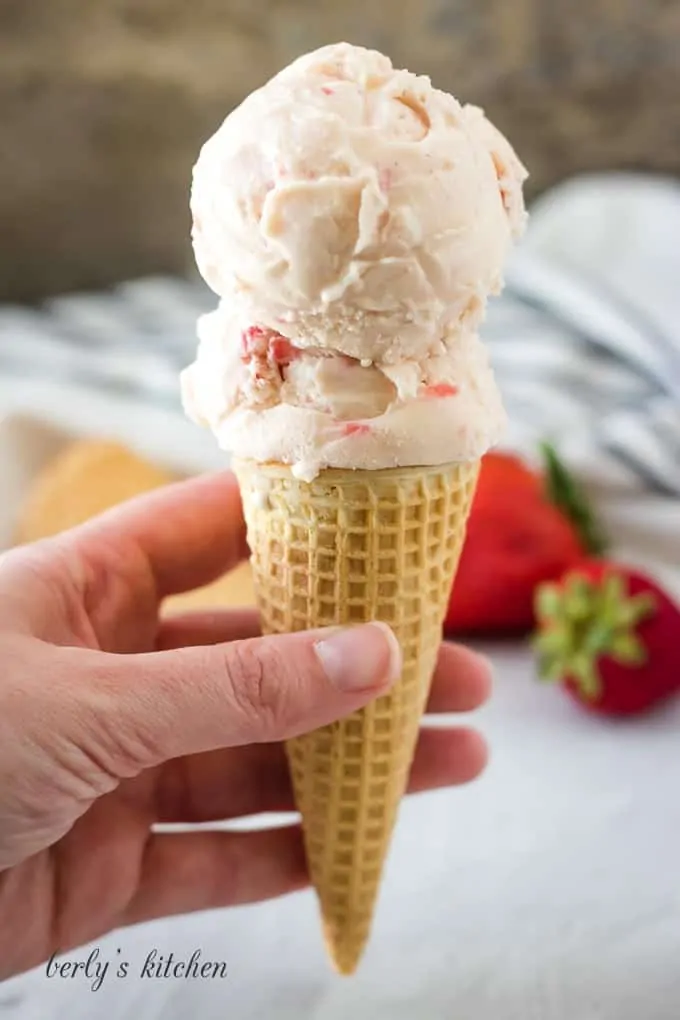
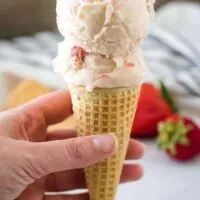
Serve it in a cone or a bowl, it doesn’t matter, what counts is that you enjoy the fruits of your labor. Kim and I hope you like our strawberry ice cream and wish you all the best 🙂
Strawberry Ice Cream Tips:
- This recipe uses a custard base for the ice cream. Custards can be difficult; even for experienced cooks. It only takes a few seconds for the base to separate during the heating process (or worse, scramble the yolks).
- If you’re concern about messing it up, here’s an alternative. Simply omit the eggs and heat the heavy cream mixture (milk, sugar, and vanilla extract) just enough to dissolve the sugar. While this method is an effective alternative, you will lose out on the, “custard like,” texture.
- Before anyone asks, yes, you can use frozen strawberries. Make sure they’ve been thawed out, drained, and patted dry with a paper towel. Otherwise, you’ll have too much non-dairy based liquid in the mix. That excess liquid, will result in a harder ice cream with a lot of ice crystals.
- The last tip is something I do when making ice cream. While the heavy cream, sugar, eggs, etc. come to temperature, I use a whisk to whip the mixture. Whipping heavy cream adds oxygen to it and makes light and fluffy (that’s how you make whipped cream). It’s been my experience that whipping the heavy cream creates a lighter, creamier ice cream. Do I have any evidence to back it up? Not really, just the pictures and personal experience. So, use the tip or don’t; it’s your call.
Other ice cream recipes you may enjoy:
- Pumpkin Ice Cream
- Snow Ice Cream
- Grilled Peach and Mascarpone Ice Cream
- Homemade Coffee Ice Cream with Chocolate Chips
- Key Lime Ice Cream
Like This Recipe?
We’d love it if you would leave a 5 Star ⭐️⭐️⭐️⭐️⭐️ rating below.
Ingredients
- 1 pound fresh strawberries, divided; hulled and cut into half inch chunks
- 1 cup granulated sugar, divided
- 1 tablespoon freshly squeezed lemon juice
- 2 cups heavy cream
- 1 cup whole milk
- 1 teaspoon pure vanilla extract
- 5 large egg yolks
Instructions
- This recipe requires an ice cream maker. Follow the manufacturer's instructions and place the core in the freezer well in advance to freeze solid. Most manufacturers require at least 24 hours.
- Place half the prepared strawberries, ¼ cup of sugar, and lemon juice in a medium saucepan over low-medium heat. Cook until the berries begin to soften and release some of their moisture (about 10-15 minutes).1 tablespoon freshly squeezed lemon juice
- Remove the strawberries from heat and strain off any excess liquid. Transfer to a bowl, cover, and refrigerate for later use.
- Use a blender, food processor, or immersion blender to blend the remaining berries into a puree. Pour through a mesh sieve to remove any seeds, then transfer to the refrigerator to chill.
- In a medium saucepan, combine the heavy cream, milk, eggs, ¾ cup of sugar, and vanilla. Bring to a steep over low-medium heat. Steam should begin to rise from the liquid. Stir consistently and continue to cook over low-medium heat for approximately 8-10 minutes until the custard slightly thickens. The custard should lightly coat the back of a spoon when ready.2 cups heavy cream1 cup whole milk5 large egg yolks1 teaspoon pure vanilla extract
- Transfer the custard to a bowl to cool and cover with plastic wrap. The plastic wrap should touch the top of the custard to prevent a skin from forming. Place in the refrigerator to cool (about 2 hours).
- After the custard, strawberry sauce and puree have cooled, pour the custard into the ice cream maker. Churn according to manufacturer’s instructions until the ice cream reaches the soft set stage. Add the strawberries and puree. Continue to churn until the ice cream is well mixed and has begin to set.
- Transfer the ice cream to a freezer safe container, and place in the freezer until completely firm. This will vary based on how frozen the ice cream is when it’s removed from the ice cream maker. (Ours took 4 – 6 hours.) Serve cold.
