Brioche Rolls


These homemade brioche rolls are soft and airy, but dense enough to hold up to any hamburger or sandwich. They’re easy-to-make, so much better than store-bought, and have the best buttery, subtly sweet flavor.
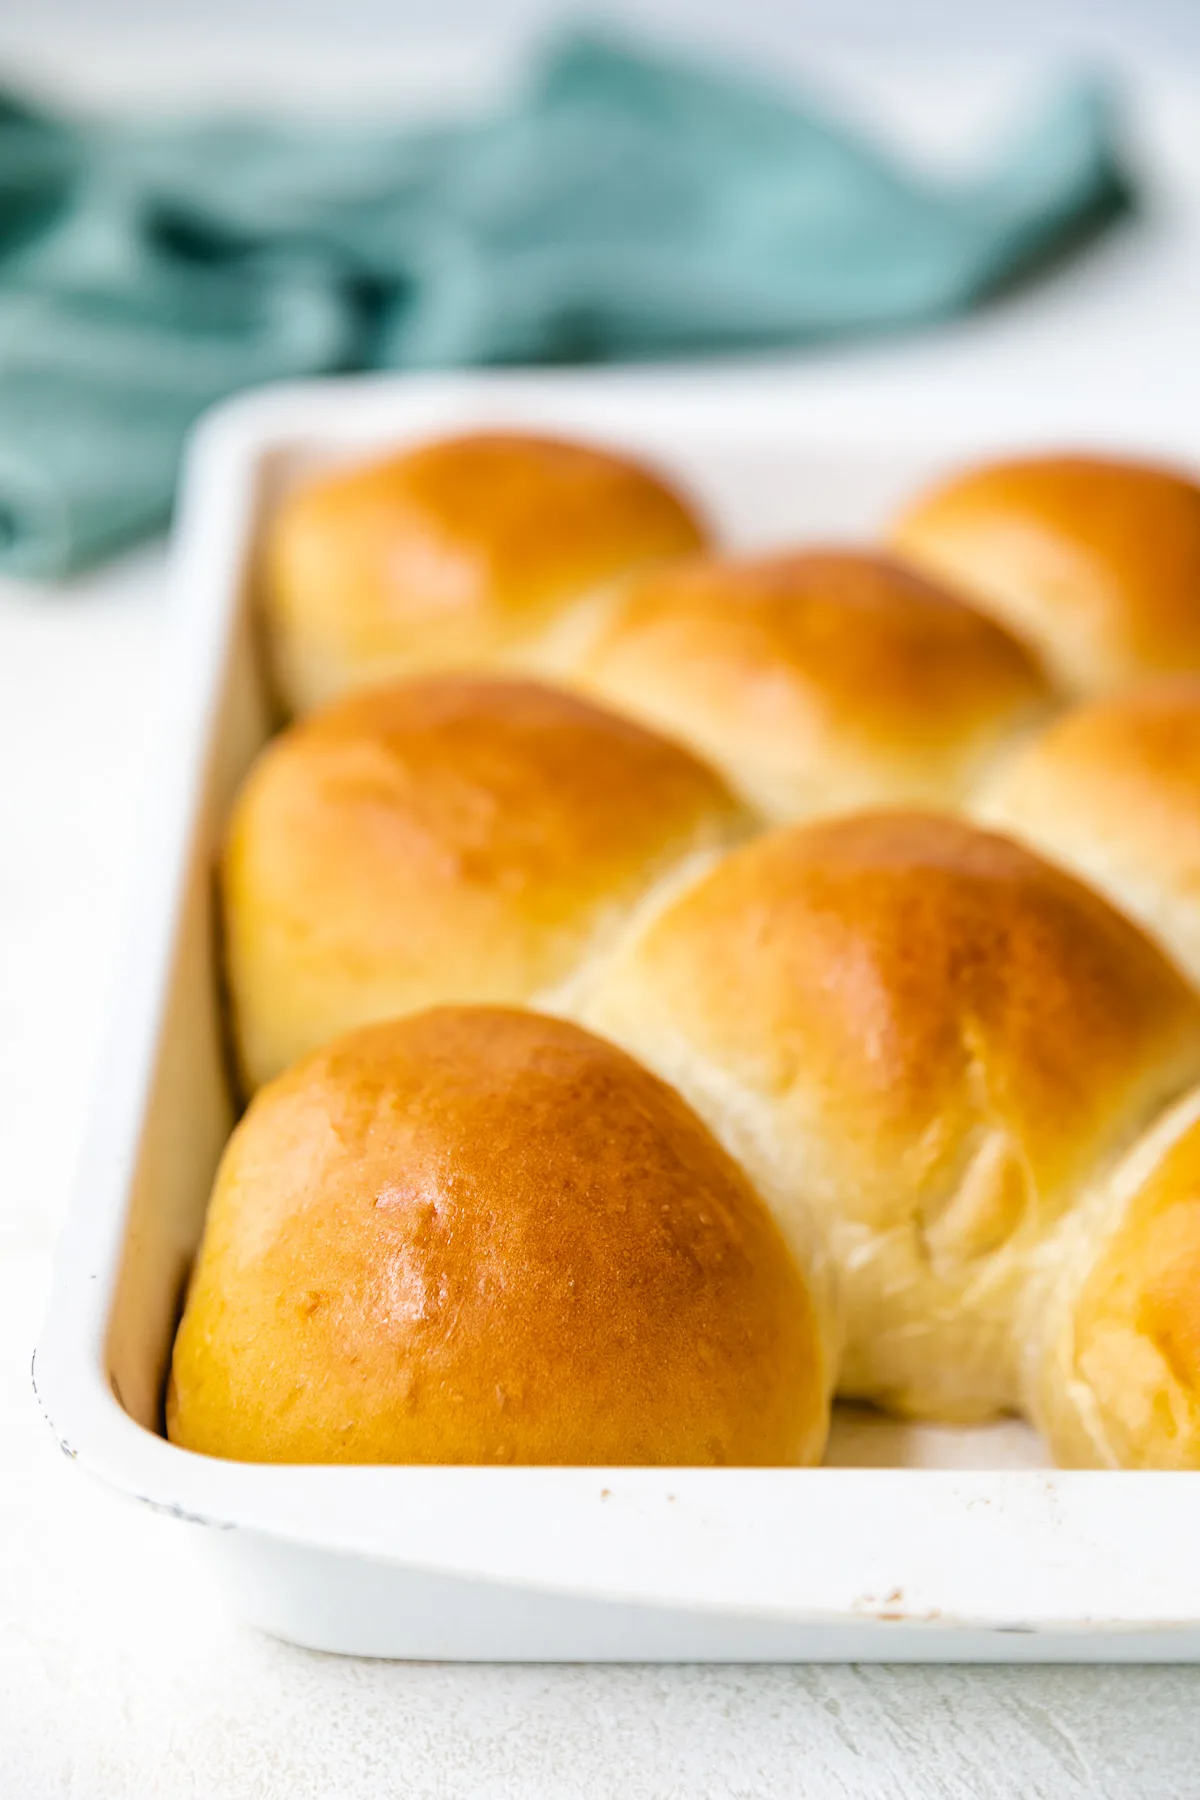
If you’ve never had brioche rolls, let me tell you about them. They’re soft, rich dinner rolls made with an enriched dough full of butter, egg, and milk. These rolls have a glossy, golden brown exterior that sets them apart from other yeast rolls.
Brioche rolls are one of our favorite types of bread. They make amazing buns for your favorite bacon egg and cheese sandwich, hamburgers, or that pulled pork you’ve been cooking all day. You can also serve them as a side dish to main entree like pot roast or a slice of cheesy sausage quiche.
The amazing texture and flavor doesn’t have to mean we’re dealing with a complex recipe, though. These rolls are so simple to prep with just 20 minutes of hands-on time!
Before starting on the rolls, check your yeast!
I can’t mention this enough, especially for new bakers. If your yeast is expired, the rolls aren’t going to rise. There’s no reason to waste the ingredients. So, take two seconds and check the expiration date!
If you want to be 100% sure the yeast is good, activate some. Warm some water, and pour a little bit of yeast in, just make sure you have enough left for the recipe.
Stir it into the water, and give it 5-10 minutes to activate. If it gets foamy, you’re good. If not, you might need to troubleshoot or purchase new yeast. And, if you’re unsure or stuck I have some great tips on activating yeast that can help.
How to Video
Ingredients
For the Dough:
- 1 cup water
- 3 tablespoons whole milk
- 2 tablespoons granulated sugar, divided
- 2 ¼ teaspoons active dry yeast, 1 standard packet
- 3 cups bread flour
- ¼ cup all-purpose flour, See note
- 1 ½ teaspoons salt
- 3 tablespoons unsalted butter, cubed and softened
- 1 large egg
For the Egg Wash:
- 1 large egg
- 1 tablespoon water
💌 Don't forget to save this recipe!
Instructions
To Make the Dough:
- Lightly grease a 9×13-inch baking dish or line it with parchment paper. Set aside.
- Heat the water and milk in a microwave-safe dish just until warm to the touch, about 110°F to 115°F. Stir in the yeast and 1 tablespoon of sugar. Allow the yeast mixture to sit until frothy, about 5 to 10 minutes.1 cup water3 tablespoons whole milk2 ¼ teaspoons active dry yeast1 tablespoons granulated sugar
- Whisk together the flour, the remaining 1 tablespoon of sugar, and salt in the bowl of a stand mixer. Add the softened butter, and use the paddle attachment to mix until the mixture resembles coarse cornmeal.3 cups bread flour¼ cup all-purpose flour1 ½ teaspoons salt3 tablespoons unsalted butter1 tablespoons granulated sugar
- Add the egg and yeast mixture to the flour. Change to the dough hook and knead on low speed for 6 to 8 minutes. The dough should be smooth and not sticky. It should pull away from the sides of the bowl and feel soft and elastic. Add additional all-purpose flour 1 tablespoon at a time if needed.1 large egg
- Remove the dough from mixing bowl, form into a ball, and place in a separate lightly greased bowl. Cover with a clean towel or plastic wrap, and allow the dough to double in size, about 1 hour.
- Once the dough has doubled in size, remove it from the bowl and press it down to remove the air. Separate the dough into 8 equal pieces.
- Roll each piece into a ball and tuck loose ends underneath. Place each ball into the prepared baking dish.
To Make the Egg Wash:
- Whisk together the remaining egg and 1 tablespoon of water. Use a pastry brush to apply the egg wash to each roll.1 large egg1 tablespoon water
- Cover rolls loosely with plastic wrap and allow them to rise for about 30 minutes or until noticeably larger and puffy.
- Meanwhile, preheat the oven to 400°F and place a small bowl/pan of water on the bottom rack of the oven to create steam. (Make sure the bowl is oven-safe).
- Bake the rolls for 12-15 minutes or until deep golden brown. Serve immediately with butter, jam, honey or as a side with your favorite dish.
Notes
Nutrition
How to make homemade brioche rolls step by step
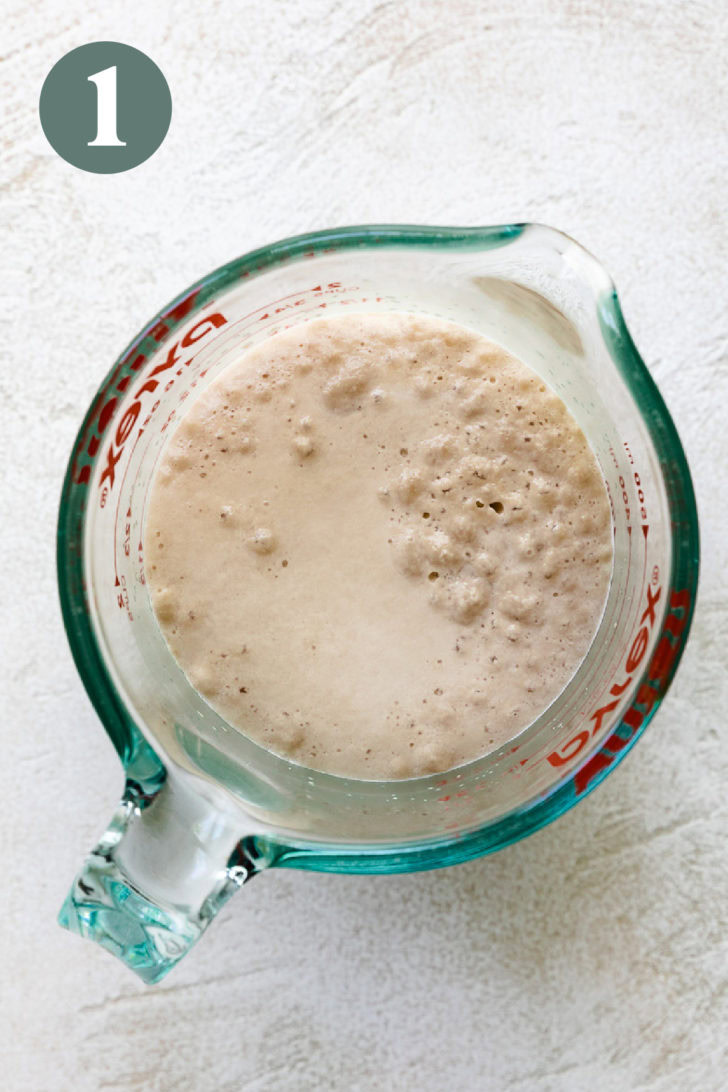
In a microwave-safe dish, heat the water and milk slightly – 110°F to 115°F is perfect. Stir in the active dry yeast and 1 tablespoon of sugar, then let sit until frothy.
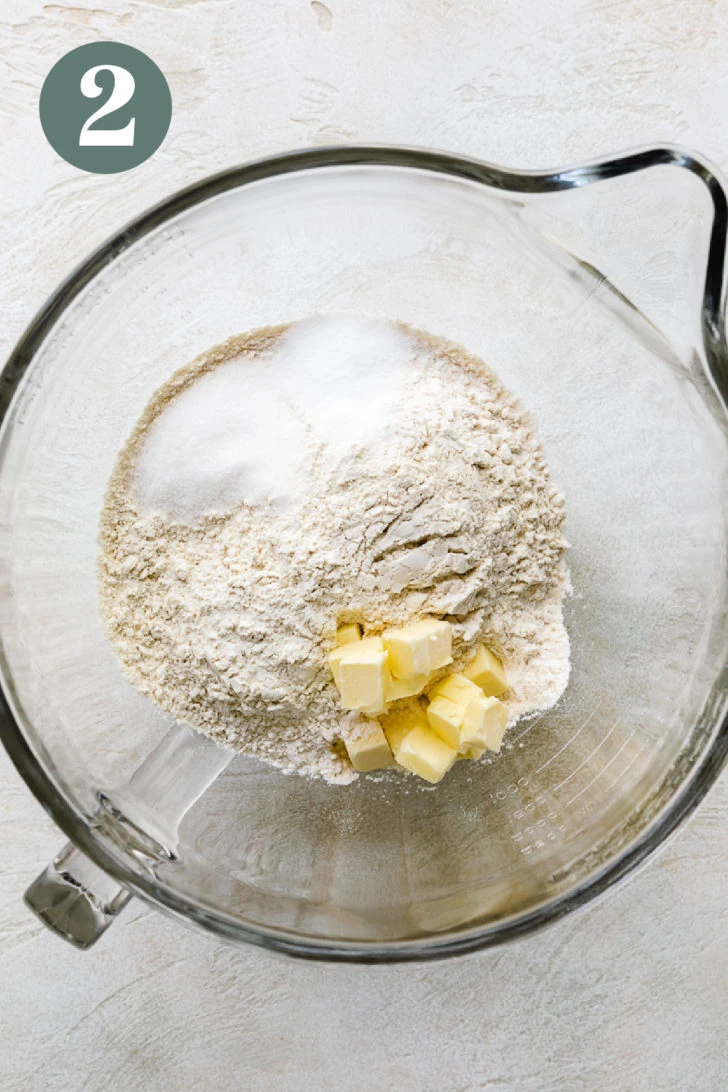
In the bowl of a stand mixer, whisk together bread flour, ¼ cup of all-purpose flour, another tablespoon of sugar, and salt.
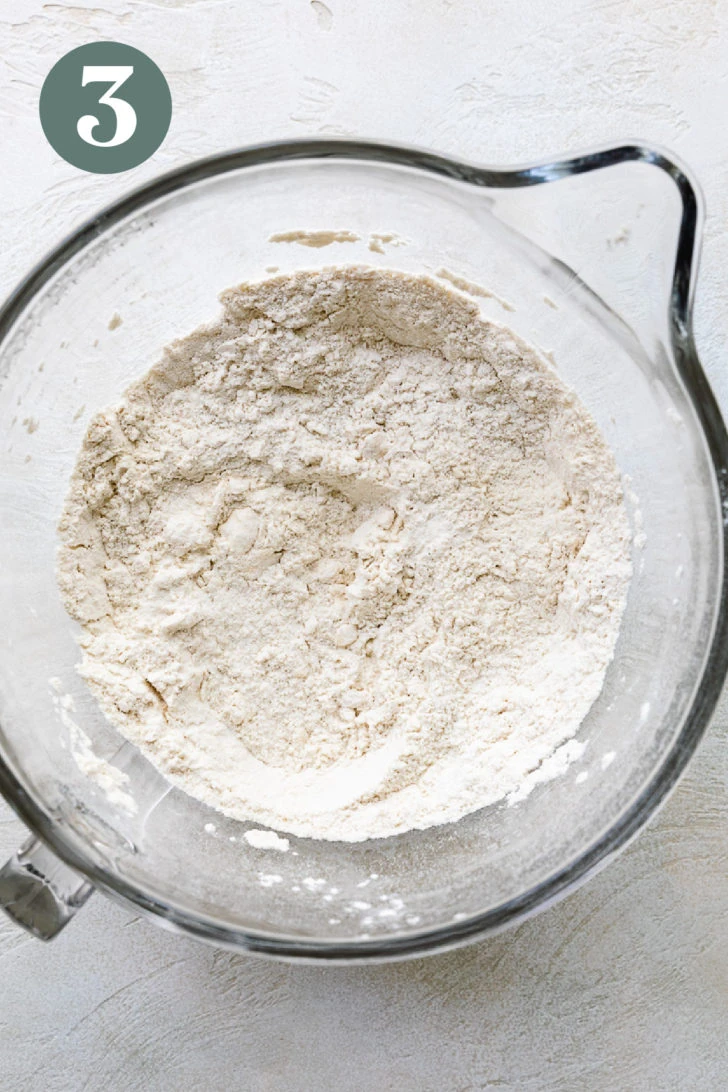
Use the paddle attachment and mix until the mixture resembles coarse cornmeal.
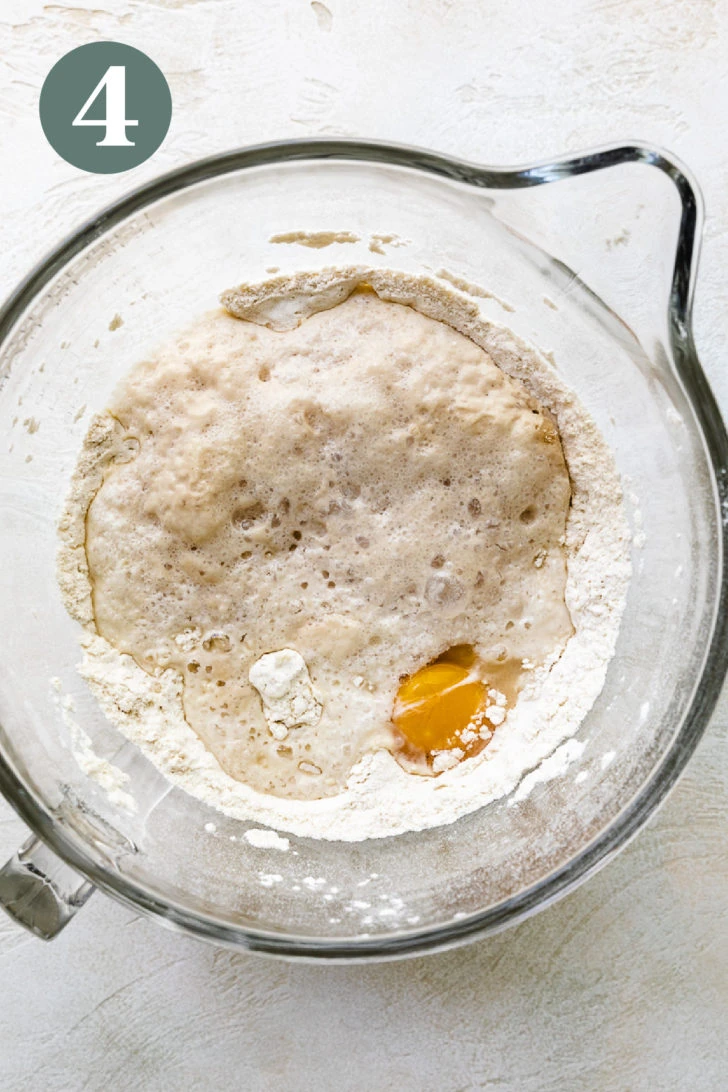
Add 1 egg and the warm milk/yeast mixture to the dry ingredients.
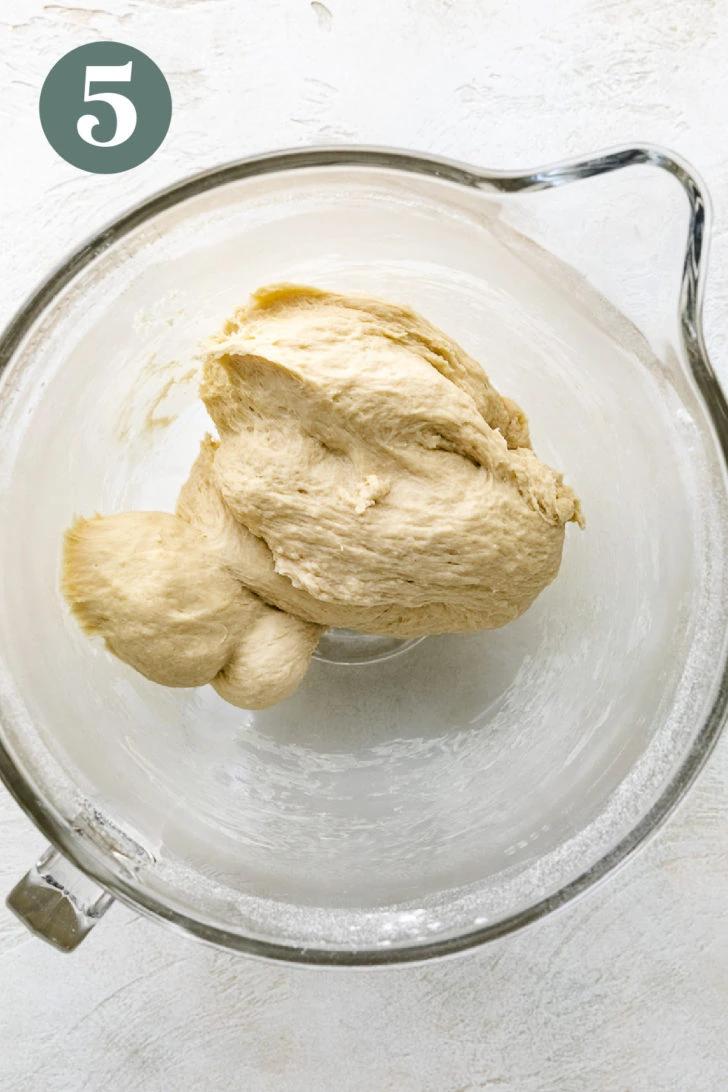
Use the dough hook attachment to knead the brioche dough until it’s soft and elastic – about 5-6 minutes. Add 1-2 tablespoons of all-purpose flour as needed until a dough forms. The dough shouldn’t be sticky or cling to your fingers.
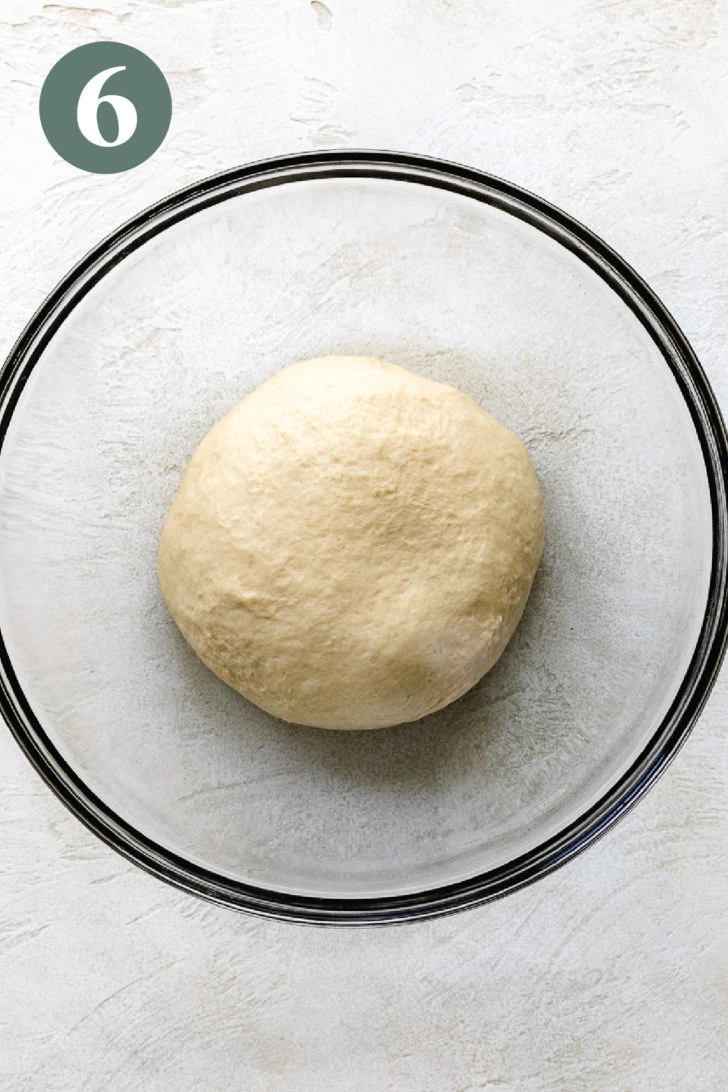
Transfer the dough to a lightly greased mixing bowl, cover with a clean kitchen towel or plastic wrap, then let rise until doubled in size and puffy.
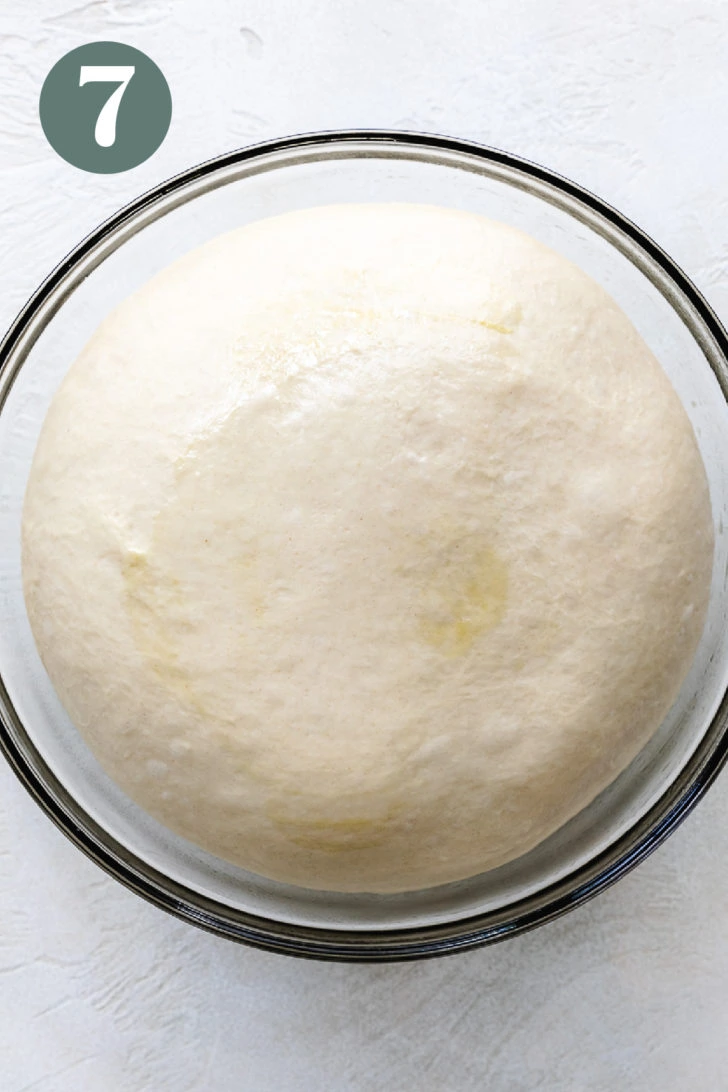
The dough will look noticeably larger and very puffy. Once the dough has risen, remove it from the bowl, and press it down. Then, cut it into 8 equal portions.
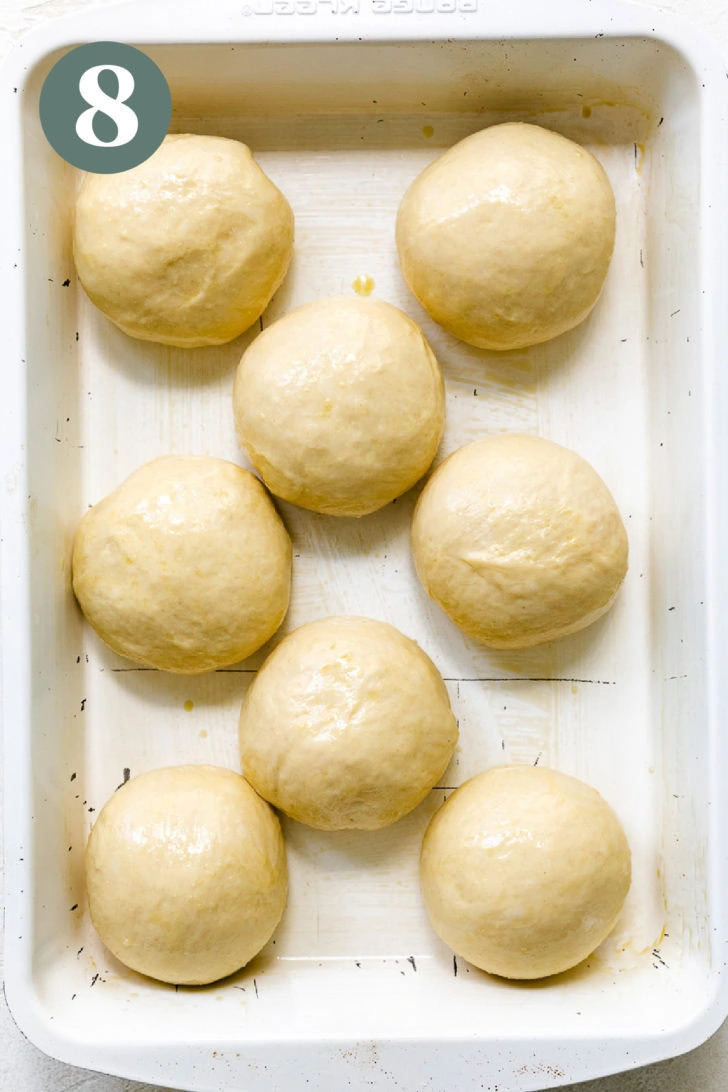
Place each of the dough balls into a greased or lined baking dish. In a small bowl, whisk together egg and water. Use a pastry brush to apply the egg wash to each roll, then cover the baking dish and let rise a second time.
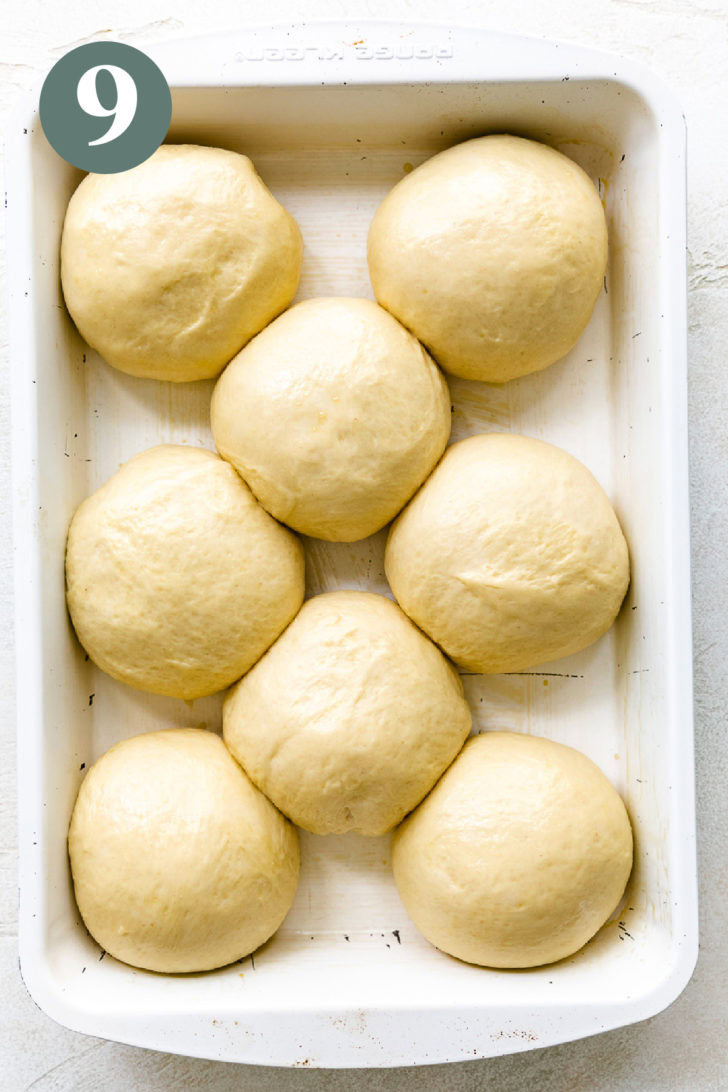
While the bread dough is rising, preheat the oven to 400ºF and place a small oven-safe bowl filled with water on the bottom rack of the oven to create steam. The dough will take about 30-45 minutes to rise a second time. It will look soft and larger but may not be completely doubled in size.
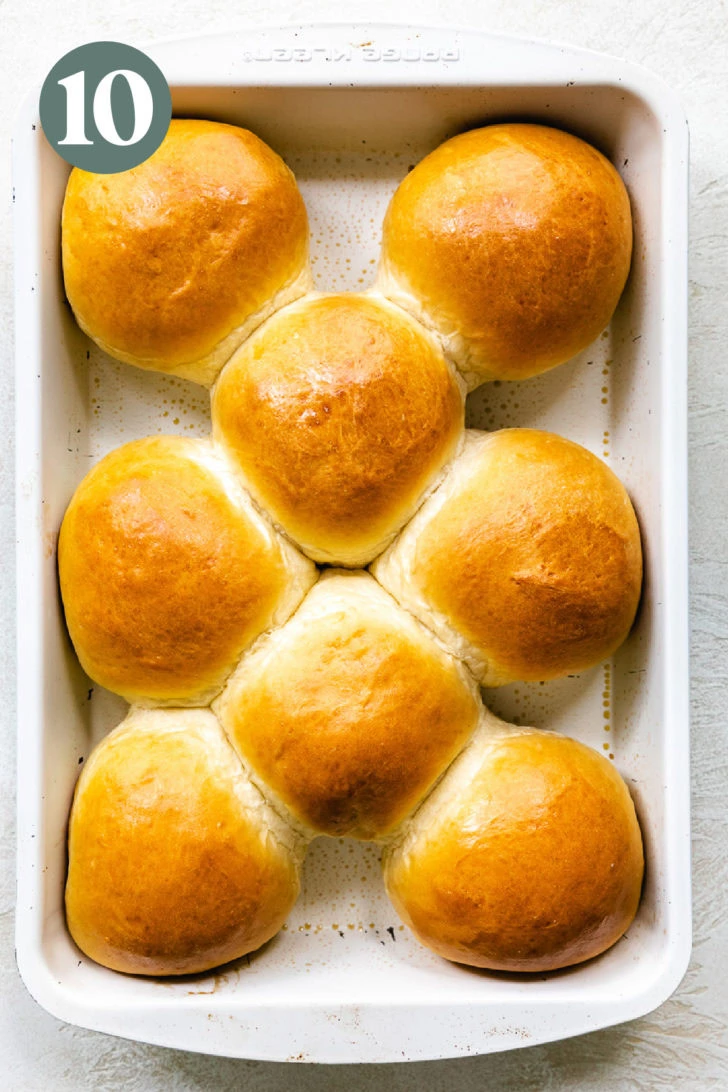
Bake the brioche bread rolls for 12-15 minutes or until golden brown. Let the rolls cool for a few minutes before serving. If you’re using them for hamburger or slider buns, let them cool completely before slicing.
Tips for the best brioche rolls
- Grease or line the pan. A light layer of cooking spray or a sheet of parchment paper will do the trick. These just help prevent the rolls from sticking or burning on the pan.
- Start with less flour, then add more only as needed. We use the entire amount of bread flour and ¼ cup of all-purpose, then add more all-purpose from there. Too much flour will yield dry and crumbly buns.
- Don’t skip the egg wash. This is what gives the surface of the dough that classic golden brown color.
- Add another egg. Many brioche recipes use several large eggs for a more pronounced golden brown color and a more tender crumb. If you’re looking for that, feel free to add an extra egg or egg yolk.
- Adjust the baking time as needed. Every oven and pan cooks differently. Your baking time may look slightly different than mine, so just keep a close eye on the buns so as not to over-bake them.

Storage
Room Temperature: These brioche rolls can be stored in an airtight container or wrapped tightly in plastic wrap at room temperature for 2-3 days.
Refrigerator: For slightly longer storage, store the rolls in an airtight container in the fridge for 3-4 days. Keep in mind that the fridge will dry them out slightly.
Freezer: To freeze brioche rolls, wrap them tightly in a layer of plastic wrap followed by aluminum foil, then add them to a freezer-safe bag or container. Store in the freezer for up to 2 months. Thaw in the fridge overnight before serving.
Reheat: To warm your leftover rolls, place them in the microwave for a few seconds. Alternatively, warm them in the toaster oven or conventional oven for a few minutes or until the rolls reach your desired temperature.
This will be my third year baking these for our holiday party. The hostess loved them so much, we are invited with “bring a dish” but my invitation says with your Brioche rolls! Pretty straightforward. I make 16 each batch as a perfect size for little sandwiches. Happy Holidays to all! Judy
Thanks so much for the sweet comment, Judy! We’re so glad everyone enjoys the rolls. Happy Holidays to you, too! 🙂
Can the dough be make in the bread machine?
Hi Maritza!
We haven’t tried to make the dough in a bread machine, but I think it would work for the kneading part. 🙂
I made these for Thanksgiving, and they were such a big hit everyone practically DEMANDED I make them again for Christmas! I doubled the recipe and used 3 eggs in the dough instead of 2. Will definitely make again any time I need good rolls!
Thank you! Kim and I are happy to hear everyone enjoyed the rolls. Have a lovely holiday weekend 🙂
Morning,
Can a loaf pan be used, instead of making them into buns?
Hi Maritza!
We haven’t tried to convert these rolls to a loaf, but it should work fine. There’s quite a bit of dough, so it will be a large loaf or maybe even two smaller loaves. Have a great day! 🙂
@Kimberly,
Thank you…
You’re welcome!
In the ingredients list I don’t see sugar or milk listed. Can somebody help?
Hi Alina!
There are 3 tablespoons of milk and 2 tablespoons of water in the recipe. They are the second and fourth ingredients in the list. 🙂 Have a wonderful evening!
Great recipe, but these are more similar to Japanese Hokkaido milk bread. For brioche, there needs to be more egg and butter. Other than that, fantastic recipe! 💜💜
Thanks so much, Christina! I’m not familiar with Japanese Hokkaido milk bread. It sounds interesting, so I’ll definitely have to check it out. Thanks again, and have a wonderful day! 🙂
I’ve baked these rolls several times and they always come out really good! Highly recommend the recipe!
Thanks so much, Cheri! We thrilled you enjoy the brioche rolls. Have a wonderful week! 🙂
Hello, did you use active dry or instant yeast? Thank you so much
Hi Brittany! We used active yeast. Have a great day!
I have made these several times delicious BUT how do you get the egg water mixture on the risen dough without having them deflate?
Good Morning Pat, that’s a great question! Typically Kim uses a silicone brush. With that being said, the egg wash might be a little thick and too heavy for the delicate dough (large grade A egg vs. large grade AA egg). If that’s the case, I would recommend 2 things, use a silicone or regular pastry brush and add a little extra water to the egg wash mixture. I hope these 2 suggestions help. Thank you again for asking your question and we wish you a lovely day 🙂
What if I don’t have parchment paper? Can I still make these?
Good Morning Tony, I checked over the post and all you need the parchment paper for is the baking sheet to keep them from possibly sticking. If you don’t parchment paper or a silicone mat you can still make the rolls. Simply spray the pan with non-stick cooking spray or grease the pan with butter, olive, vegetable, or canola oil (or use grease the pan with shortening if you have that). I hope this information helps, have a great day!
Why are the buns so yellow in the title photo but they don’t come out that way? I’ve made several times.
Good afternoon Victoria, that’s a great question. The photos we take are done so under the best circumstances and we use minimal photo editing. While we do our best to adjust the lighting, sometimes the white balance can be a little off. For example, in this post, the white balance seems a little off (due to the natural lighting), so we tried to adjust it as best we could. But, the buns still turned out a little yellow in the photos. Trust me, they’re not that yellow in real life lol! I hope this answers your question. Oh, Kim provided a frequently asked questions (FAQ) section to our blog if you’re ever curious about anything. Take a peek some time, the link is listed below. Thank you again for asking and have a lovely day 🙂
https://www.berlyskitchen.com/about-us/frequently-asked-questions/
Should the butter be cold or room temp?
Hi Melanie! The butter should be room temp. Thanks for asking! 🙂
Have you made this dough in a bread maker? The recipe looks fantastic either way, thank you for all the extra tips!
Good Evening Lynn, unfortunately, we’ve never made this recipe in a bread maker. You could try it, but I cannot guarantee the recipe will work in a bread maker. If you decide to give it a shot, we’d love to know how it turns out. Thank you again for commenting, Lynn. Have a lovely night 🙂
Excelentes. Suaves y ricos de sabor. Estoy fascinada con estos panes.
Thank you, Gaby!
These look so delicious! I am always afraid to cook with yeast. My mother was as well, so I never learned! Do you have any tips on starting out?
Thank you for commenting, Cassidy! That’s a great question. When I first started baking, I was terrible lol! Kim taught me how to work with yeast and dough. So, here’s a few tips that I learned that have really helped me out.
-First and foremost, check the expiration date on the yeast. If it’s expired, then it probably won’t work.
-Use the microwave to heat your water for the yeast. I start on medium power and heat the water (without the yeast) for 10 seconds at a time. Then I use my finger to gage the temperature. If it burns, it’s too hot! It should be between lukewarm and hot. Think of it like heating a baby’s bottle. If the milk is too warm for a baby, then it’s too warm for the yeast.
-Add a 1/4 teaspoon of sugar to the yeast after adding it to the water. According to what I’ve read, yeast feeds on sugar. You can always reduce the amount of sugar you are putting in the rest of the recipe to compensate.
-As the yeast activates in the water, you should see bubbles and foam. Try to use the yeast within 5-7 minutes for best results. If the yeast is not activating, start over because adding that mixture to your recipe is a “recipe for failure.”
-Do some reseacrh as humidity can affect dough. Check on Google, “making dough in (State Name).” You will probably be directed to some forums. From there, you can learn from other people’s failures and successes based upon Regional differences.
Other than that, follow the directions and keep your fingers crossed. Above all else, remember that mistakes are going to happen and you can always try again until you get it right. Failure is part of the learning process. 🙂