Chocolate Chip Loaf Cake
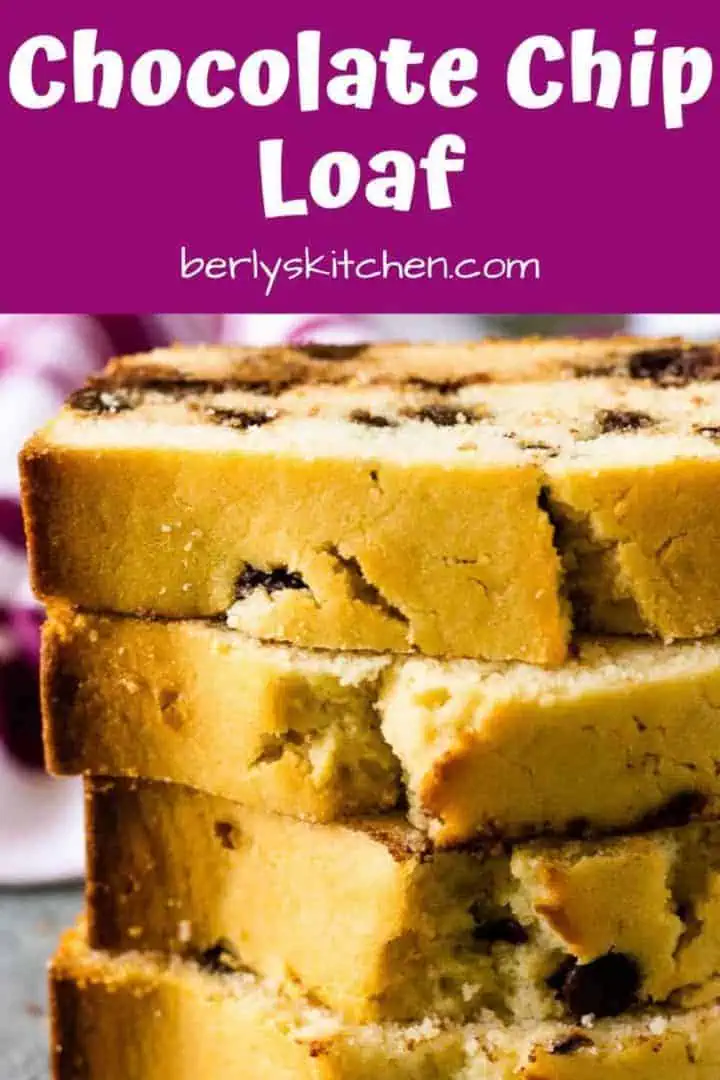
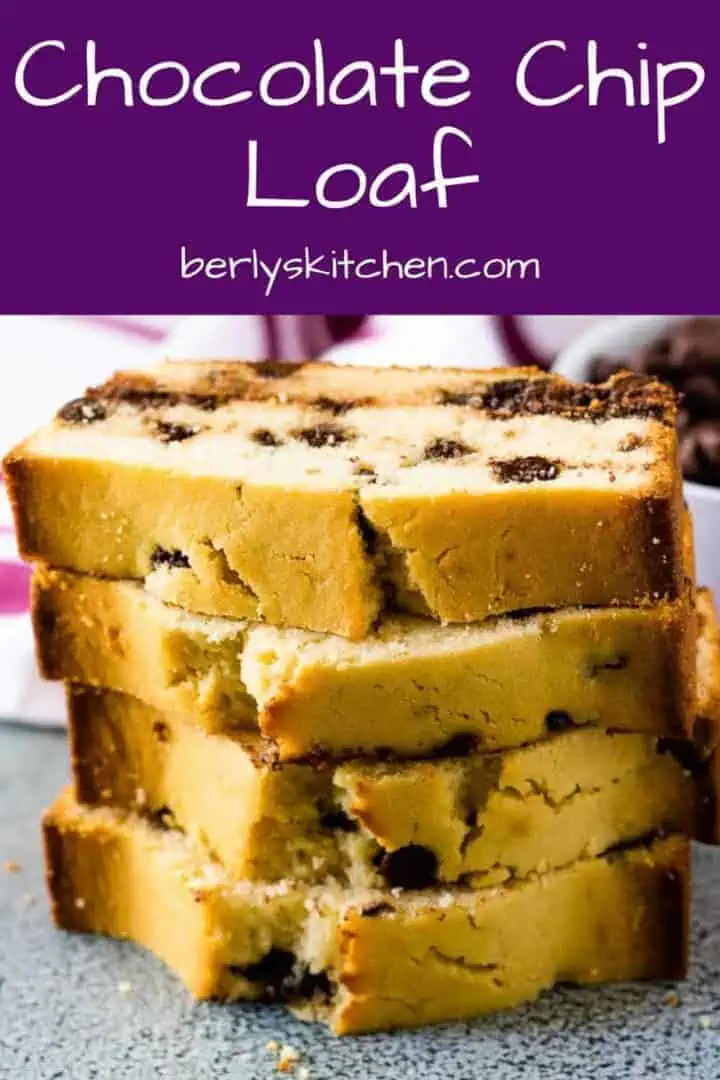
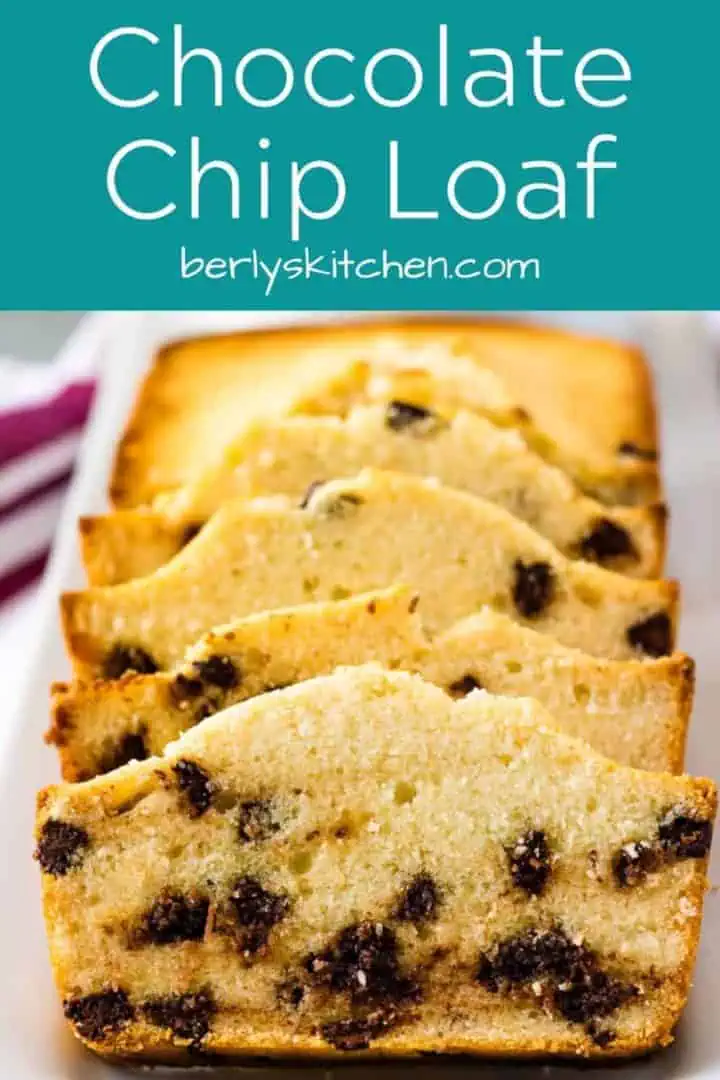
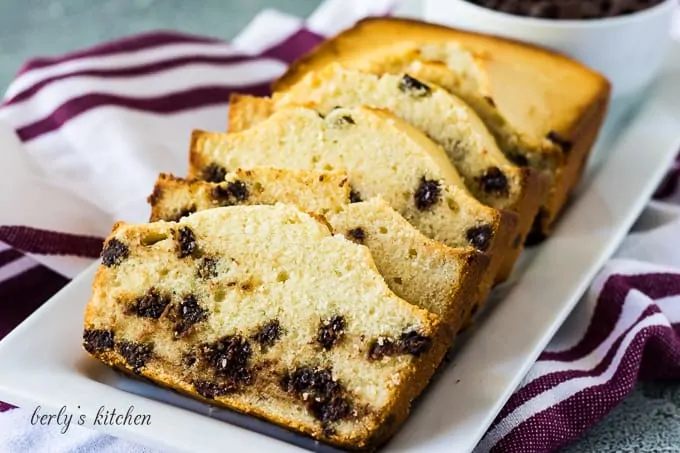
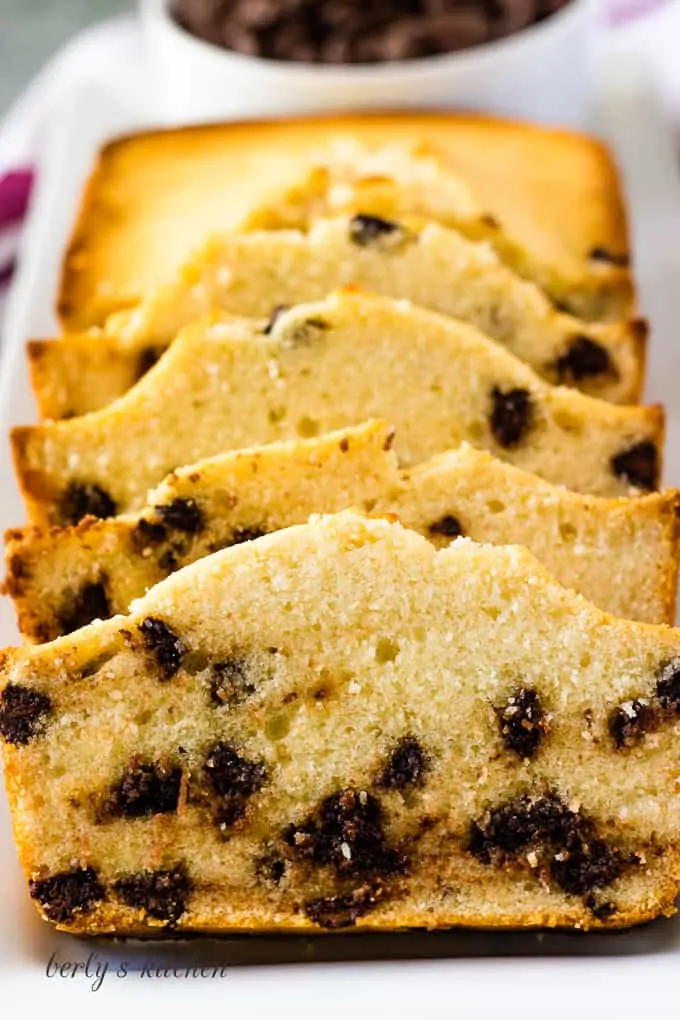
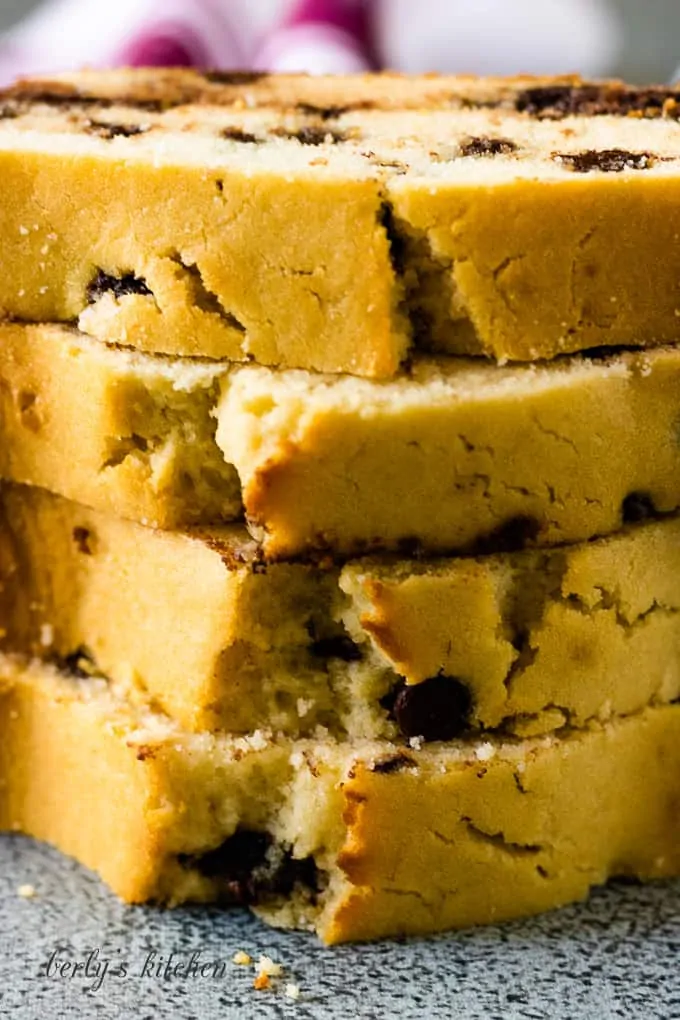
Craving a simple sweet bread for dessert? Then try our homemade chocolate chip loaf cake made with semi-sweet chocolate chips!
Sometimes you just can’t decide on what you want for dessert. A lot of boxed or packaged treats can be overwhelmingly sweet.
On days like that, Kim and I enjoy making homemade treats. Like our homemade oatmeal whoopie pies or lemon crinkle cookies.
Dessert recipes that are easy and have just the right amount of sweetness to satisfy your cravings without drowning your taste buds in sugar.
This chocolate chip loaf cake is one of those treats that perfectly balances savory and sweet.
It’s basically a regular loaf of quick bread with 2/3-cup of chocolate chips added for flavor.
The only tools you need to create this recipe are a 9×5-inch loaf pan, mixing bowls, a hand mixer, and a rubber spatula.
How to make a chocolate chip loaf cake?
First, start by removing the butter from your fridge. You want it to soften for at least an hour before you start the recipe.
After that, preheat your oven to 350 degrees F. and spray a 9×5-inch loaf pan with non-stick cooking spray.
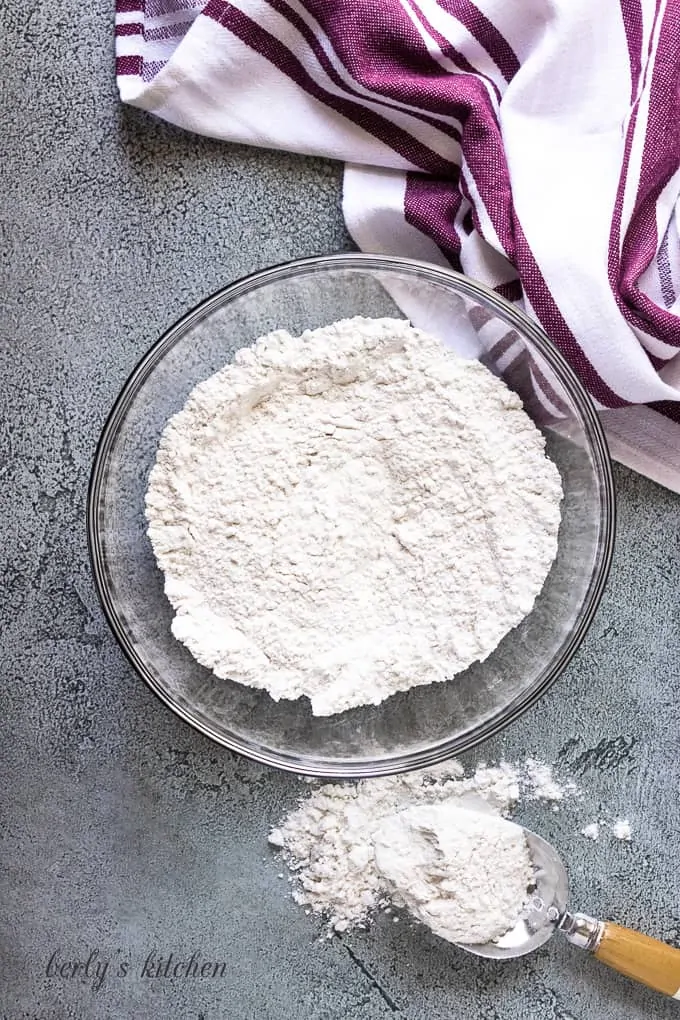
Next, grab a large mixing bowl and combine the following ingredients: flour, baking powder, and salt.
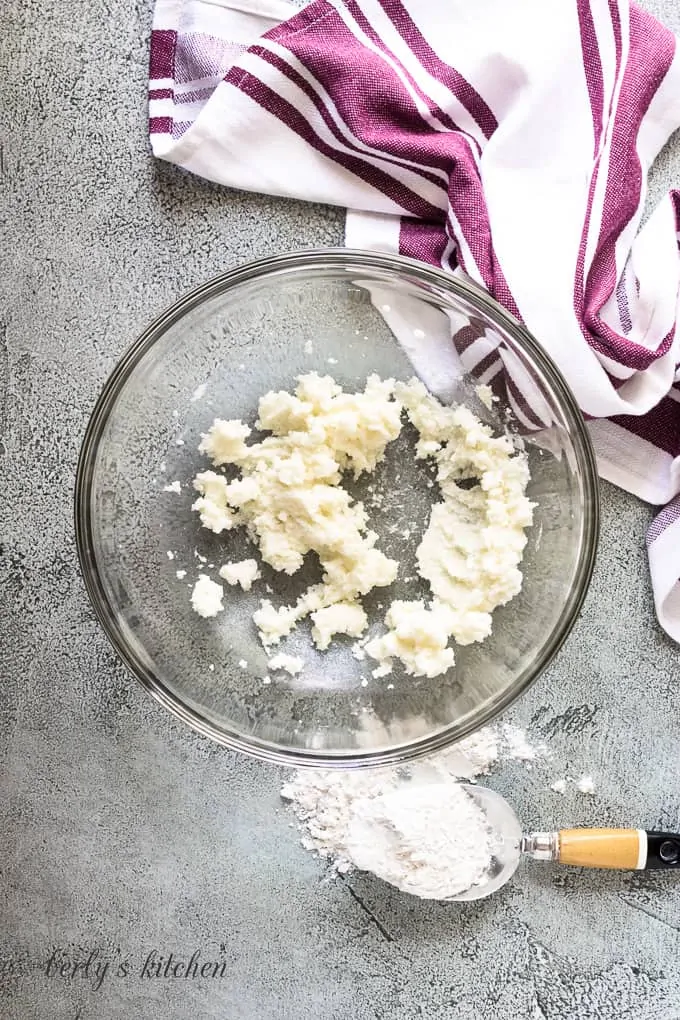
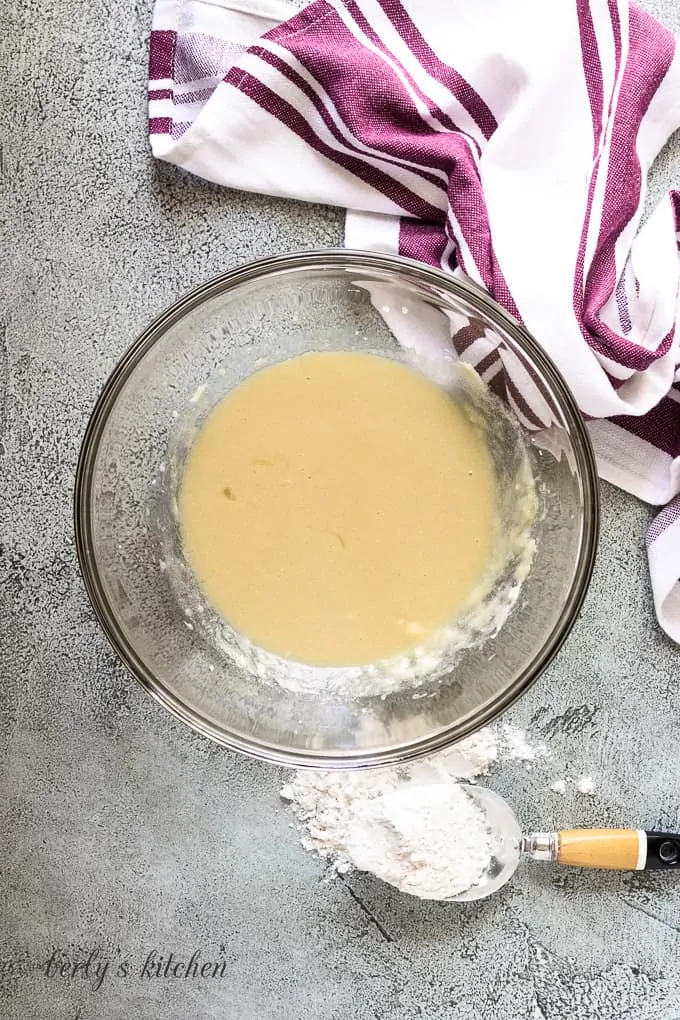
Afterward, in separate mixing bowl, use a hand mixer to combine the butter and sugar until it’s light and creamy.
Now, once you’ve creamed the butter and sugar together, you can mix in the eggs and vanilla.
When the eggs and vanilla have been incorporated, pour in the milk and continue the mixing batter.
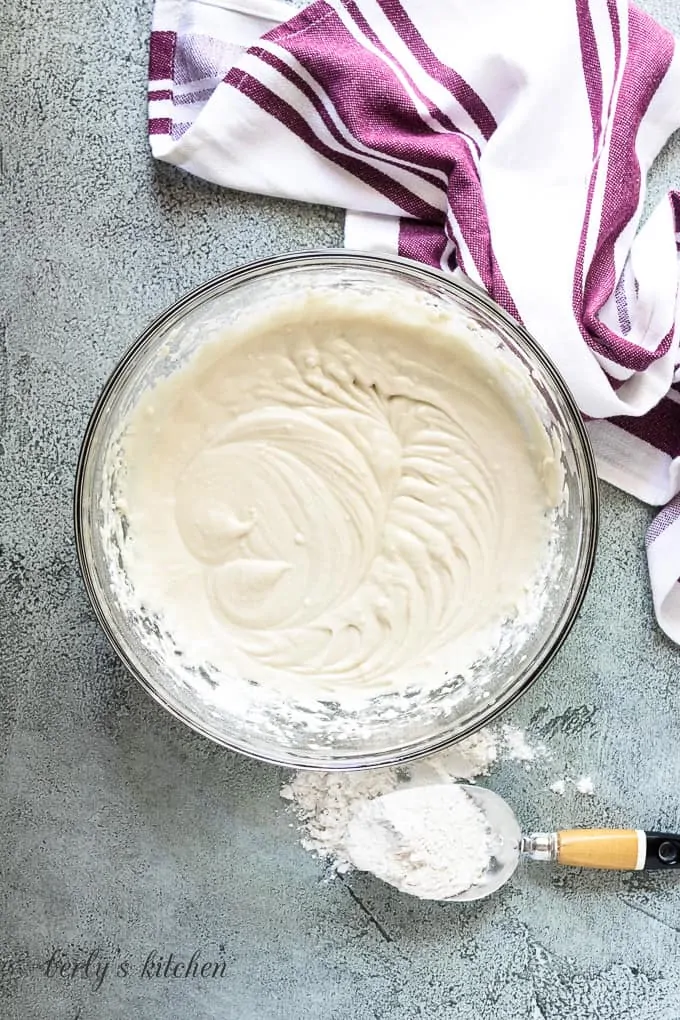
Then, add the dry ingredients to the wet batter. Use your hand mixer, on low, to combine everything.
You’ll only want to mix the ingredients until no flour streaks remain. We’ve provided another photo below to use as a reference.
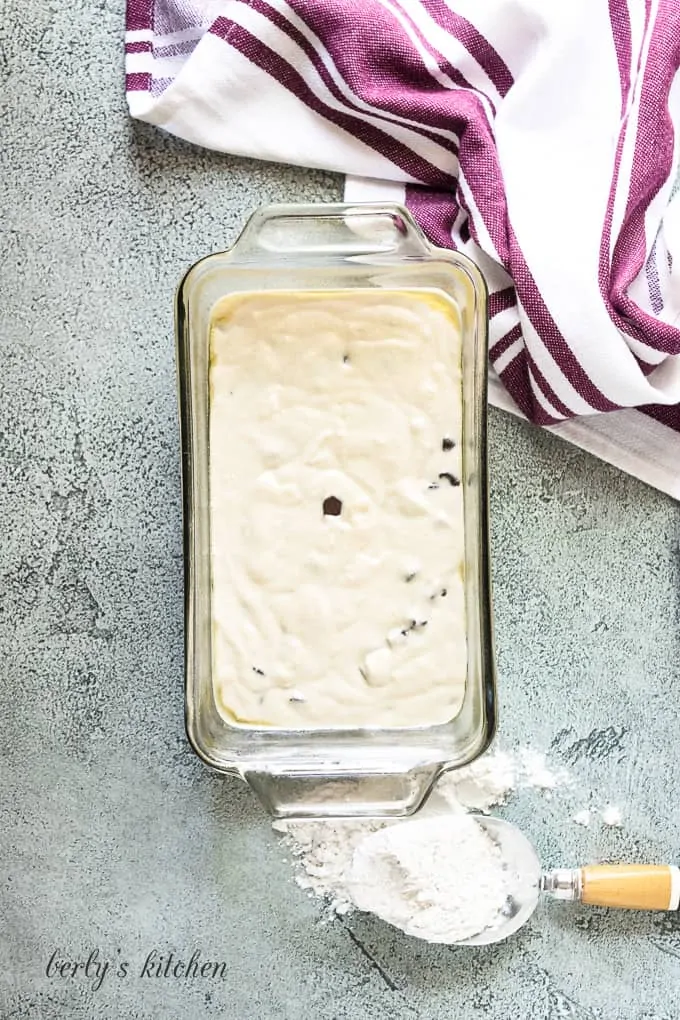
At this point, it’s time to stir in the chocolate chips. For this step, I recommend using the rubber spatula so you don’t over mix the batter.
Once the chocolate chips are incorporated, pour the mixture into your loaf pan.
Place the pan into the oven to bake for about 60-minutes or until it passes the, “toothpick” test.
Last, remove it from the oven and let it cool in the pan for about 5-minutes before moving the bread to a cooling rack.
That’s it, your chocolate chip loaf cake is done! Kim and I hope you enjoy the dessert and wish you all the best 🙂
Recipe Tips:
- If it looks like your cake is over browning on top, cover it with foil tent while it bakes.
- Feel free to substitute peanut butter chips for the semi-sweet chocolate chips for a whole new twist on this bread.
Like This Recipe?
We’d love it if you would leave a 5 Star ⭐️⭐️⭐️⭐️⭐️ rating below.
Ingredients
- 2 cups all-purpose flour
- 1 teaspoon baking powder
- ½ teaspoon salt
- 6 tablespoons unsalted butter, softened
- ⅔ cup granulated sugar
- 2 large eggs
- 1 teaspoon pure vanilla extract
- 1 cup milk
- ⅔ cup semi-sweet chocolate chips
Instructions
- Preheat the oven to 350° and grease a 9 x 5-inch loaf pan. Set aside.
- In a medium bowl, combine the flour, baking powder, and salt. Set aside.2 cups all-purpose flour1 teaspoon baking powder½ teaspoon salt
- In a separate, large bowl use a hand mixer to combine the butter and sugar until light and fluffy.6 tablespoons unsalted butter⅔ cup granulated sugar
- Add the eggs and vanilla and mix until combined.2 large eggs1 teaspoon pure vanilla extract
- Next, add the milk and continue to mix and then add the dry ingredients. Beat on low speed until no flour streaks remain, but don’t over mix.1 cup milk
- Stir in the chocolate chips, then pour the batter into the prepared loaf pan.⅔ cup semi-sweet chocolate chips
- Bake for 55 to 60 minutes or until a toothpick inserted in the center comes out clean. Add a foil tent if the bread appears to be browning too quickly.
- Allow the bread to cool in the pan for 5 minutes before removing and transferring to a wire rack to cool completely before slicing.

‘Just took loaf out of the oven and it is only about 1 1/2 inches high. I used the recommended 9 x 5 inch loaf pan but I’m wondering if I should have used a smaller one (8 1/2 x 4 1/2). ‘Any suggestions about timing with the smaller pan??
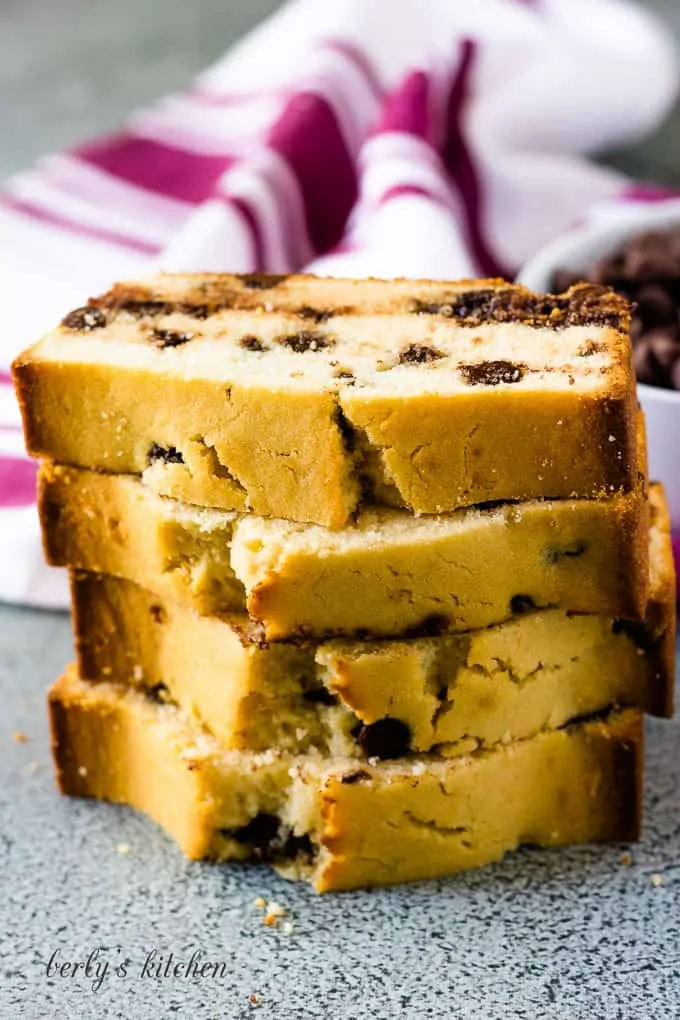
Good morning Jaycee, the bread doesn’t rise much. If you look at the pictures, our bread isn’t much taller. You have two options, use a smaller pan, like you were thinking. Or you could add an extra teaspoon of baking powder. That would help rise a little more. If you use a smaller pan, I recommend keeping an eye on it for the last 10 minutes of baking. Just to make sure the top doesn’t brown too much. Hope this information helps, have a great day!
Thanks for your wonderfully prompt response ~ I appreciate it very, very much. I’ll give those suggestions a try. Have a wonderful day and happy cooking! 🙂
You’re welcome Jaycee, I hope the second attempt is better. Happy Tuesday!
Can you use salted butter?
Yes, but I’d decrease or omit the kosher salt. That way the bread isn’t salty. 🙂
Can this quick bread be frozen?
Hi Karen!
Yes, it can be frozen. Let the bread cool completely then wrap it well in plastic wrap and aluminum foil. If you have a jumbo-sized Ziploc bag, it wouldn’t hurt to seal it in there, too. The bread should stay fresh for about 2 months. 🙂
@Kimberly, Thank you for replying so quickly!
You’re very welcome! Have a fantastic day! 🙂
It’s not good, it’s great. Moist and simple to make.
Thanks for this great recipe.
You’re very welcome! We’re so glad you enjoy it. Have a wonderful week! 🙂
Thanks for getting back to me so quickly, it’s a metal loaf on. I increased the temperature then shut the oven off and left it in the oven to cool. It does look good will comment later on when I taste it.
You’re welcome! 🙂
The top doesn’t get brown but the sides are totally brown.
I put it back in the oven.
Any suggestions?
Hi Leona!
If you use a glass pan, try lowering the oven temp by 25°F and increase the cook time by 10-15 minutes. If it’s a metal pan, it could be that the pan browned the bread on the sides. I’ve found that when I use cooking spray the sides of the bread brown quite a bit. The top of this bread is a little lighter in color. It doesn’t get too dark. 🙂