Hawaiian Rolls
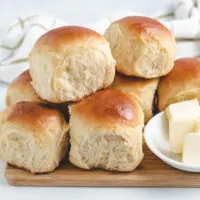
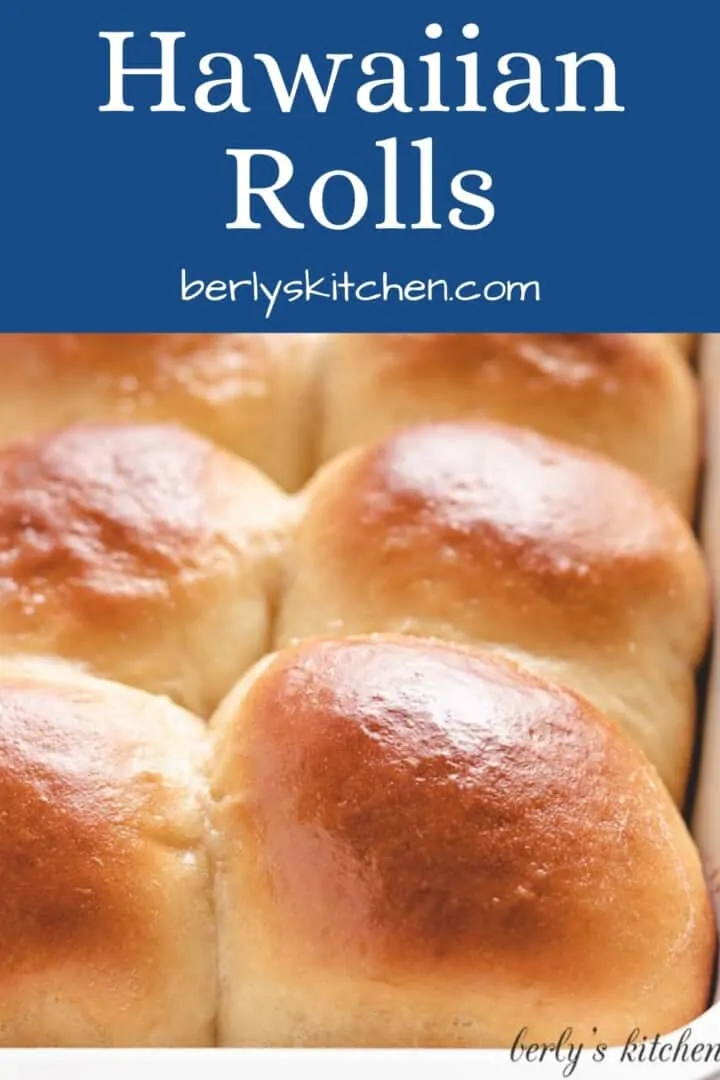
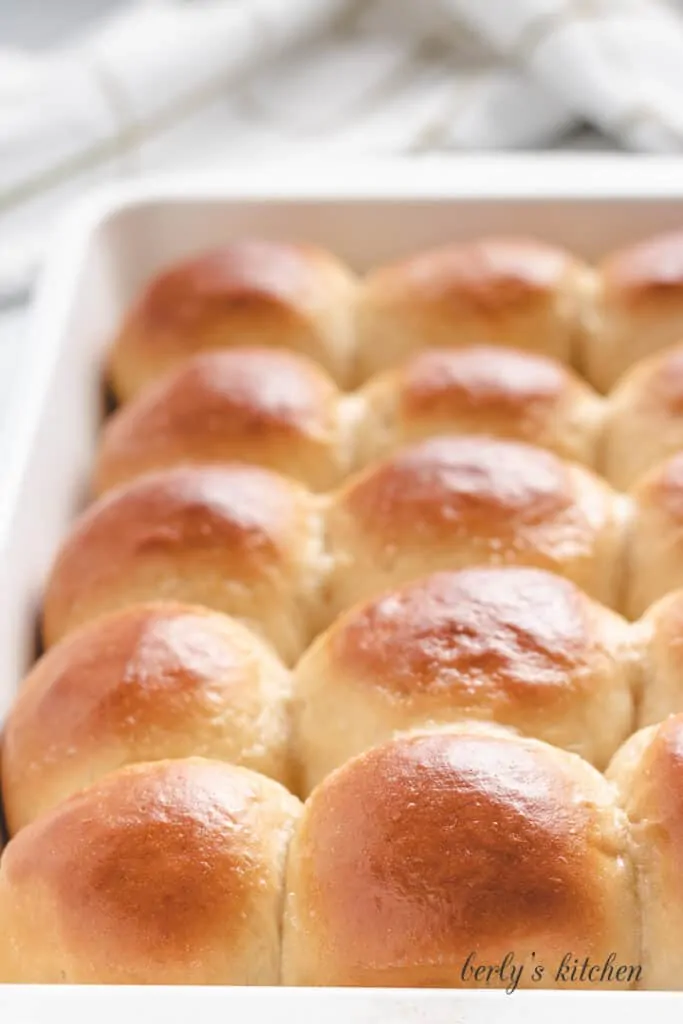
Soft, fluffy, and slightly sweet this copycat Hawaiian Rolls recipe comes together in just under two and a half hours from start to finish. These rolls make the perfect vessel for your favorite sliders, a dinnertime side dish, or a grab-and-go snack.
One of our favorite sweet indulgences when it comes to yeast bread are Hawaiian rolls. They’re sweet, savory and the only thing they’re missing is a little bit of melted butter.
Recently, these rolls have been difficult to find, so we began making them at home. Similar to our homemade yeast rolls, they take a little work but they’re definitely worth the effort!
Not only are Hawaiian roll a great snack when served with a pat of butter, but they’re also great as a side dish or as slider buns. We love to serve these with some Individual Mini Meatloaves, as a side to Homemade Chicken Tenders or as the bun to some French Dip Sliders.
How to Make Hawaiian Rolls:
- Grease a 9×13-inch baking dish with butter or non-stick cooking spray. Then, set the dish aside.
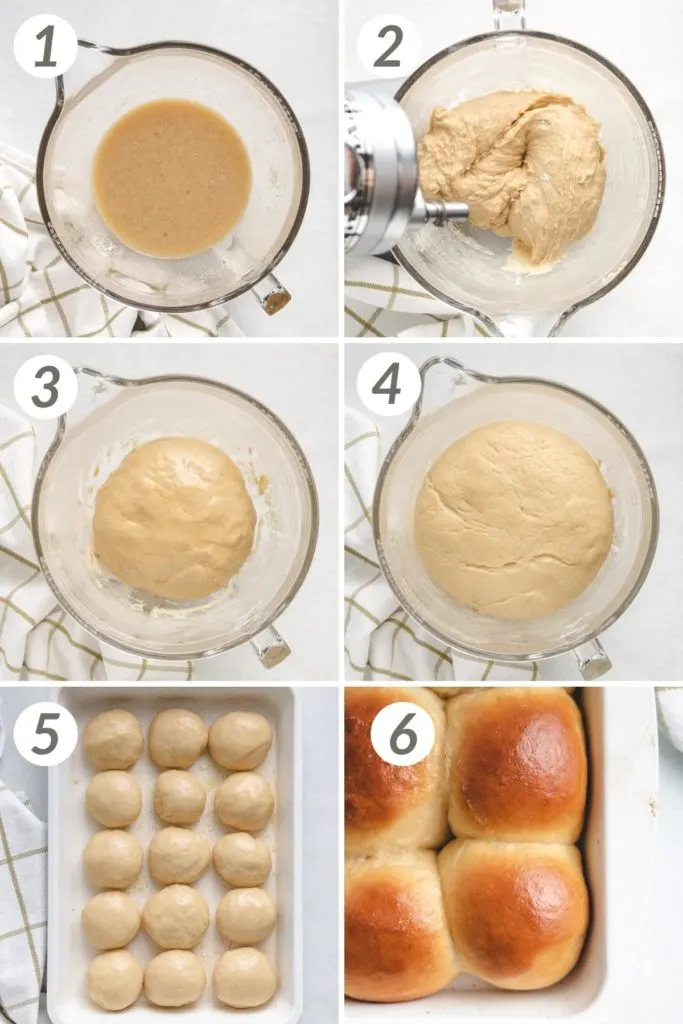
- Next, use a stand mixer fitted with a paddle attachment to combine the pineapple juice, warmed milk, brown sugar, butter, yeast, eggs, and salt.
- Measure out half of the flour, and use a dough hook to mix the flour into the wet ingredients. Mix on low speed and add additional flour (a 1/4 cup at a time) until the dough becomes more cohesive and begins to pull away from the sides of the bowl. At that point, stop adding flour.
- Increase the speed to low-medium, and mix for an additional 4-6 minutes. The dough should feel slightly tacky and sticky from the pineapple juice and sugar, not from lack of flour.
- Grease a large bowl with oil, and transfer the dough to that bowl. Cover, and let rest until doubled in size, about an hour.
- Once the dough has doubled in size, use your fist to deflate it and push out all the gasses. Then, separate the dough into about 15 equal-sized balls.
- Transfer the dough balls to the prepared baking dish. Make an egg wash by whisking together the egg and water.
- Brush the rolls with the egg wash and cover the dish loosely with a clean kitchen towel or plastic wrap.
- Allow the rolls to set, undisturbed for about 30-45 minutes until they appear larger in size and puffy. Meanwhile, preheat the oven to 350ºF.
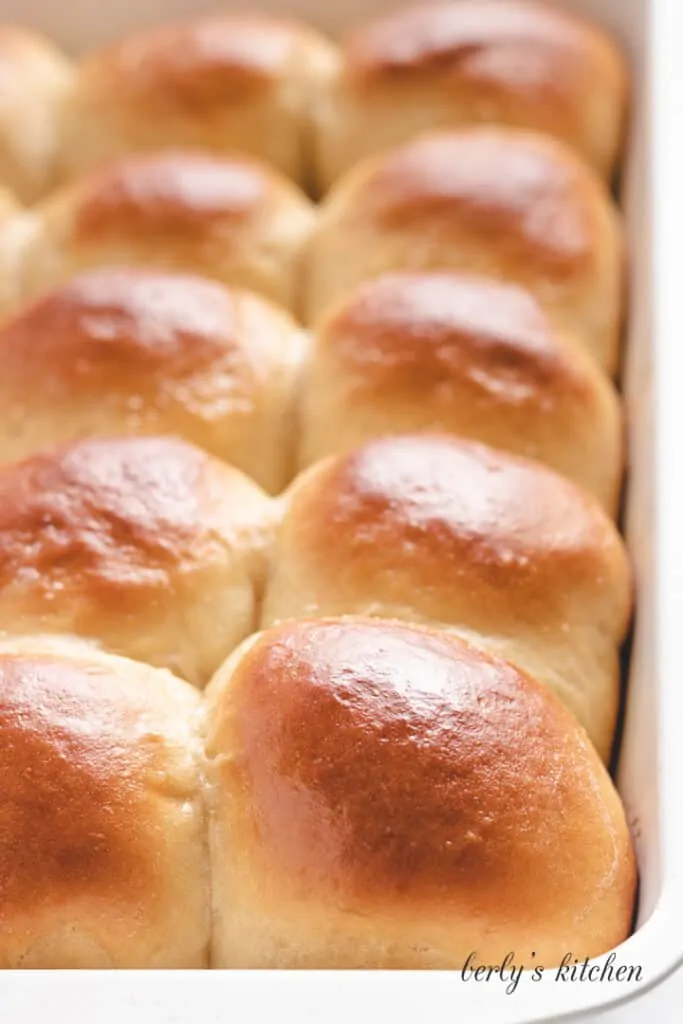
- After the rolls are noticeably larger and puffy, remove the covering, and bake for 25-30 minutes or until they’re golden brown.
- Remove the Hawaiian rolls from the oven and serve while warm.
Hawaiian Rolls Tips:
- Humidity and elevation has huge impacts on baking. So, be patient and pay attention to the dough. Use our photos as references and keep in mind that any bread recipe may take practice and time to master.
- Don’t dump all the flour in at once because, you may not need it all. It’s easier to add extra flour, but you can’t remove it once it’s mixed in.
- These rolls are great for Hawaiian roll sliders. Fill them with ham and cheese, eggs and bacon, or an other sweet and savory combination. We love to make roast turkey, sage stuffing, and cranberry sauce sliders using Thanksgiving leftovers.
- Don’t overmix the dough. Otherwise, the rolls will be dense and tough instead of light and fluffy.
Storage:
Storage: Place the cooled Hawaiian rolls in a a large Ziploc bag. They’ll stay good for about 2 days. Refrigerate the rolls in an airtight container for 3-4 days.
Freezer: Wrap individual rolls in foil. Then, drop them into a large plastic bag. They’ll stay fresh in the freezer for about 3 months. To reheat, thaw in the refrigerator overnight and microwave for 10-15 seconds. You can also place the foil wrapped roll into the oven on 200°F until heated through.
Other Bread Recipes You May Enjoy:
Like This Recipe?
We’d love it if you would leave a 5 Star ⭐️⭐️⭐️⭐️⭐️ rating below.
Ingredients
Rolls:
- 4 ounces pineapple juice, room temperature
- 4 ounces whole milk, warmed to 110°F to 115°F
- 6 tablespoons light brown sugar
- 4 tablespoons unsalted butter, melted and cooled
- 2 ¼ teaspoons instant yeast
- 2 large eggs
- 1 teaspoon salt
- 4 to 4 ½ cups all-purpose flour
- 1 teaspoon oil, your choice
Egg Wash:
- 1 large egg
- 1 tablespoon water
Instructions
- Grease a 9×13-inch baking dish with butter or non-stick cooking spray. Then, set the dish aside.
- Next, use a stand mixer fitted with a paddle attachment to combine the pineapple juice, warmed milk, brown sugar, butter, yeast, eggs, and salt.4 ounces pineapple juice4 ounces whole milk6 tablespoons light brown sugar4 tablespoons unsalted butter2 ¼ teaspoons instant yeast2 large eggs1 teaspoon salt
- Measure out half of the flour, and use a dough hook to mix the flour into the wet ingredients. Mix on low speed and add additional flour (a 1/4 cup at a time) until the dough becomes more cohesive and begins to pull away from the sides of the bowl. At that point, stop adding flour.4 to 4 ½ cups all-purpose flour
- Increase the speed to low-medium, and mix for an additional 4-6 minutes. The dough should feel slightly tacky and sticky from the pineapple juice and sugar, not from lack of flour.
- Grease a large bowl with oil, and transfer the dough to that bowl. Cover, and let rest until doubled in size, about an hour.1 teaspoon oil
- Once the dough has doubled in size, use your fist to deflate it and push out all the gasses. Then, separate the dough into about 15 equal-sized balls.
- Transfer the dough balls to the prepared baking dish. Make an egg wash by whisking together the egg and water.1 large egg1 tablespoon water
- Brush the rolls with the egg wash and cover the dish loosely with a clean kitchen towel or plastic wrap.
- Allow the rolls to set, undisturbed for about 30-45 minutes until they appear larger in size and puffy. Meanwhile, preheat the oven to 350ºF.
- After the rolls are noticeably larger and puffy, remove the covering, and bake for 25-30 minutes or until they're golden brown.
- Remove the Hawaiian rolls from the oven and serve while warm.
- See post for storage options.
Notes
- The calories listed are an approximation based on the ingredients in the recipe card and a serving size of 1 roll. Actual calories will vary.

First proof on Instant Pot saves time.
Good Morning Ann, well, this isn’t an Instant Pot recipe, so we didn’t do that. However, we are already aware that dough can be proofed in a pressure cooker. In fact, we have a tutorial on that. You can find that tutorial by clicking the link-> https://www.berlyskitchen.com/how-to-proof-dough-instant-pot/
Have a lovely day 🙂