Homemade Strawberry Marshmallows
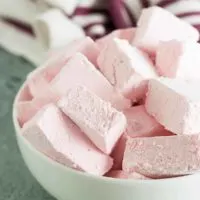
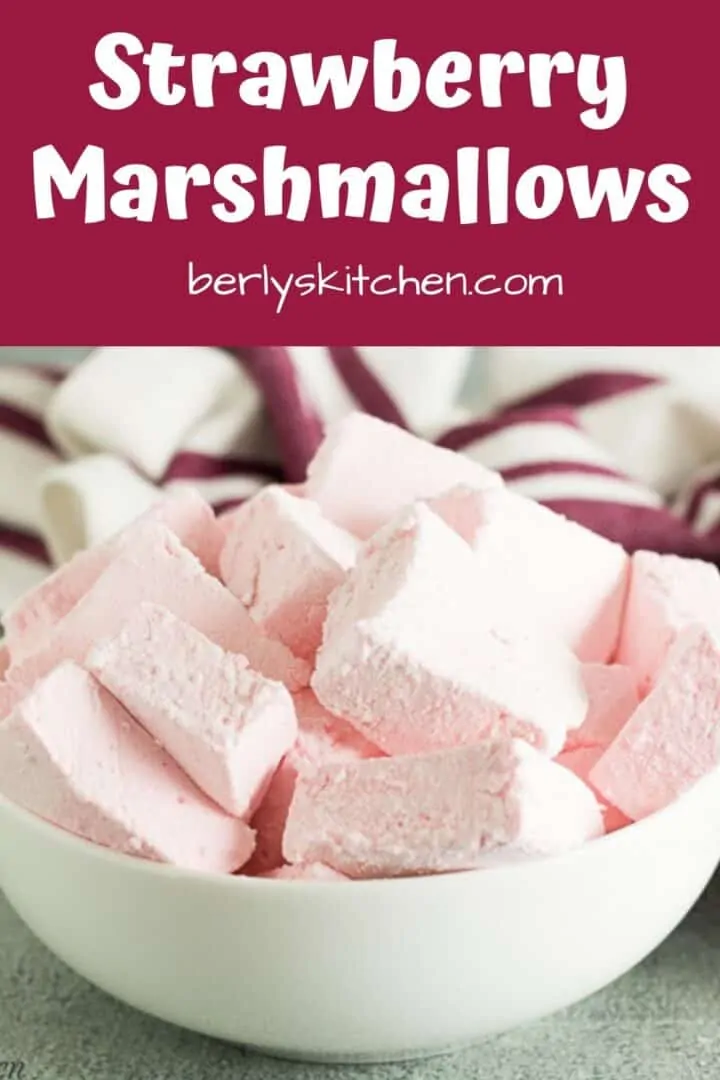
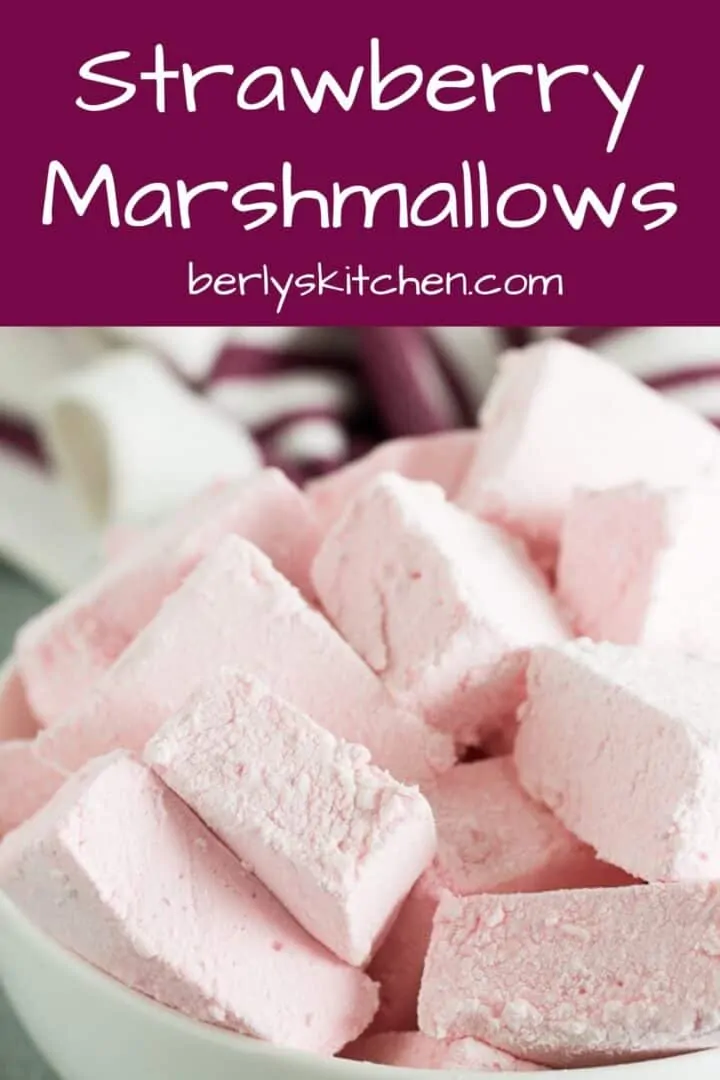
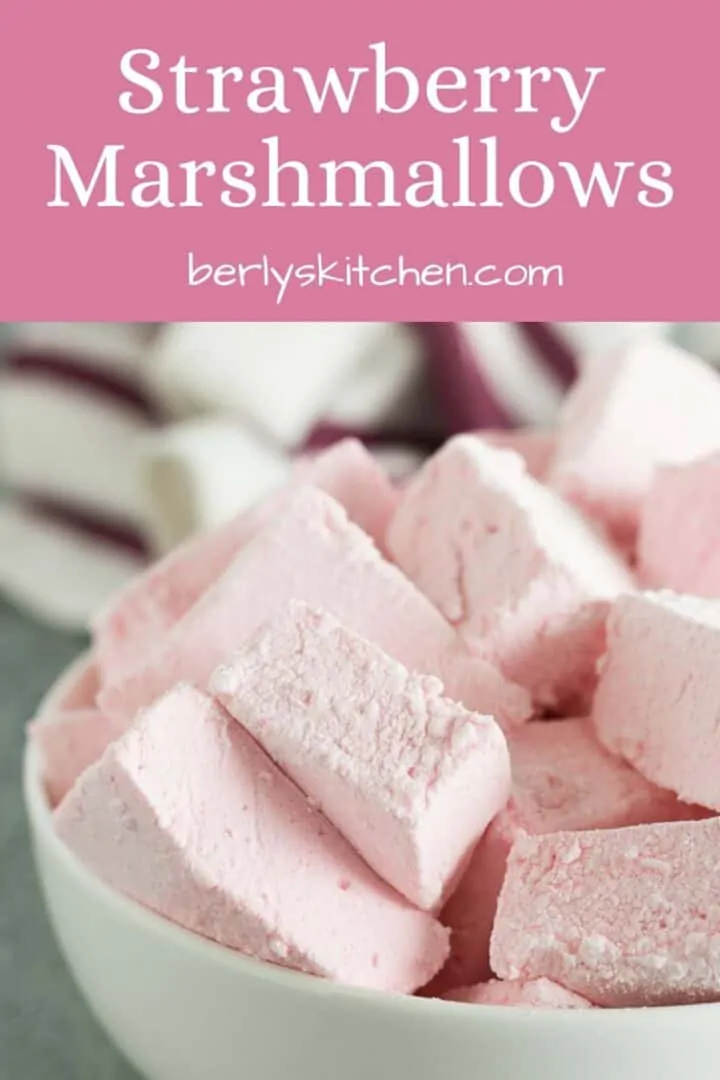
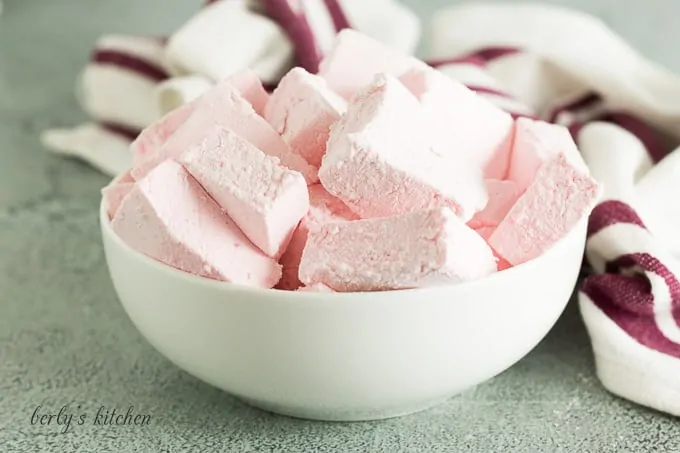
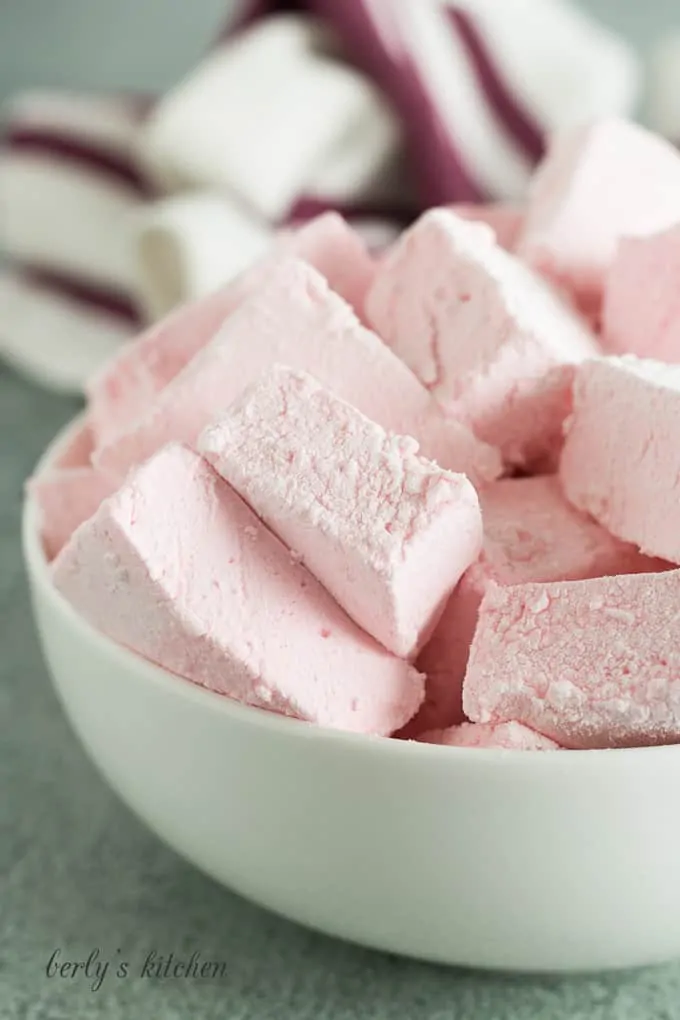
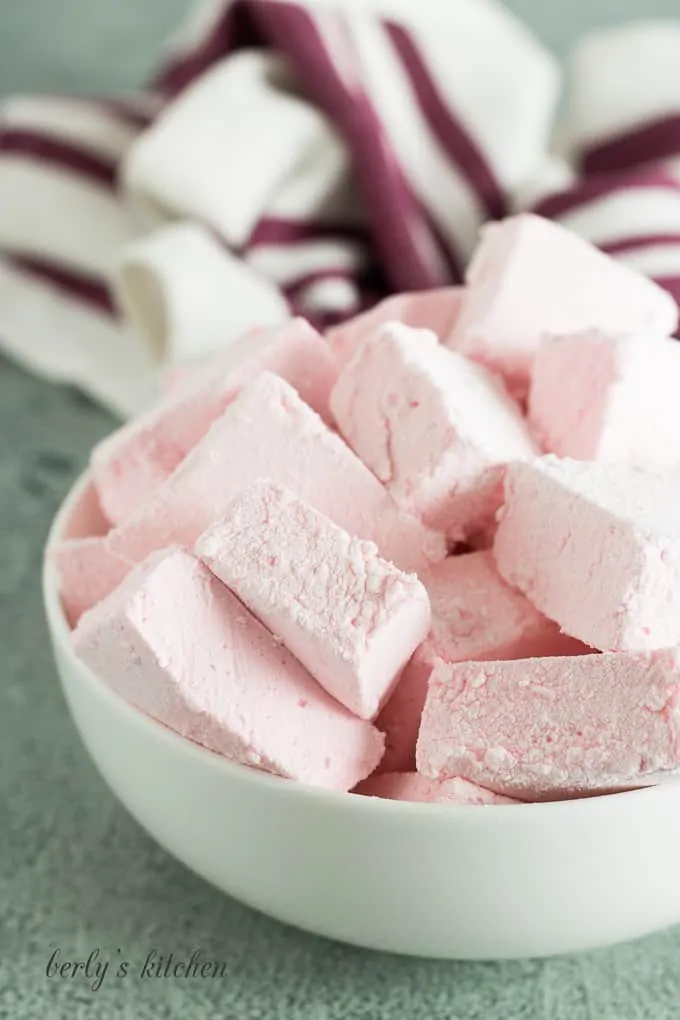
Have you ever wanted to make homemade strawberry marshmallows? Well, now you can with our strawberry marshmallows recipe!
A few weeks ago, Kim and I shared our simple marshmallow recipe flavored with vanilla and powdered sugar.
Today, we’re sharing a modified version of that recipe flavored with strawberry extract and powdered sugar.
This homemade strawberry marshmallows recipe is simple to prepare and the hardest part is waiting for them firm up.
Can’t get enough strawberry recipes? Then check out our strawberry ice cream recipe or our fresh strawberry pie recipe!
How long do homemade marshmallows keep?
Homemade marshmallows will hold for at least 10 days as long as they’re stored in a sealed container. You don’t even have to store them in your fridge.
How do I make strawberry marshmallows from scratch?
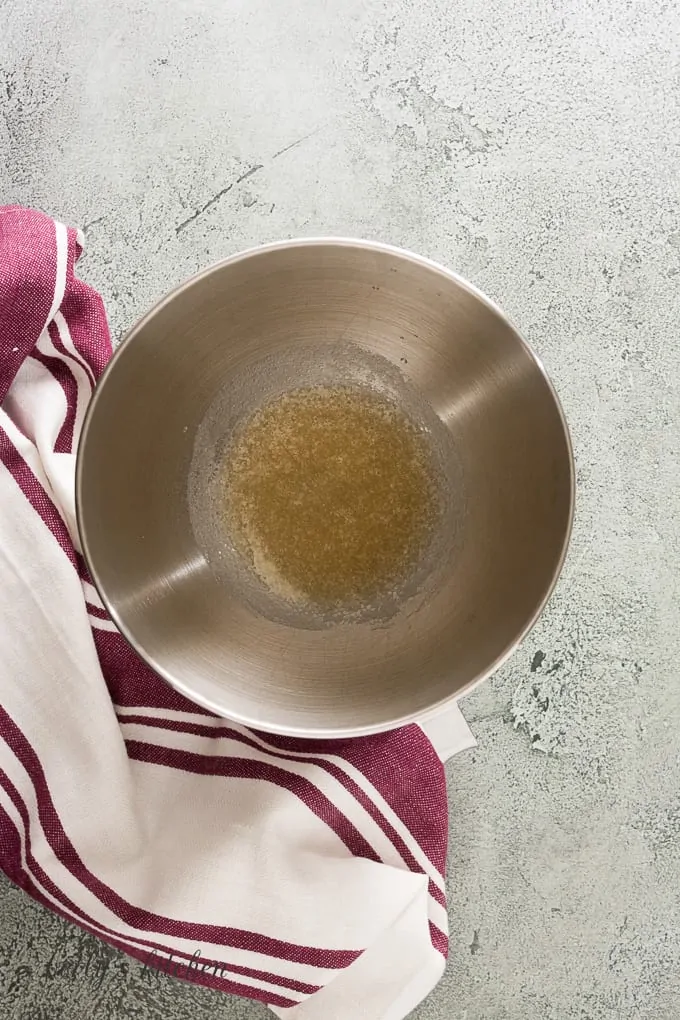
First, grab a large mixing bowl and combine the gelatin and 1/2-cup of cold water. You can use a hand or stand mixer on low speed for this step.
Set the bowl aside for now and spray a 9×13-inch baking dish with non-stick cooking spray.
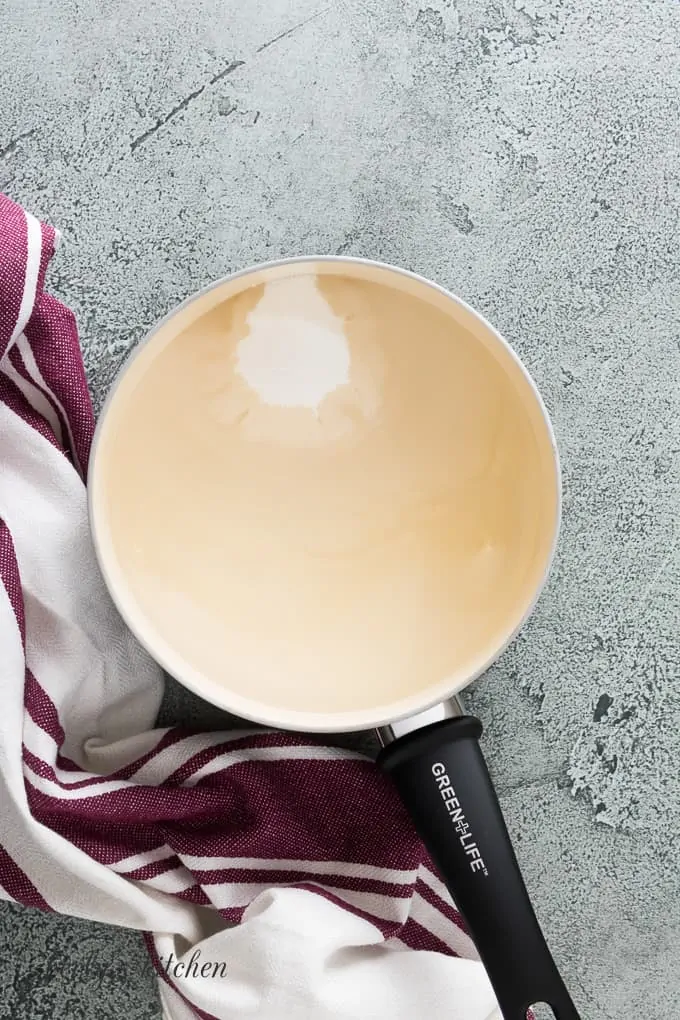
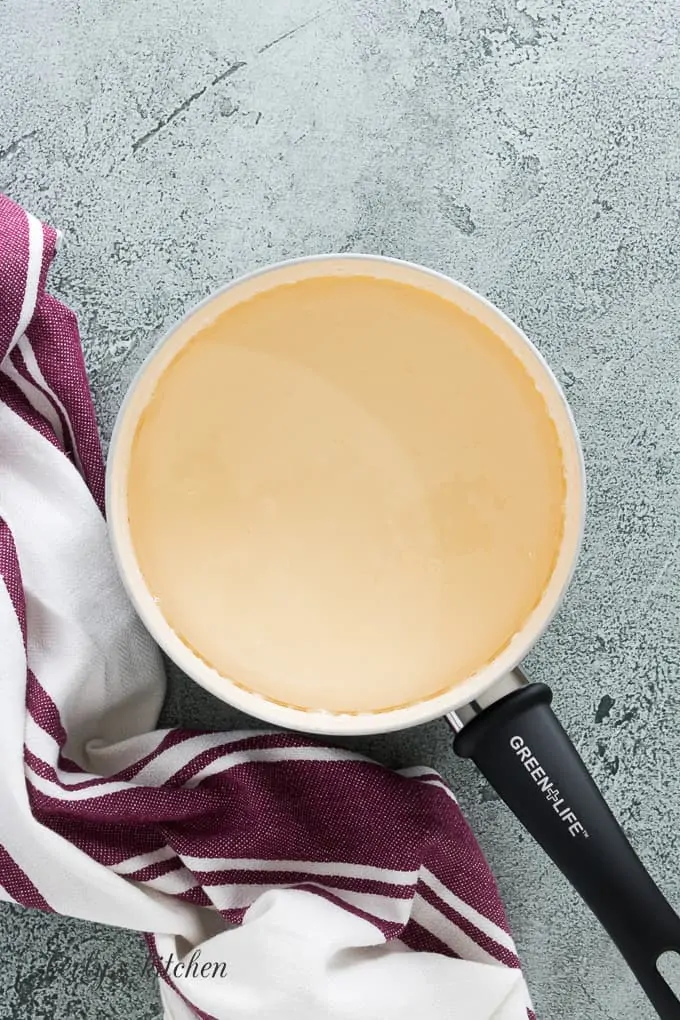
Next, using a small saucepan over medium heat, mix together 1/2-cup of water with sugar, corn syrup, and salt.
Be sure to stir the mixture as it heats. When the sugar has been completely dissolved, increase the heat to medium-high.
Now, place a candy thermometer into the liquid. Once it reaches 240 degrees F. remove the thermometer and turn off the heat.
Afterward, use a hand or stand mixer on medium speed to slowly combine the hot liquid with the gelatin mixture.
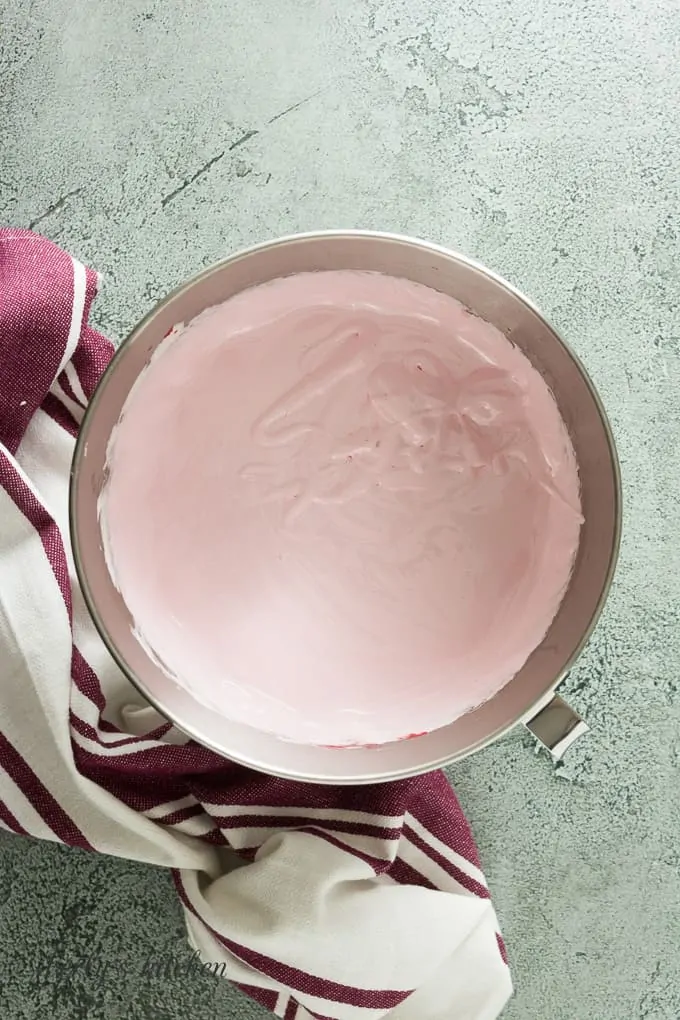
Then, when all the liquid has been added, increase the mixer speed to high and continue mixing until the homemade strawberry marshmallows are light and fluffy.
It should only take about 5-10 minutes to reach that texture. At that point, add in the strawberry extract, vanilla extract, and a little red food coloring (optional).
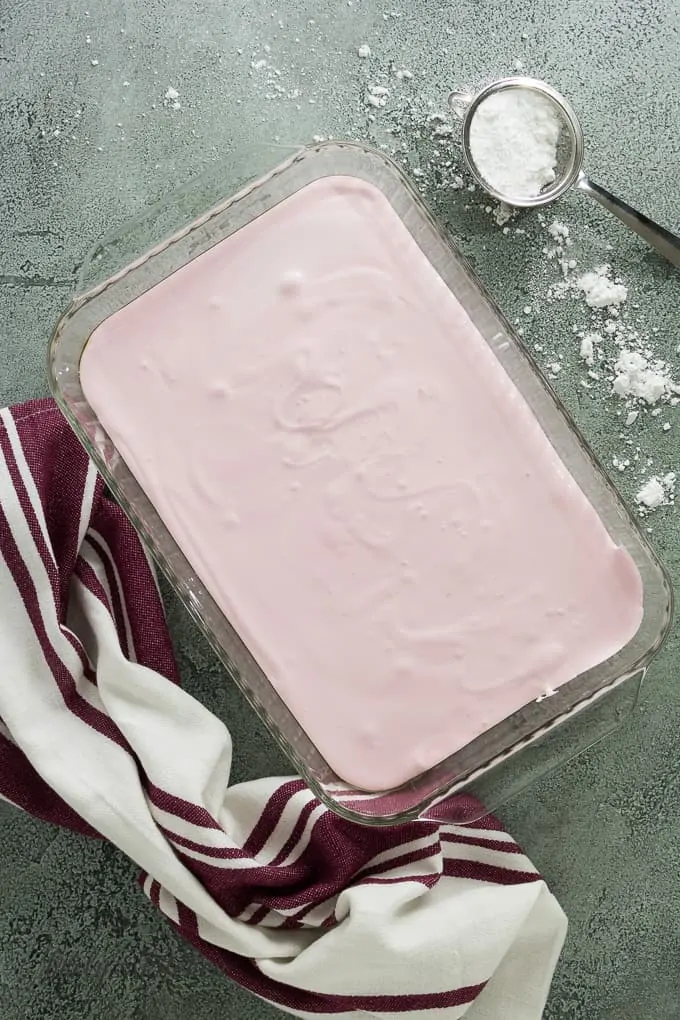
Continue mixing for about 1-minute. After that, pour the homemade marshmallow fluff into the baking dish.
If it’s cool enough, use your hands to evenly spread out the mixture. If not, use a rubber spatula. Do NOT risk burning yourself!
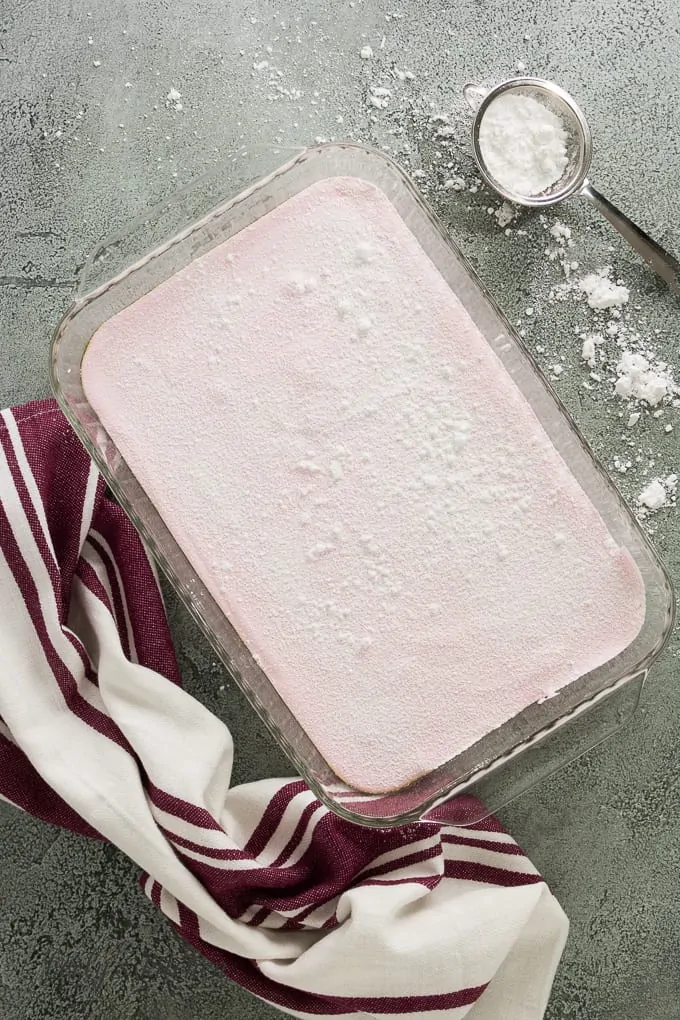
Sprinkle the cooling marshmallows with powdered sugar and let them set for at least 3-hours before cutting.
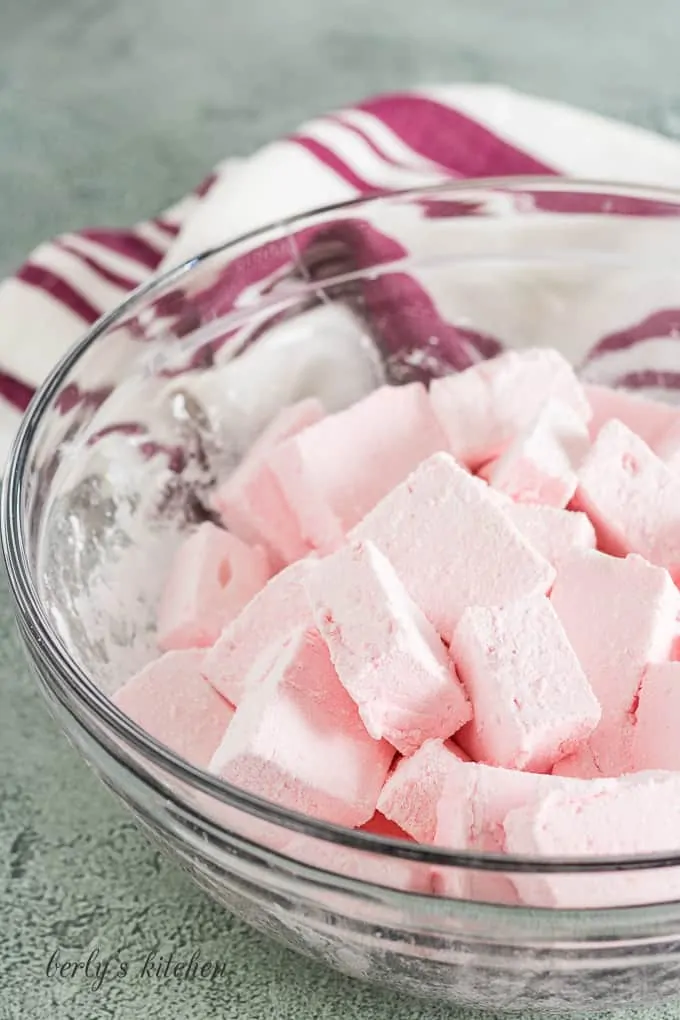
Last, 3-hours later, slice the strawberry marshmallows and toss them in more powdered sugar (in a large mixing bowl).
This will keep them from sticking together and give them a little added sweetness.
That’s it, your homemade strawberry marshmallows recipe is done! Kim and I hope you enjoy the treat and wish you all the best 🙂
Recipe Tips:
- For the best results with a hand mixer, use the whisk attachment to combine the gelatin and cold water and the beater attachments to combine the hot mixture with the gelatin mixture.
- When using a stand mixer, you can use a paddle attachment for all the steps.
- To keep the fluff from sticking to your hands or rubber spatula, simple dip your hands (or spatula) in cold water before touching the sticky fluff.
Like This Recipe?
We’d love it if you would leave a 5 Star ⭐️⭐️⭐️⭐️⭐️ rating below.
Ingredients
- 21 grams unflavored gelatin, 3 (7 gram) packets
- 1 cup water, cold and divided
- 1 ¾ cups granulated sugar
- ¾ cup light corn syrup
- ⅛ teaspoon salt
- 2 teaspoons strawberry extract
- 1 teaspoon pure vanilla extract
- 3 drops red food coloring, optional
- ½ cup powdered sugar, for dusting and tossing the marshmallows; divided
Instructions
- Grease a 9 x 13-inch pan and set aside.
- In a large bowl, or bowl of a stand mixer, whisk together the gelatin and ½ cup of cold water. Let the mixture set.21 grams unflavored gelatin
- In a small saucepan over medium heat, combine the remaining ½ cup cold water, sugar, corn syrup, and salt. Stir constantly until the sugar dissolves then adjust the temperature to medium high. Insert a candy thermometer and stop stirring. Allow the temperature to reach 240°F then remove from heat.1 ¾ cups granulated sugar¾ cup light corn syrup⅛ teaspoon salt
- Mixing on low speed with the paddle attachment, slowly pour the sugar mixture into the softened gelatin. Increase the speed to high and continue to mix. The mixture will become thick and fluffy (about 5-10 minutes).
- Add the strawberry and vanilla extracts and several drops of red food coloring during the last minute of mixing. The mixture should cool considerably and be spreadable without burning your skin.2 teaspoons strawberry extract1 teaspoon pure vanilla extract3 drops red food coloring
- Pour the marshmallow mixture into the prepared pan, and use wet hands or a wet spatula to spread the marshmallows into an even layer. Sprinkle a ¼ cup of powdered sugar over top and allow the marshmallows to sit for several hours before slicing.
- After slicing the marshmallows, place them in a large bowl and toss them gently with the remaining ¼ cup of powdered sugar until they’re no longer sticky.
- Store leftover marshmallows in an airtight container for up to 10 days.

Could some of the powdered sugar be substituted for freeze dried strawberry powder? I have plenty in hand and thought, why not?!
Good Morning Leanna, that’s a good question. We’ve never tried substituting dried strawberry powder for powdered sugar. However, the powdered sugar in this recipe is only used to dust the marshmallows (to add sweetness and prevent clumping). So, it should be okay to at least try it and see how it works with the recipe. Feel free to come back and comment again to let us know how it turned out. Have a lovely day 🙂
Hi! What brand of strawberry extract do you like? Thanks
Hi Tina!
I normally go for Watkins brand strawberry extract. Have a great weekend! 🙂