Mini Mason Jar Easy Banana Pudding
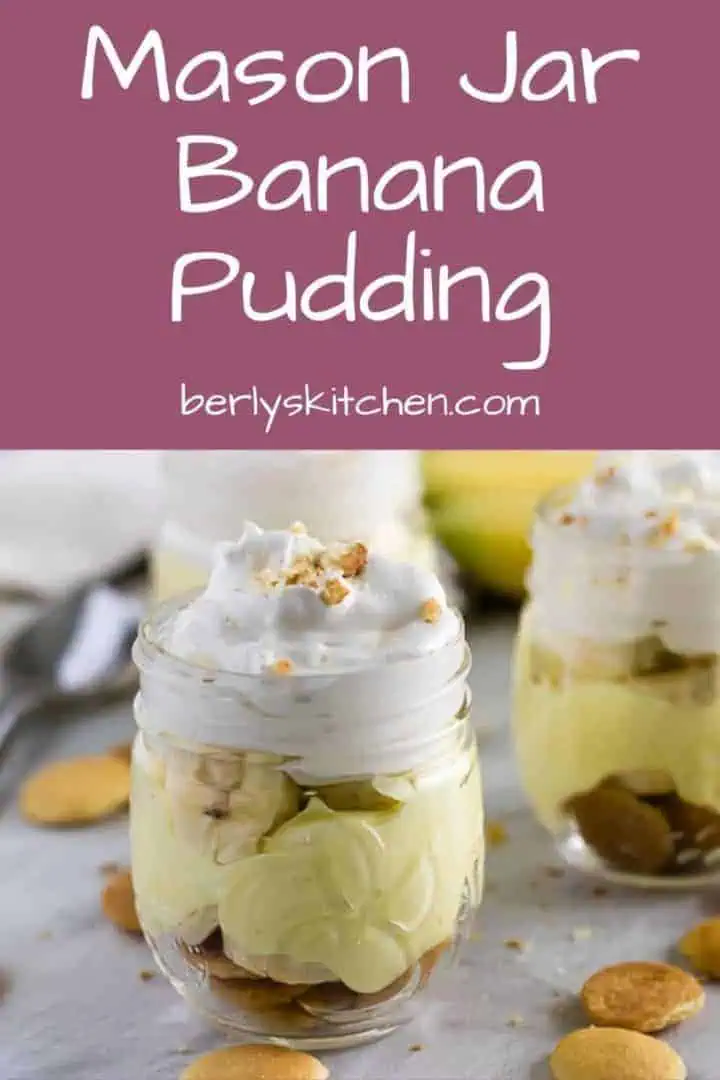
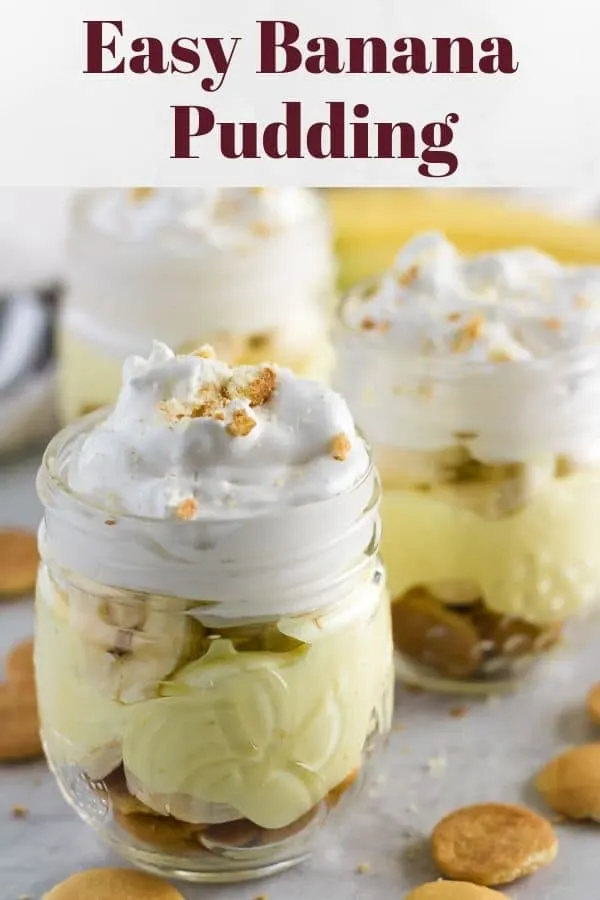
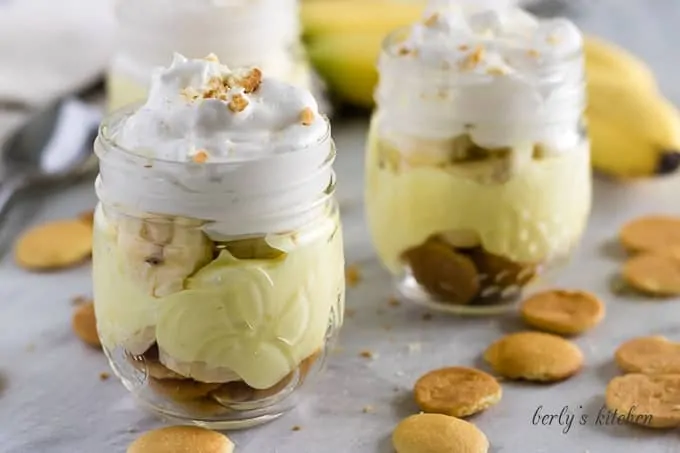
An easy banana pudding recipe made with fresh bananas and served in adorable mini mason jars. It’s a cute and decorative way to create snack sized treats!
Wow, it’s been almost 2 years since this recipe was shared. Obviously, a lot has changed in that time.
Including camera equipment and writing styles. Kim and I decided it was time for this post to be updated using those new approaches.
One thing that hasn’t changed is how we make our easy banana pudding. Also, we simply love to serve it in these cute mini mason jars.
Best of all, it helps with portion control. You get all the goodies you want in a nice, neat package.
Additionally, if you have to travel, transporting the banana pudding is made much easier when using a mason jar.
All you have to do is use less whipped topping on the final layer and the lid goes on nicely. Since there’s not much else to introduce, let’s get started!
Mini Mason Jar Easy Banana Pudding Instructions:
Now, we don’t call this easy banana pudding for nothing. It really is a simple dessert to put together.
First, grab a large mixing and make the pudding mix per the box instructions.
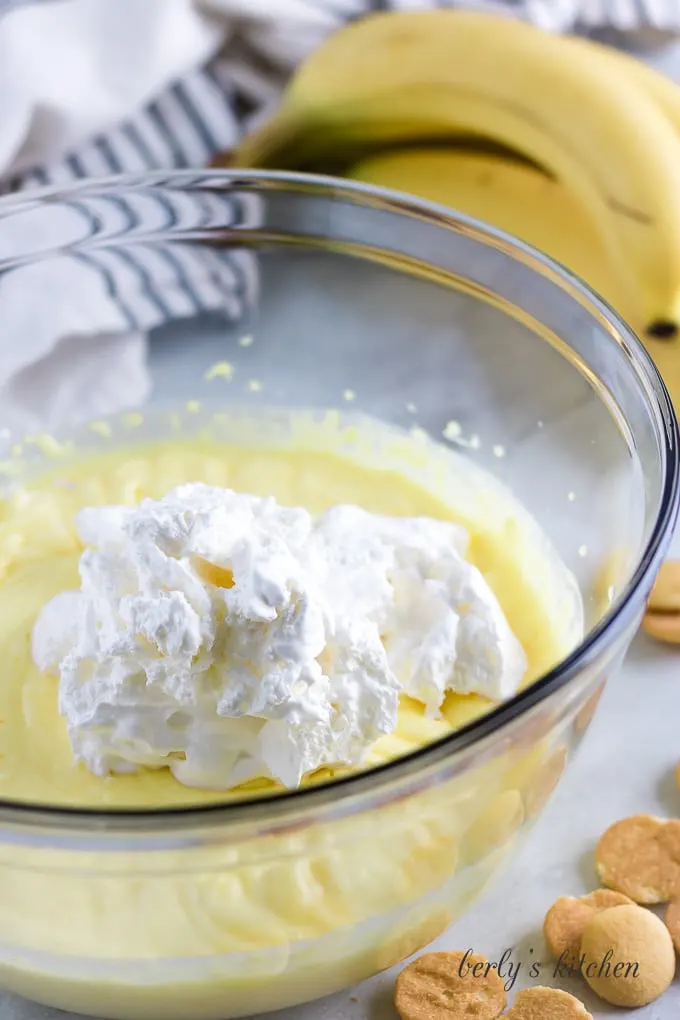
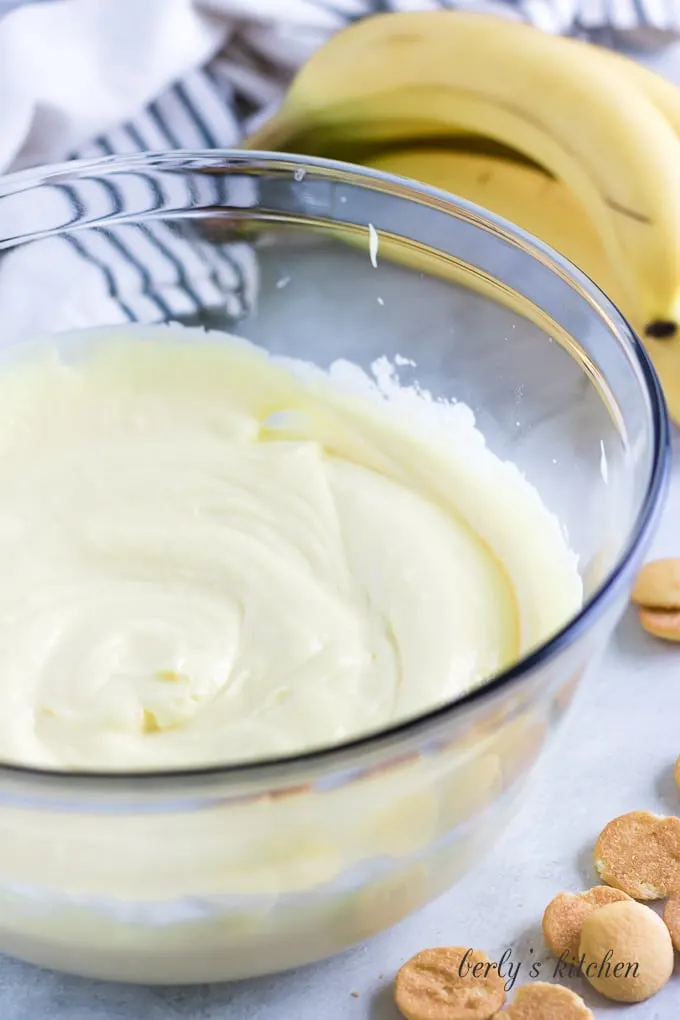
After that, fold in 4 ounces of the whipped topping. At this point, you’ll want to place the pudding into your fridge to chill for about 10 minutes.
This step allows it to reach a, “soft set,” stage. Which, in turn, makes it easier to work with in the mini mason jars.
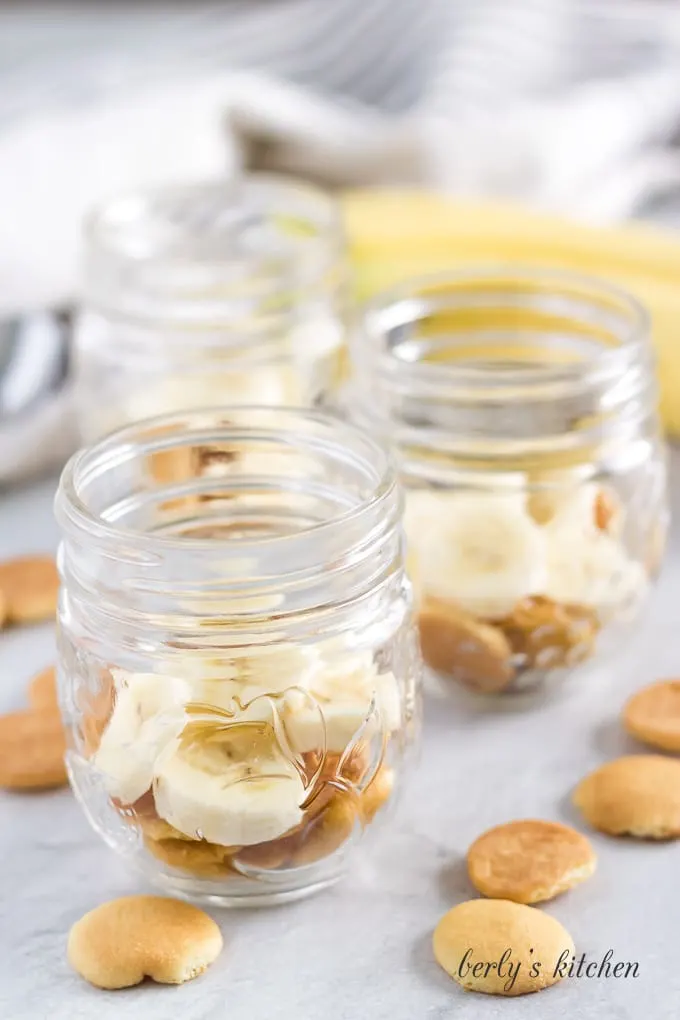
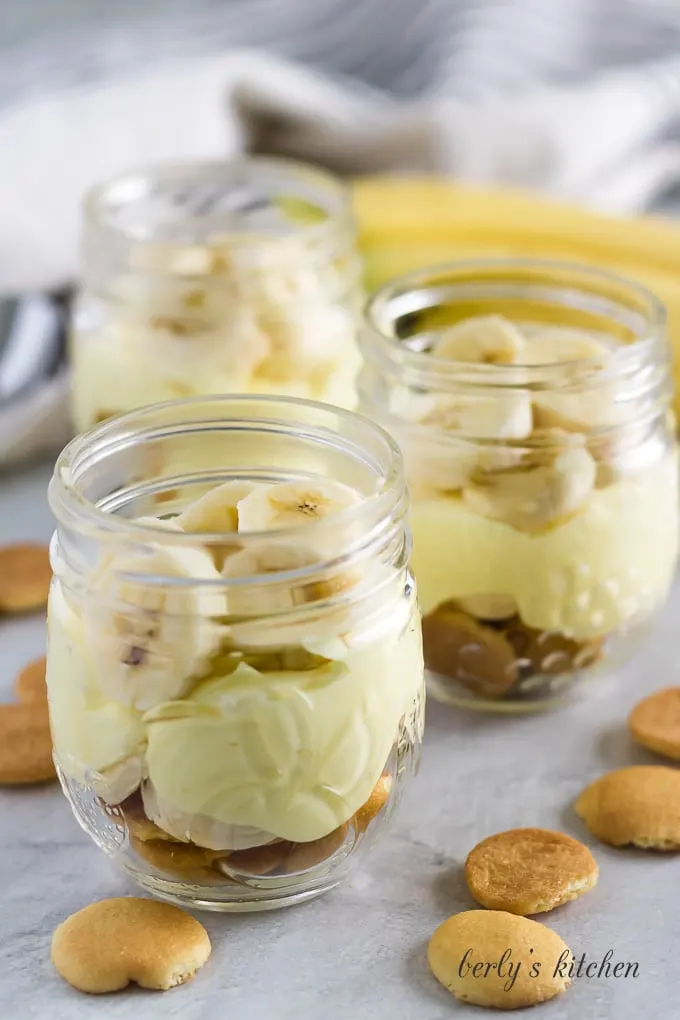
While the easy banana pudding chills, go ahead and start dividing the wafers into the jars. Also, slice the bananas into bite-sized pieces.
You can toss those into the jars to make the next layer. See the photo below as a reference.
As you might have noticed, we put the wafers on the bottom. It might not keep them from getting soggy forever, but it helps to have something between them and the pudding.
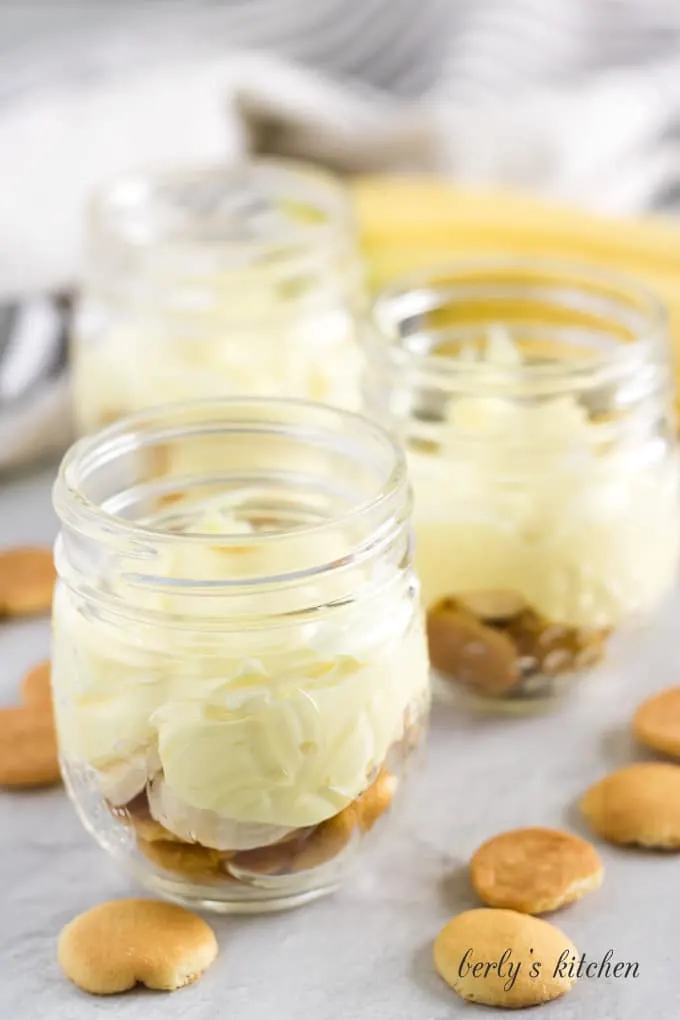
Then, when the pudding mixture is ready, start spooning it on top of the banana slices.
Afterward, you can add even more slices of banana to the mini mason jar. This will create another layer of flavor and texture.
With that being said, if you’d prefer to more vanilla wafers, then go for it. Nobody is saying the dish has to be built a certain way. It’s just assembly, after all.
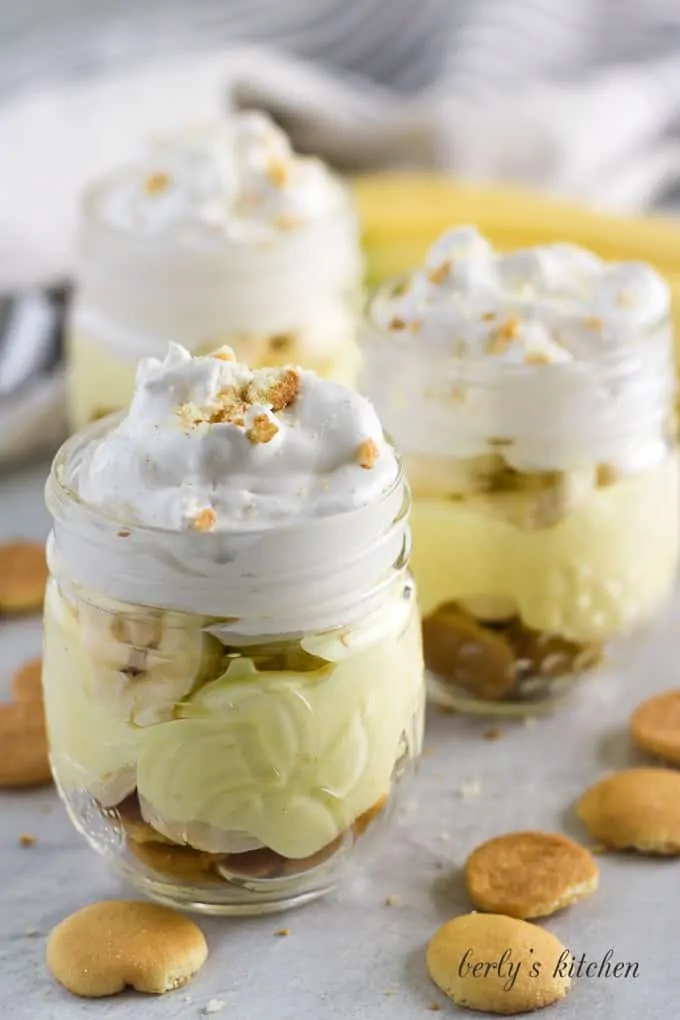
This is it, we’ve come to the final layer; more whipped cream! The crumbled wafers are completely optional.
Kim added them to our easy banana pudding as a garnish. Personally, I think it looks nice. But, that’s up to you to decide for yourself.
It’s probably a good idea to place the mini mason jar puddings into your fridge to finish chilling for at least 20 minutes.
However, I’ve eaten one right after assembly and they’re just fine. Either way, Kim and I hope you enjoy this offering and wish you all the best 🙂
Banana Pudding Tips:
- Banana pudding isn’t the only type of mini mason jar dessert you can create. For example, if you prefer chocolate and vanilla, consider using alternating layers of each. Kind of like a Snack Pack.
- While this dish can be made in advance, you should be aware that the wafers will get soggy overnight. The only way to avoid this is to prepare the pudding first, store it, then assemble everything just before serving.
More Recipes You May Love
Like This Recipe?
We’d love it if you would leave a 5 Star ⭐️⭐️⭐️⭐️⭐️ rating below.
Ingredients
- 6.8 ounces instant vanilla pudding, 2 (3.4 ounce) boxes
- 4 cups milk
- 16 ounces whipped topping, Cool Whip works best
- 4 cups Mini Nilla Wafers, We used Nabisco brand.
- 2 bananas, sliced
Instructions
- First, use a stand mixer or large bowl and hand mixer to blend the pudding mix and the milk. This process should take around three to five minutes or until mixture begins to thicken.6.8 ounces instant vanilla pudding4 cups milk
- Next, using a spatula, gently fold into the pudding, four ounces of the whipped cream topping and place the dessert into your fridge for about 10 to 15 minutes so that the pudding reaches the "soft-set" stage.
- While waiting for the mixture to set, go ahead and divide up the vanilla wafers evenly and place them into the mason jars, forming the first layer. Then, slice the bananas into bite-sized disks.4 cups Mini Nilla Wafers
- After that, start adding two ounces of vanilla pudding on top of the wafers.
- Now, top the pudding layer with some banana slices.2 bananas
- Last, add one ounce of whipped topping to the mason jars to form the final layer. You can crush some extra cookies and sprinkle the crumbs on to the whipped topping; however, this step is optional. The dessert can no go back into the fridge to finish setting for an additional 20 or so minutes before serving.

Thank you for this quick & easy recipe! It was a great treat for a few under the weather family members.
I used medium size mason jars , not the mini . Delicious!
Thank you for commenting and hope everyone feels better soon!
They look yummy. Can they be made a day in advance?
Hi Joann!
Yes, they sure can! The cookies will soften a bit. If that’s not a concern, the pudding jars can definitely be made a day early. Have a wonderful evening! 🙂
what size are the mini Mason jars?
Good Morning Brenda,
That’s a great question! The mini mason jars are 8 ounces. You can find the exact ones we used in our Amazon store in the Kitchen Must Haves section. Here’s a link to our store: https://www.amazon.com/shop/berlyskitchen
Have a lovely day 🙂
I love the mason jars you used for this. Could you send a link to where I can buy them?
Good Morning Mary, here’s a link to our Amazon Store Page. The mason jars we used are in the Kitchen Must-Haves Section. Click on the first section and the mason jars are the first item you’ll see. I hope this information helps. Have a lovely day 🙂
http://www.amazon.com/shop/berlyskitchen