Mounds Bars
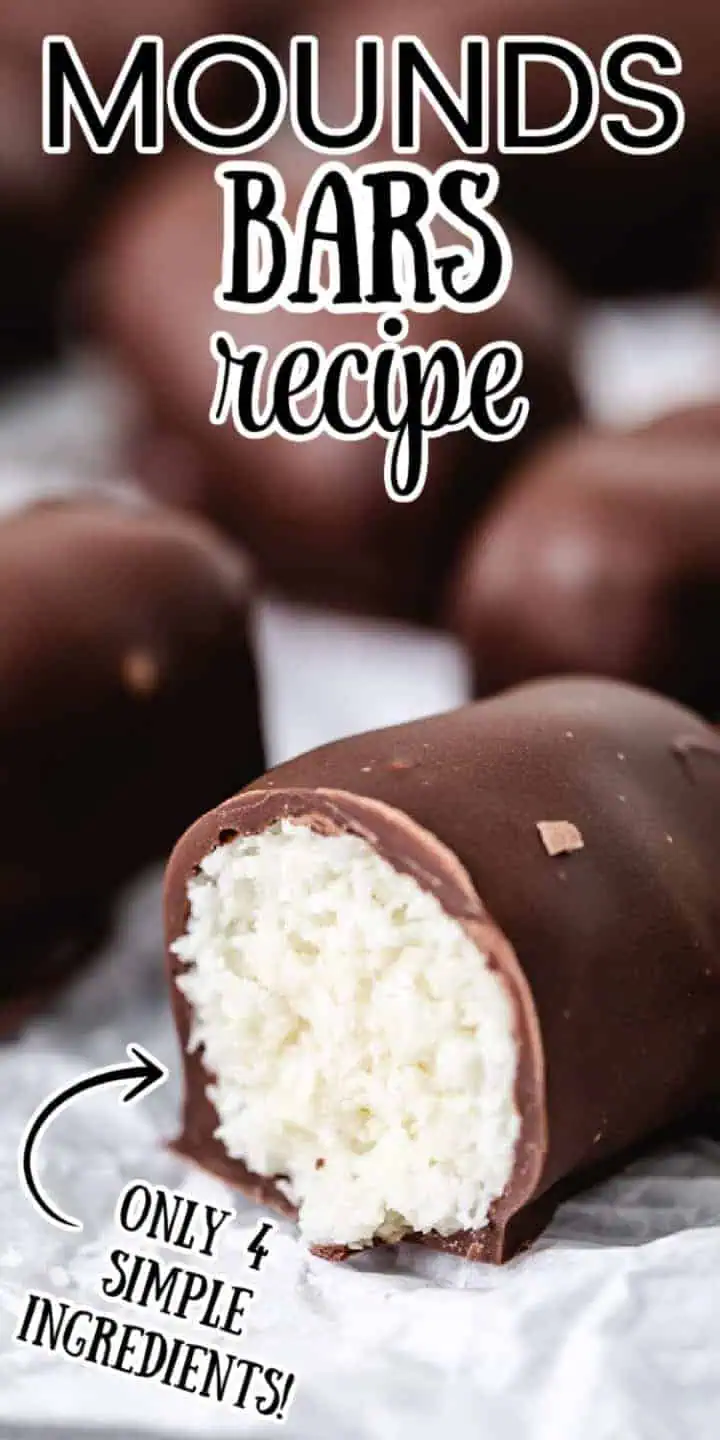
These Homemade Mounds Bars are a coconut lover’s dream! They’re made with a sweet, chewy coconut filling covered in a rich dark chocolate coating.
Easy Homemade Candy Bars
Coconut fans, get ready for this one! These copycat mounds bars are the best coconut candy you’ll ever get your hands on!
This is a no-bake treat made with a coating of melted chocolate with a coconut center. They’re just like classic mounds bars, except they’re made right at home with just four simple ingredients.
Whip up a batch of these coconut chocolate bars, serve them at your next party, or keep them in the fridge or easy treats to satisfy your sweet tooth all week long.
What Are the Ingredients in a Mounds Bar?
Lucky for you, this ingredient list is super minimal! Just a few basic ingredients needed from the grocery store!
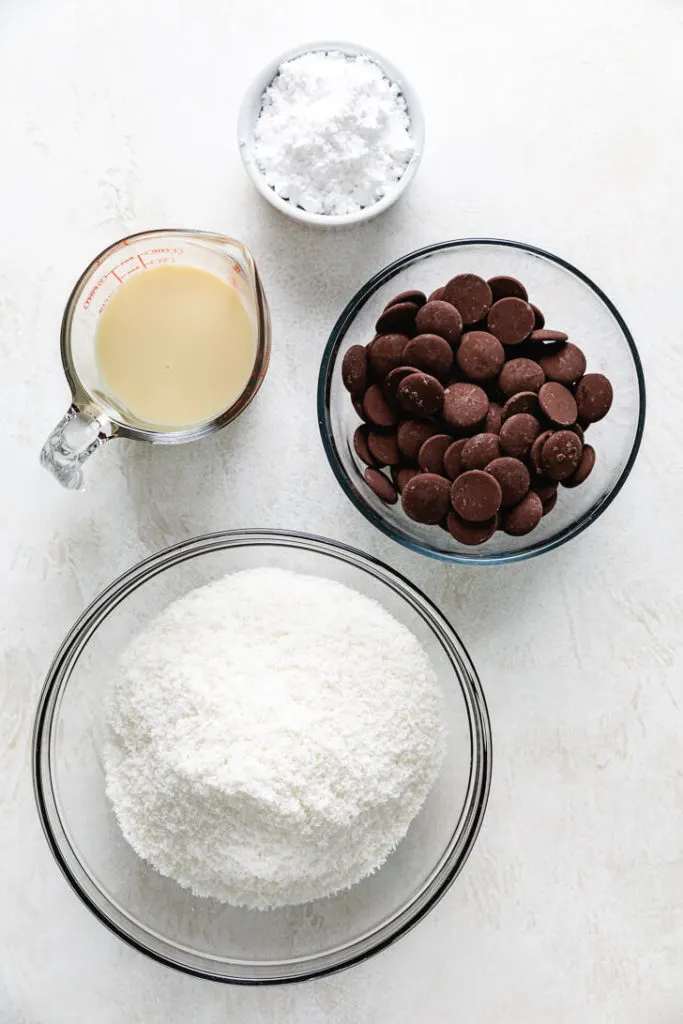
- Shredded Coconut: I like to use unsweetened shredded coconut to keep the sweetness to a minimum.
- Sweetened Condensed Milk: You’ll need just one can of sweetened condensed milk. The moisture soaks into the coconut flakes so the bars can hold their shape.
- Powdered Sugar: To make sure the candy bars are plenty sweet, of course!
- Dark Chocolate Melting Wafers: I prefer to use melting wafers to chocolate chips or baking chocolate because they melt easily and stay really smooth.
How to Make Homemade Mounds Bars
These chocolate coconut bars really are so simple to make! They’re just like the real thing…except better!
Scroll to the recipe card below for the ingredient amounts and full instructions.
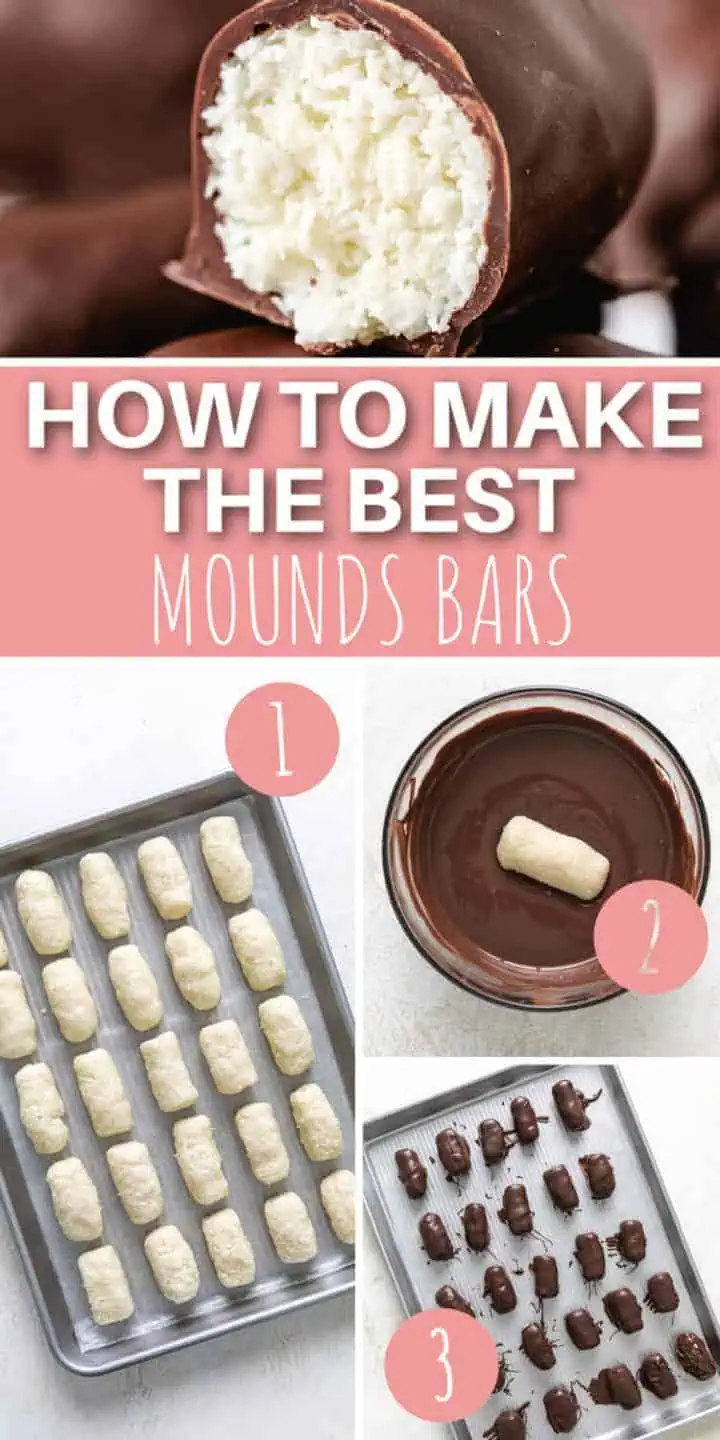
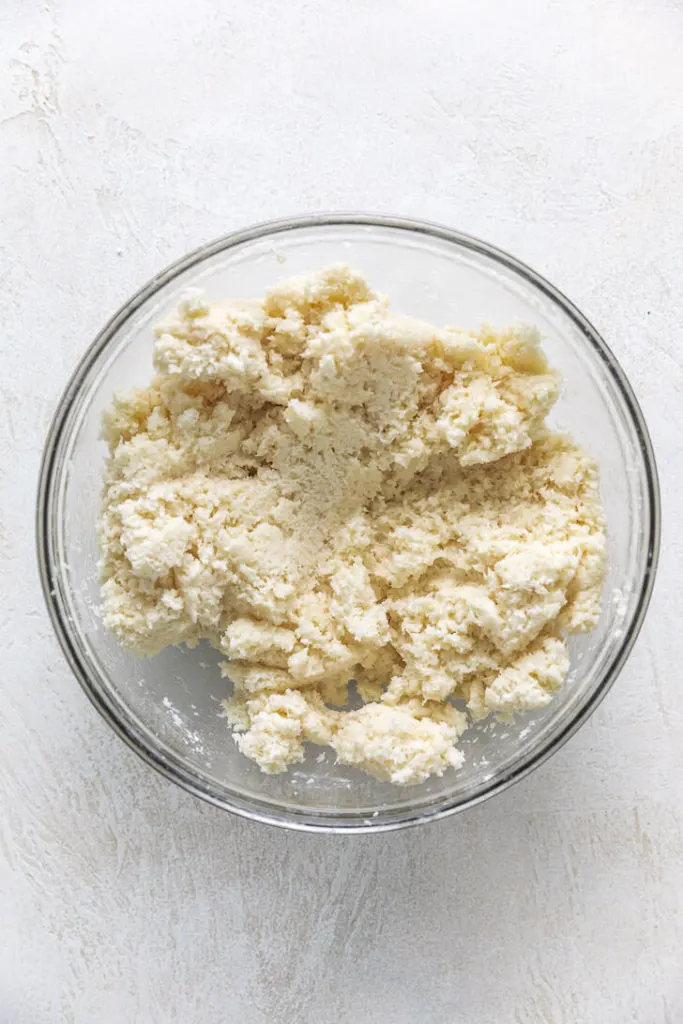
- In a large mixing bowl, combine coconut, sweetened condensed milk, and powdered sugar.
- With damp hands, form the coconut mixture into individual bars about 2-3 inches in length. Place onto a lined cookie sheet, then freeze for 10-15 minutes.
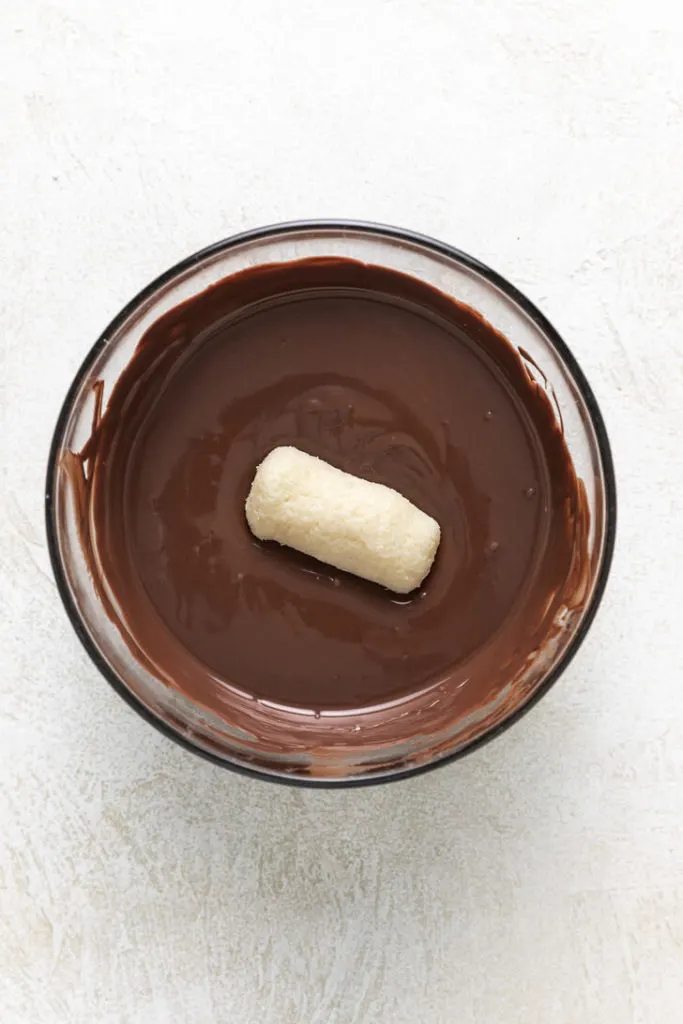
- In a heatproof bowl, microwave the chocolate melting wafers until smooth.
- Use two forks to dip each coconut log into the melted chocolate mixture, then transfer to a wax paper-lined baking pan. Place the baking sheet into the freezer and let set for 10-15 minutes.
Tips and Notes
- Melt more chocolate as needed. The downside of melting wafers is once you’ve reached the bottom of the bowl, the chocolate has cooled off quite a bit, making it difficult for dipping. You may need to reheat or add more wafers. I always keep extras on hand just in case!
- No microwave? You can easily melt chocolate in a small saucepan with a double boiler on the stove. Make sure you keep it at low heat so as not to burn the chocolate!
Variations
- Use sweetened coconut. If you can only find sweetened coconut, that’s totally fine. However, if you leave all the other ingredients the same, the candy bars will be pretty sweet—maybe too sweet. To combat this, use the sweetened coconut and 14 ounces of sweetened condensed milk, but omit some or all of the powdered sugar. Keep in mind that the candy bar will be less sweet and the filling will be stickier.
- Use another chocolate. You can use any variety of chocolate chips or baking chocolate in place of the melting wafers. You may need to add a ½ teaspoon of coconut oil to the baking chocolate as it melts. Depending on the flavor (milk chocolate, semi-sweet chocolate, etc.) the candy bars may be sweeter or less sweet than expected.
Storage
Refrigerator: Once your homemade mounds bars are assembled and set, you can store them in an airtight container in the fridge for up to 1 week.
Freezer: Additionally, if you want to freeze them, let them harden in the freezer on a lined baking sheet for about an hour, then transfer them to a freezer bag or freezer-safe container and store. They will stay good for about 2 months.
What is the Difference Between Bounty and Mounds Bar?
Both classic candy bars are made with a sweet coconut filling covered in a chocolate coating.
The key difference is that Bounty was distributed by Mars, while Mounds were distributed by Hershey’s.
Now, as far as the actual taste and appearance goes, there are also a couple of differences.
Bounty bars are coated in a thinner milk chocolate. Mounds is a little darker and richer thanks to a thicker dark chocolate coating.
What is the Difference Between Almond Joy and Mounds Candy?
The real difference between mounds candy and Almond Joy candy bars is that an Almond Joy contains crunchy almonds along with the coconut filling.
Additionally, the coconut filling in an Almond Joy is a little bit less sweet and the coating is made with milk chocolate rather than dark!
More Delicious Desserts You’ll Love
Like This Recipe?
We’d love it if you would leave a 5 Star ⭐️⭐️⭐️⭐️⭐️ rating below.

Ingredients
- 3 cups unsweetened shredded coconut
- 14 ounces sweetened condensed milk, 1 can
- ½ cup powdered sugar
- 10 ounces dark chocolate melting wafers, (*See note)
Instructions
- Line a medium-sized baking sheet with parchment or waxed paper. Set aside.
- In a large mixing bowl, combine the coconut, sweetened condensed milk, and powdered sugar. The mixture should hold together but will be sticky.3 cups unsweetened shredded coconut14 ounces sweetened condensed milk½ cup powdered sugar
- With damp hands, form small bars out of the coconut mixture. Each bar should be about 2-3 inches in length.
- Place the coconut bars onto the prepared baking sheet. It’s ok if they’re close together. Freeze for 10-15 minutes just long enough for the bars to cool and set but not to freeze solid.
- Prepare a second, larger baking sheet with parchment or waxed paper and set aside.
- In a heat-safe bowl, microwave the chocolate melting wafers until smooth. Use two forks to dip each coconut bar into the melted chocolate.10 ounces dark chocolate melting wafers
- Allow the excess chocolate to drip back into the bowl, then transfer the candy to the second, large baking sheet.
- Repeat with the remaining bars and chocolate. Place into the freezer for another 10-15 minutes so the chocolate has a chance to set.
- Remove the freezer and enjoy!
- Scroll up and see the post for tips, variations, FAQs, and storage options.

