Cranberry Orange Bread
Moist and flavorful, this cranberry orange bread is packed with citrusy cranberries and topped with a sweet orange glaze for the perfect dessert!
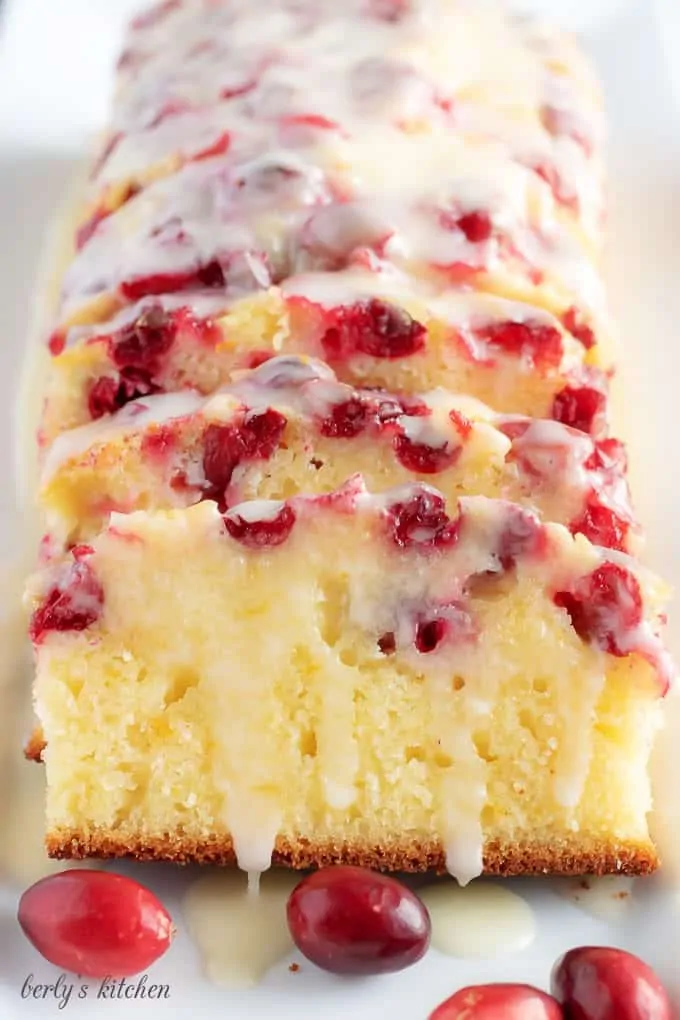
Easy Orange Cranberry Bread with Fresh Cranberries
It took years of trial and error to get this cranberry orange bread recipe perfected. And I do believe I’ve done it!
This is an easy quick bread recipe that’s perfect for the holiday season. It’s simple to make and uses all your basic pantry staples.
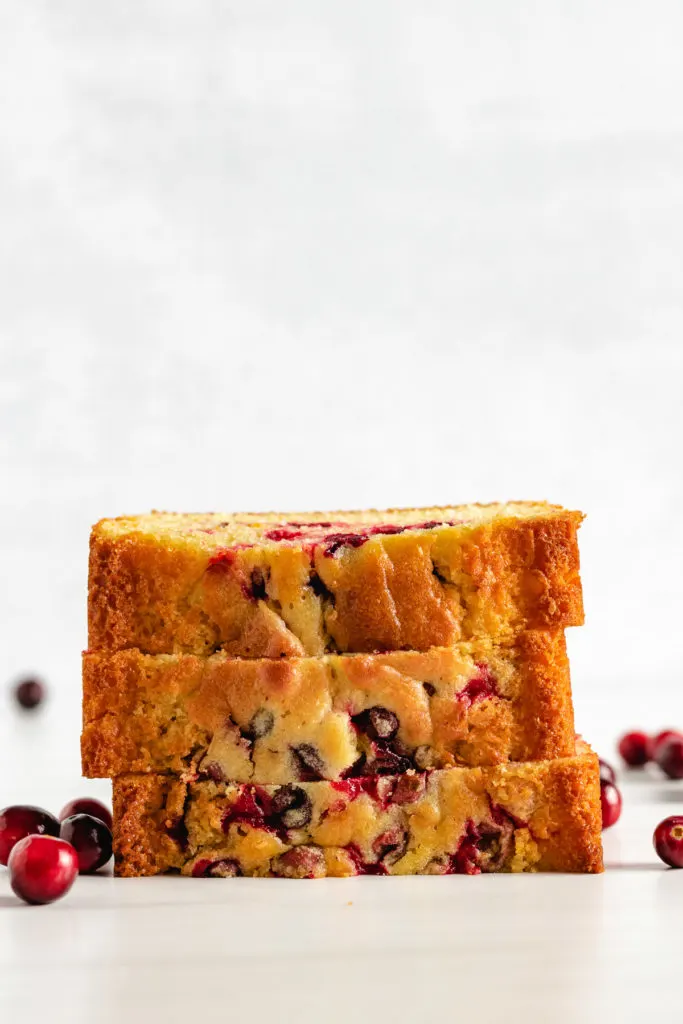
The texture is incredibly soft, it has just the right balance of sweet and tart, and the whole cranberries add a sweet burst of juicy flavor that’s really hard to beat.
This is an easy recipe that everyone will love! It will have you looking forward to cranberry season every year! It’s the perfect treat for fall, for Christmas brunch, or for any day you darn please.
How to Make Cranberry Orange Bread
This delicious quick bread recipe is really so quick and easy to make! Just a few minutes of hands-on time before it goes into the oven.
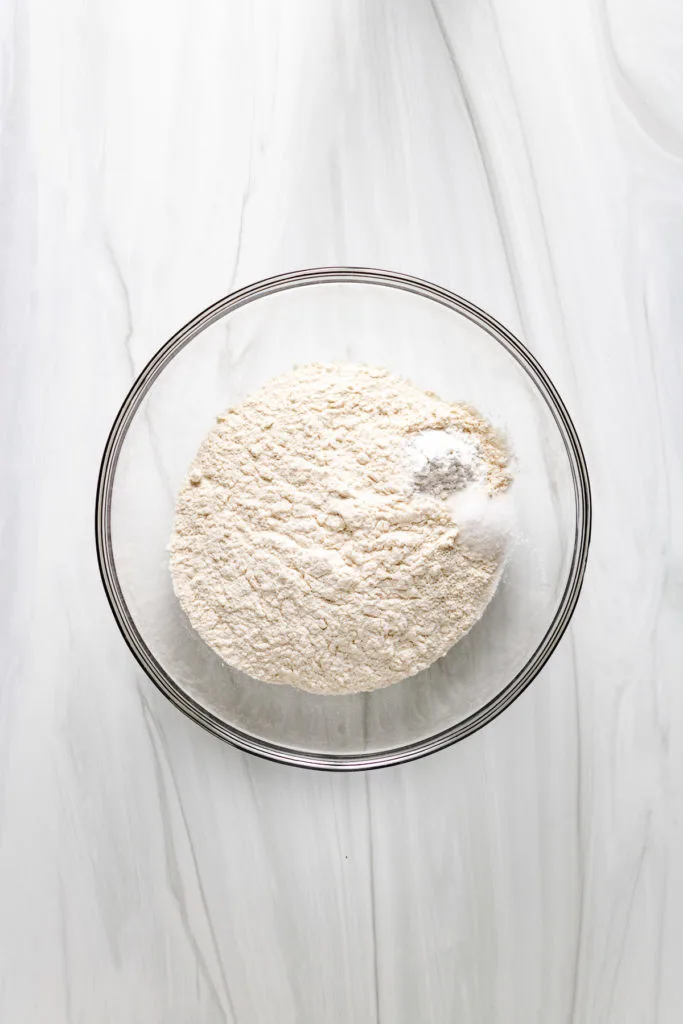
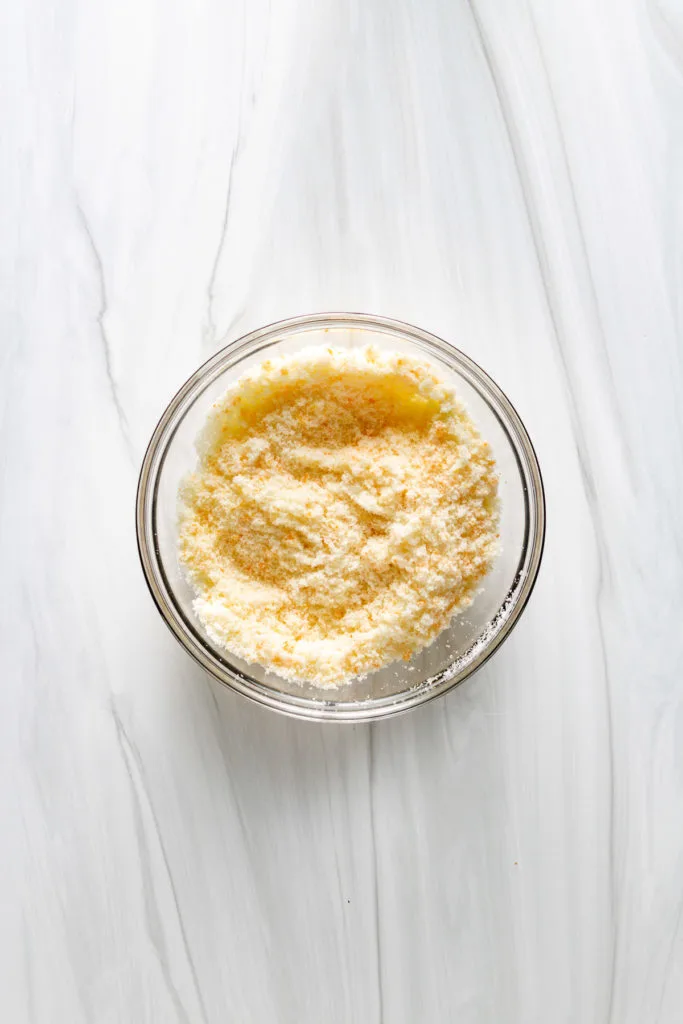
- In a medium bowl, whisk together all-purpose flour, baking powder, and salt. In a separate small bowl, use a spoon to mix together sugar and orange zest until the sugar is light orange.
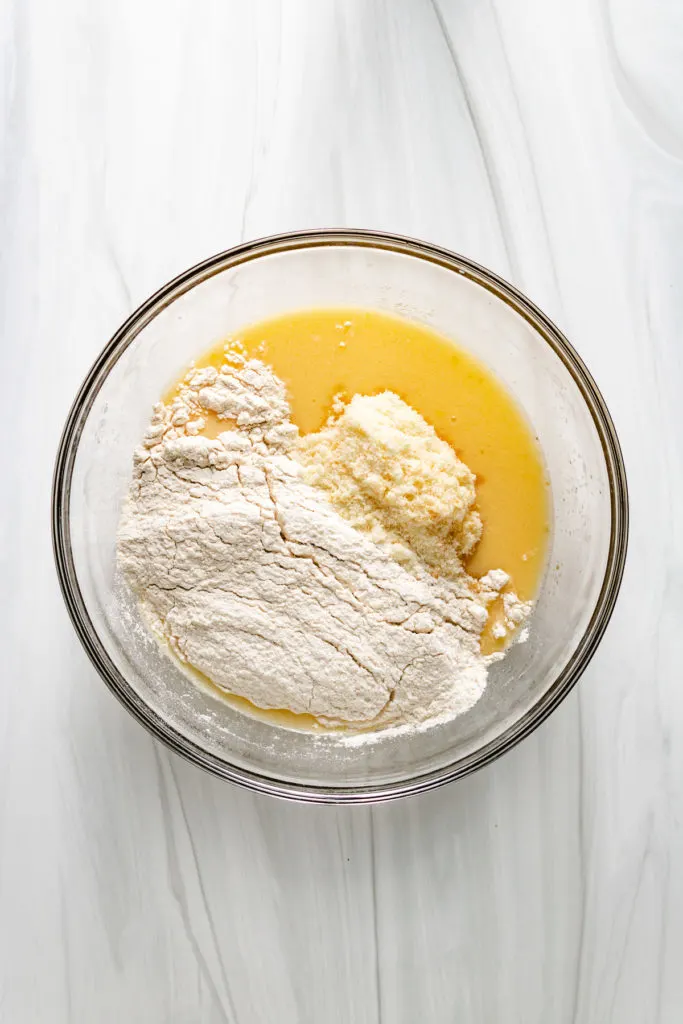
- In a large bowl, whisk together buttermilk, oil, orange juice, eggs, and vanilla. Add in the flour mixture and the orange zest mixture and whisk until just combined.

- Add in the fresh cranberries, then stir until well incorporated.
- Transfer the batter to a greased 9 x 5-inch loaf pan, then bake at 350ºF until a toothpick comes out of the center with a very light crumb.
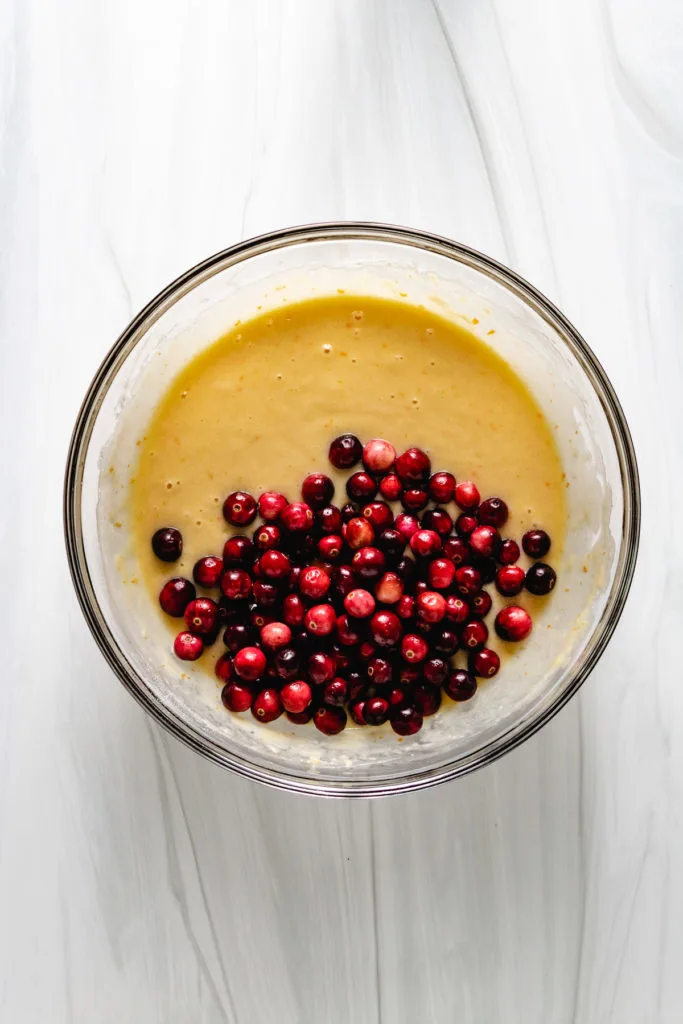
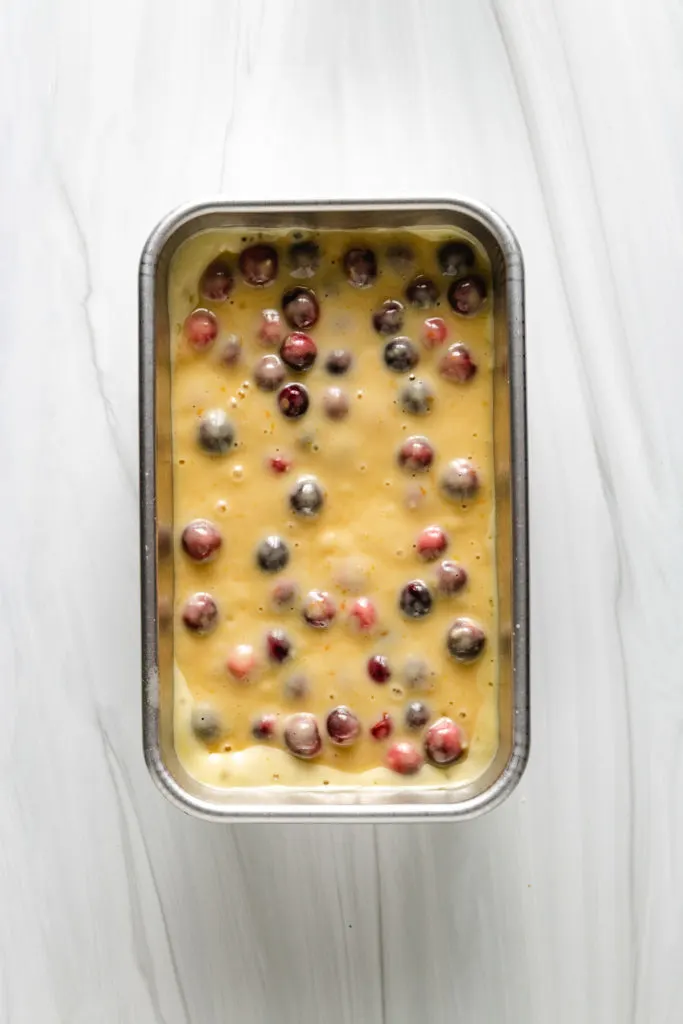
- Remove from the oven and cool in the pan for 10-15 minutes, before transferring to a wire rack to cool completely to room temperature.
- In a medium bowl, whisk together powdered sugar and orange juice to make the glaze. Drizzle over the cooled bread, then cut into individual slices and serve.
Tips and Notes
- Texture: One thing to note about the texture is that the finished bread is not going to feel like a light and fluffy cake. It’s moist and dense!
- Baking: This bread bakes differently depending on elevation, oven type, pan type, etc. Check out this article for high altitude baking or this article for metal pans vs glass pans to achieve the best outcome!
- Pan size: I use a 9×5-inch pan for this recipe. It will also work in a smaller 8.5 x 4.5-inch loaf pan, but the cook time will need to be adjusted a bit. It will dome a little better in a smaller pan.
- Use a microplane to zest the orange. A microplane zests the orange super finely and brings out all the natural oils for that fresh, delicious orange flavor.
- Don’t over-mix. Mix the bread only until just combined, so it doesn’t end up too dense.
- If you notice the top of the bread browning too quickly, make an aluminum foil tent and cover the loaf pan to finish out the baking time.
- Cool completely before frosting. I recommend cooling for 10-15 minutes in the pan, then turning the loaf out onto a wire rack to cool completely.
Variations
- Add nuts. Try tossing in a handful of toasted pecans or walnuts for some extra flavor and texture.
- Make cranberry orange muffins. Looking for a muffin recipe? Check out my cranberry orange muffins with streusel topping instead.
- Make mini loaves. Several of our readers have made this recipe into 3 mini loaves or 5 mini loaves with alternative pan sizes. Keep in mind that the baking time will vary, so watch the loaves closely so as not to over-bake.
- No buttermilk? Add ½ tablespoon of white vinegar or lemon juice to a liquid measuring cup, then add enough milk to reach ½ cup. Stir, then let sit for 5-10 minutes.
- Not a fan of canola oil or vegetable oil? Swap it out for another neutral tasting oil of your choice.
- Make it gluten-free. We’ve had readers report great success by swapping the regular flour out for a 1:1 substitute such as Bob’s Red Mill, Measure for Measure, or Cup 4 Cup. Make sure the rest of your ingredients are gluten-free too!
Storage
Room Temperature: Cranberry orange bread can be stored at room temperature in an airtight container for 2-3 days. Keep in mind that it will soften and get slightly gummy as it sits.
If you swap the orange juice out for milk in the glaze, it should be stored in the fridge.
Refrigerator: For slightly longer storage, your cranberry orange loaf can be stored in the fridge for 4-5 days.
Freezer: To freeze this bread, wrap it tightly in plastic wrap followed by aluminum foil. Store in the freezer for up to 2 months. I recommend freezing without icing, then adding that before serving!
Thawing/Reheating: To thaw frozen bread, simply let it sit in the fridge overnight. If you want to reheat it, you can warm it in the microwave for 10-15 seconds at a time or until the desired temperature is reached.

Can I Use Dried or Frozen Cranberries Instead of Fresh Cranberries?
You can! This recipe was developed using fresh cranberries, so those are recommended, but dried or frozen cranberries will work too if that’s what you have on hand.
If you’re using dried cranberries, I recommend adding them to a little hot water to soak for 10 minutes. This helps them plump up a bit for a little more volume and texture.
How Can I Keep the Cranberries from Floating to the Top of the Bread?
Baking with fresh cranberries can be frustrating, because the cranberries have a tendency to float to the top of the bread, meaning they’re no longer evenly distributed throughout the loaf.
The best way to prevent this from happening is to toss the cranberries in a light coating of flour before adding them to the batter.
Alternatively, you can chop them into smaller pieces. Either one of these options work to keep the cranberries from floating to the top.
More Quick Bread Recipes You’ll Love
Like This Recipe?
We’d love it if you would leave a 5 Star ⭐️⭐️⭐️⭐️⭐️ rating below.

Ingredients
For the Bread
- 2 cups all-purpose flour
- 1 teaspoon baking powder
- ½ teaspoon salt
- 1 cup granulated sugar
- 1 tablespoon orange zest
- ½ cup buttermilk
- ½ cup canola oil, or other neutral tasting oil
- ½ cup orange juice
- 2 large eggs
- 1 teaspoon pure vanilla extract
- 1 ½ cups fresh cranberries
For the Glaze
- 1 cup powdered sugar
- 2 to 3 tablespoons orange juice
Instructions
To Make the Bread
- Preheat the oven to 350°F, and grease a 9 x 5 – inch loaf pan.
- In a medium bowl, whisk together the flour, baking powder, and salt until well combined. Set aside.2 cups all-purpose flour1 teaspoon baking powder½ teaspoon salt
- In a separate small bowl, use a spoon to mix the sugar and orange zest until the sugar becomes light orange in color. Set aside.1 cup granulated sugar1 tablespoon orange zest
- Take a third large bowl and whisk the buttermilk, oil, orange juice, eggs, and vanilla. Add the flour mixture and the orange zest/sugar mixture, and whisk until just combined. Don’t overmix!½ cup buttermilk½ cup canola oil½ cup orange juice2 large eggs1 teaspoon pure vanilla extract
- Next, add the cranberries and use a wooden spoon or spatula to stir until well incorporated.1 ½ cups fresh cranberries
- Transfer the batter to the greased loaf pan. Place in the oven and baked for 65-75 minutes. If the bread begins to brown too quickly, place a piece of aluminum foil loosely over the top to prevent burning.
- The bread is done when a toothpick inserted in the center comes out with a very light crumb. Remove the bread from the oven and allow to cool for 10-15 minutes before transferring from the pan to a cooling rack.
To Make the Glaze
- While the bread cools, make the glaze.
- In a medium bowl, combine the powdered sugar and orange juice.1 cup powdered sugar2 to 3 tablespoons orange juice
- Whisk or use a hand mixer on low until the glaze is smooth and creamy. Adjust the amount of orange juice to reach desired consistency.
- After the bread cools completely, drizzle the glaze over the top, slice, and serve.
- Scroll up and see the post for tips, frequently asked questions, and storage options.
Notes
- The calories listed are an approximation based on the ingredients in the recipe card and a serving size of 1 slice of bread (one tenth of the loaf). Actual calories will vary.
- Recipe makes 1 (9×5-inch) loaf.
- For more information, tips, and answers to frequently asked questions, please refer to the post.
- Please be sure to see the post and the comments section for additional tips, substitutions, and baking variations. Our readers have provided several wonderful comments regarding changes they’ve made to this recipe that might be helpful for others. As of 9/25/23 we have added some of the information from the comment section to the content in the post, as well as, a couple of new photos.


