Instant Pot Chili Mac
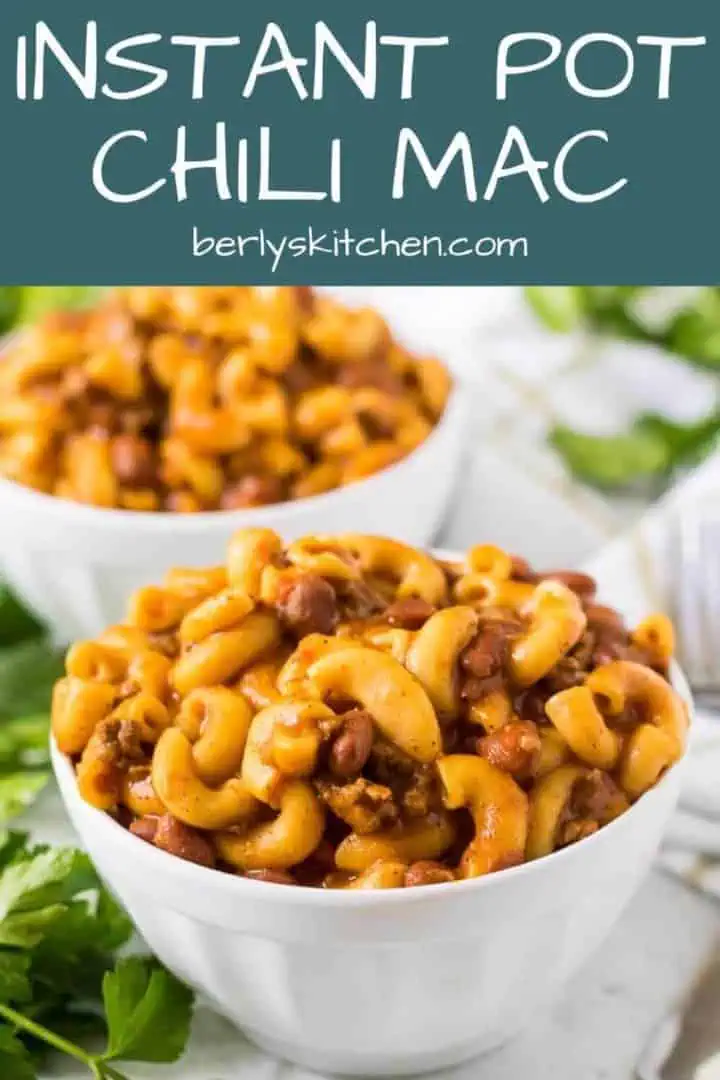
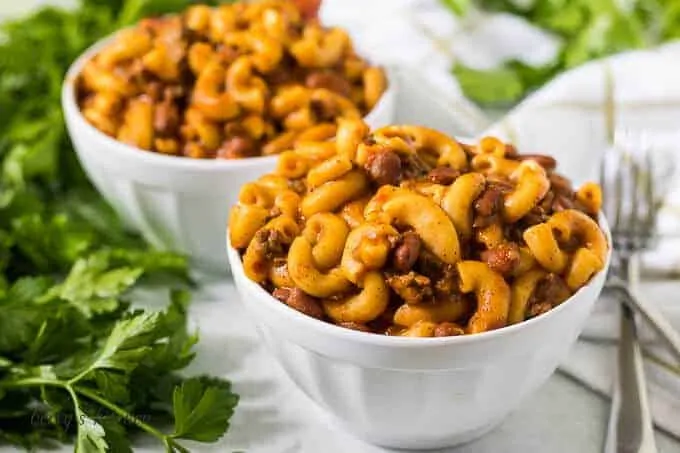
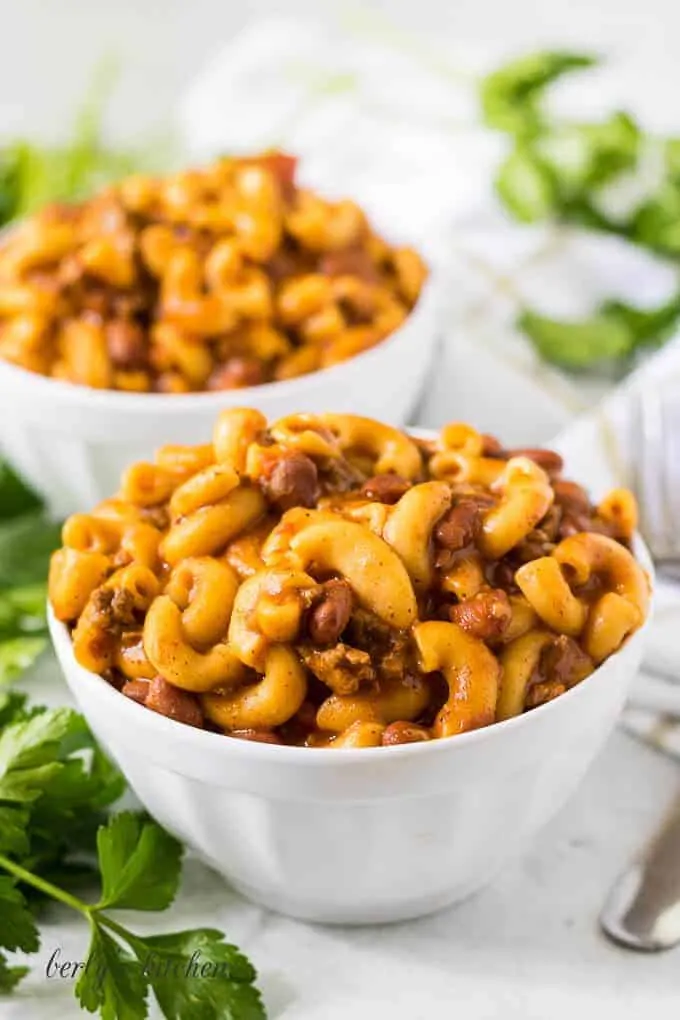
This Instant Pot chili mac is sure to be a household favorite. Seasoned beef and tender macaroni noodles combined to create a tasty dish everyone will love!
Kim and I were going over our pressure cooker recipes and realized we don’t have a chili mac recipe. Sure, we have plenty of mac and cheese recipes and one Instant Pot chili recipe, but very few recipes featuring meat and pasta.
Well, we had to fix that issue right away. So, for today’s post we’re sharing Kim’s Instant Pot chili mac.
She decided to go with a homemade version, but you can always use a seasoning packet if you wish. The dish only takes about thirty minutes to prepare from start to finish.
It serves twelve so it’s great for large families or pot lucks. Shall we get started?
How to make Instant Pot chili mac:
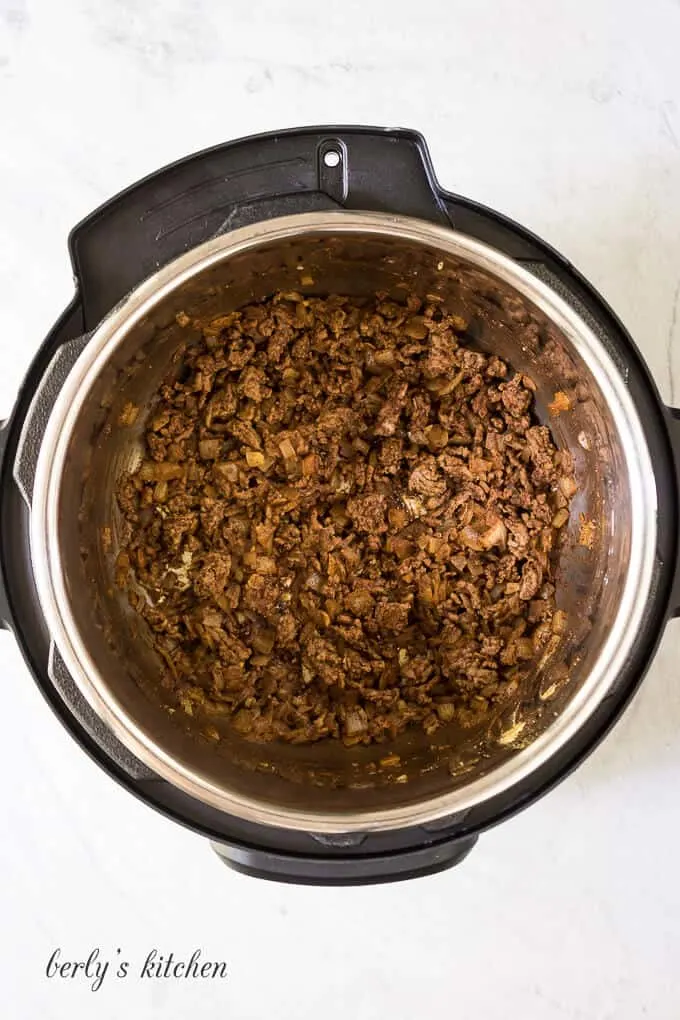
To begin, put in the liner, turn on your pressure cooker, and set it to the sauté function. Once it’s hot, toss in the beef, onions, garlic, and seasonings.
Use a wooden spoon to break up the meat and stir the ingredients as they cook. When the beef is no longer pink, turn off the appliance.
We’re at the point at which we can place the lid onto the cooker. Seal the valve and set it to pressure cook for four (4) minutes. Then, when timer goes off, preform a controlled release.
What’s a controlled release, you ask? Well, that’s when you cover the valve with a thick towel and gently open and close the valve in short bursts.
How do I keep my chili mac from burning?
There are two things you can do to help prevent the dish from burning. First, if the beef and onions start to stick, use a little extra chicken broth to de-glaze the liner.
Take your spoon and scrape off all the bits of meat that have stuck to the bottom of the pan. The next thing you can do is make sure all the noodles are submerged beneath the broth.
Where did chili mac come from?
Based on what I’ve read, chili mac is a variation of a famous dish from Cincinnati. Basically, this pasta dish resulted from chili and cheese being served atop spaghetti noodles.
With that being said, I make no claims to this being truthful. Authenticity in American cooking is debatable due to cultural and regional influences.
How do you fix chili mac that’s too spicy?
If that happens, feel free to add a teaspoon of sugar to the recipe. Sugar has a, “cooling,” effect on spicy foods.
Other Instant Pot pasta recipes you may enjoy:

Ingredients
- 8 ounces ground beef, We used 96/4.
- 1 cup white onion, diced
- 2 garlic cloves, minced
- 1 tablespoon chili powder
- 1 teaspoon ground cumin
- Salt and pepper, to taste
- 2 cups low-sodium chicken broth, or beef broth
- 8 ounces elbow noodles
- 14 ½ diced tomatoes
- 15 ½ chili ready beans, undrained
- 1 cup sharp cheddar cheese, shredded
Instructions
- Turn on the Instant Pot using the “saute” function. Wait until the indicator reads “hot” then add the ground beef, onion, garlic, chili powder, cumin, salt, and pepper. Break up the meat into small pieces and cook until it’s no longer pink. Turn off the Instant Pot.8 ounces ground beef1 cup white onion2 garlic cloves1 tablespoon chili powder1 teaspoon ground cuminSalt and pepper
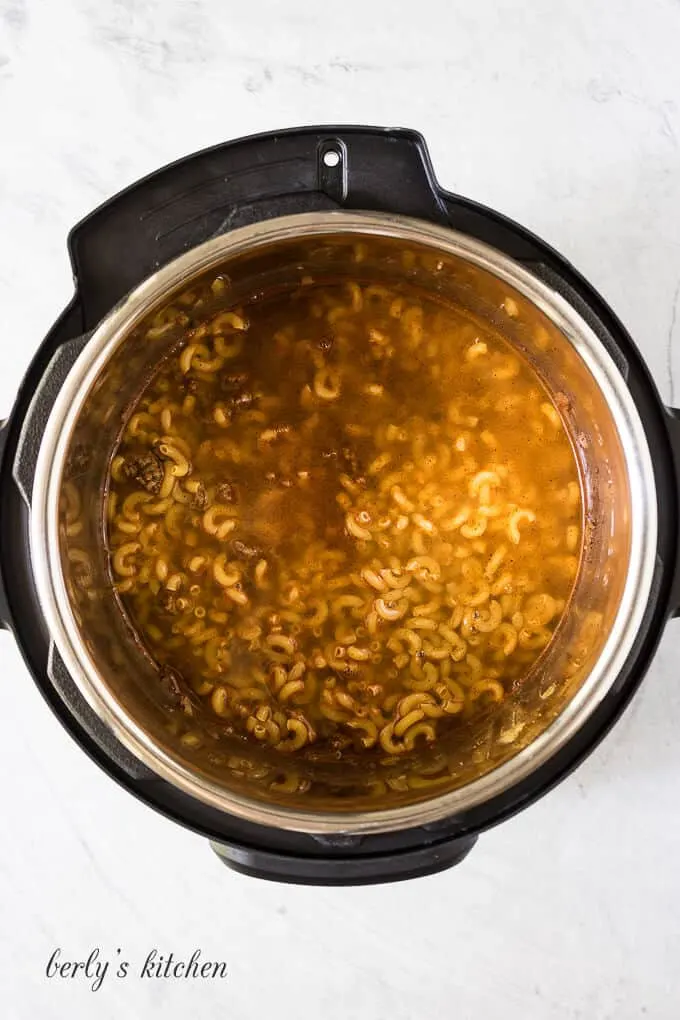
- Add the broth and elbow noodles. Use a wooden spoon to push the noodles below the broth.2 cups low-sodium chicken broth8 ounces elbow noodles
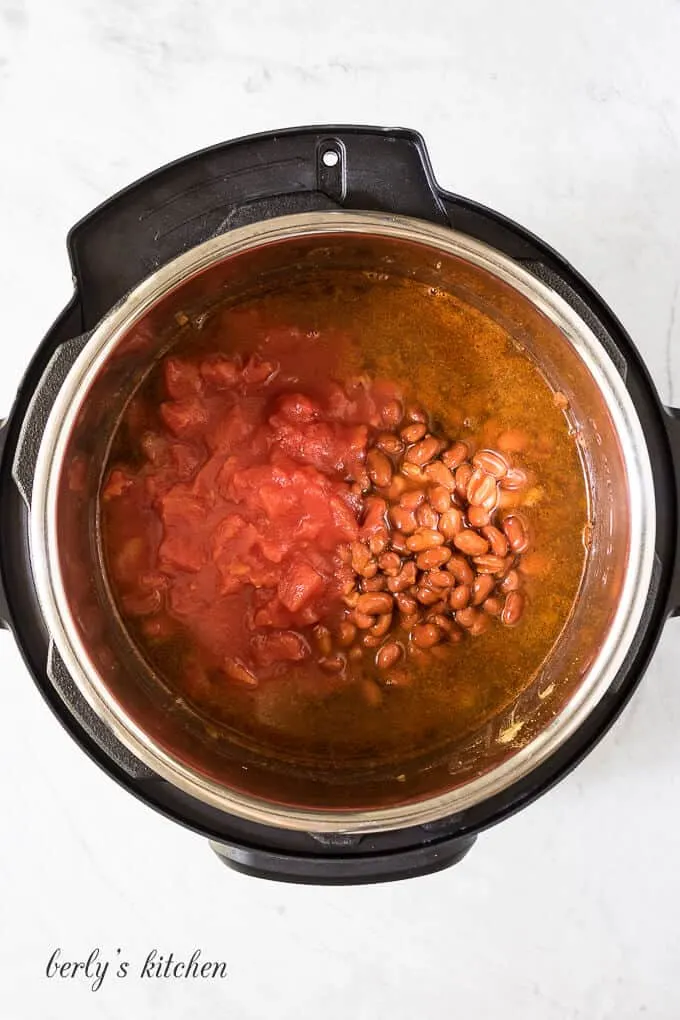
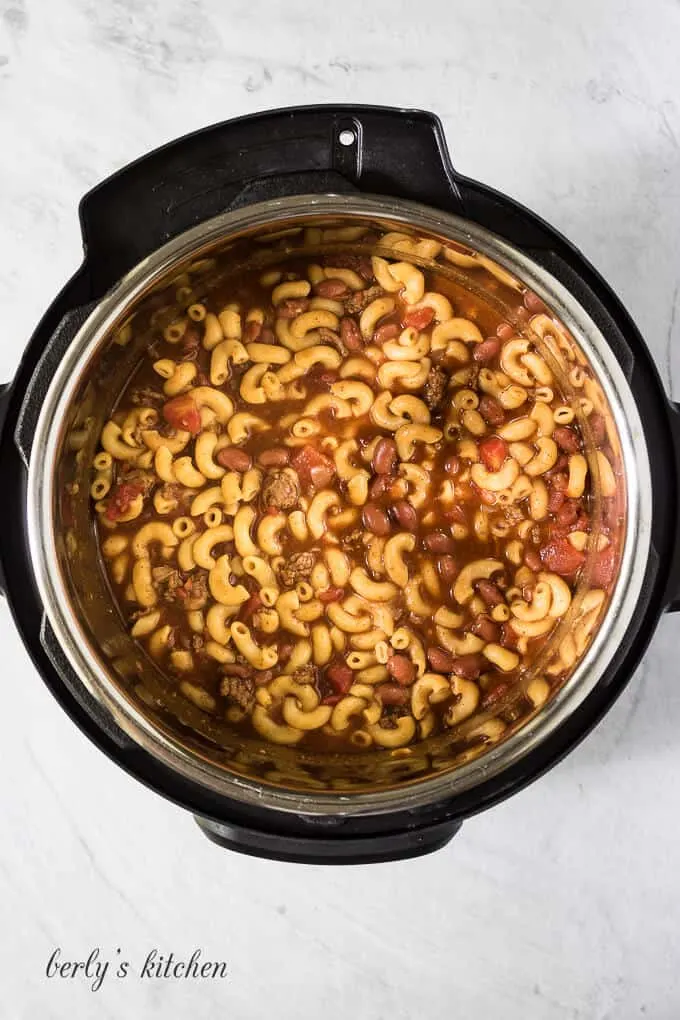
- Layer the following ingredients, an DO NOT STIR! Add the tomatoes next and then the beans. Close the lid and set the valve to sealing. Use the manual (pressure cook) button and adjust the time to 4 minutes. After the 4 minutes is up, complete a controlled quick release (open and close the valve multiple times to allow the pressure to release in short bursts).14 ½ diced tomatoes15 ½ chili ready beans
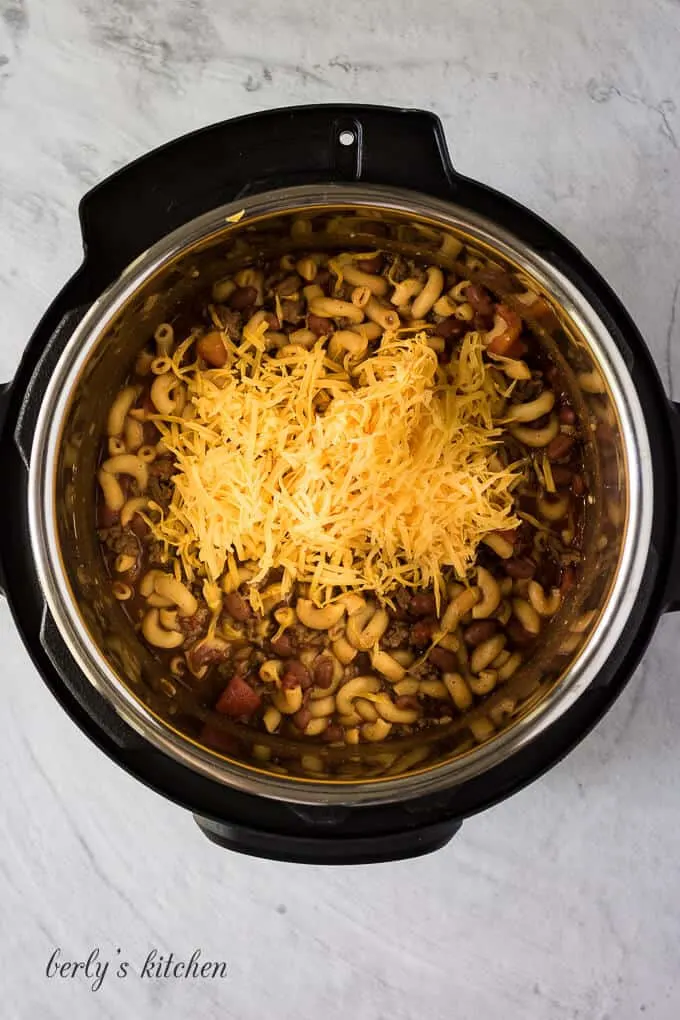
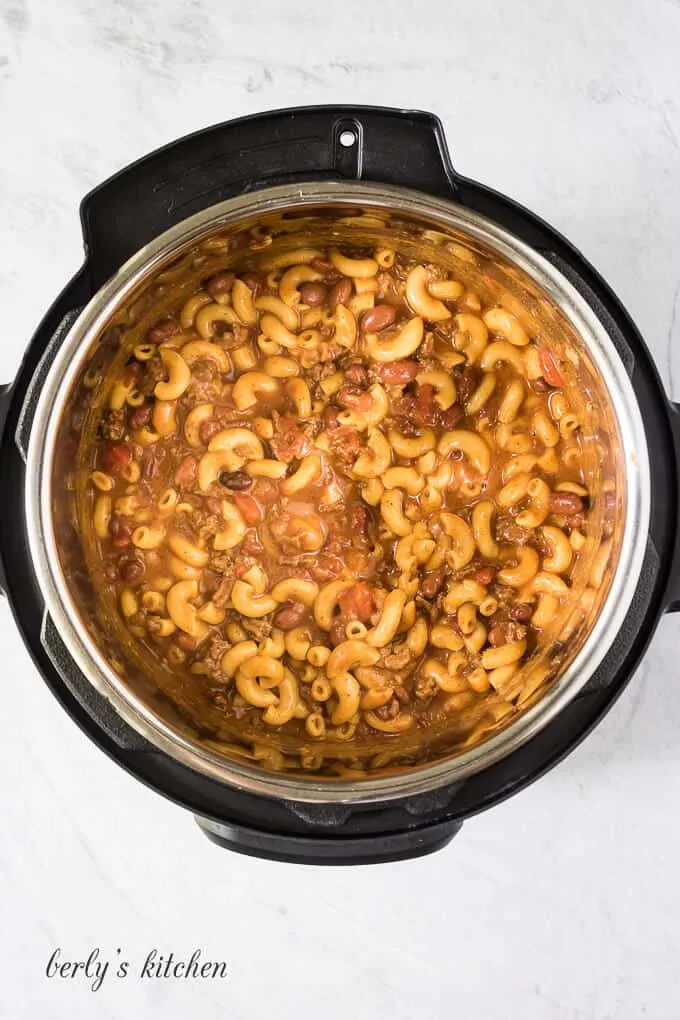
- Once all the pressure is released, open the lid and add the cheese if using. Stir until the cheese is completely melted.1 cup sharp cheddar cheese
- Serve hot with your favorite toppings.

Perfect is all I can say ! Super easy to make and delicious! Will definitely make again
Thank you, Debra! We’re thrilled you enjoyed the chili mac. Have a lovely day 🙂
I’ve made chili Mac for years and I love it. I didn’t think it could get better. Oh how I was wrong. If you haven’t made it in the instant pot, you’re missing out! This has quickly become the ONLY way I make chili Mac now.