Instant Pot White Rice
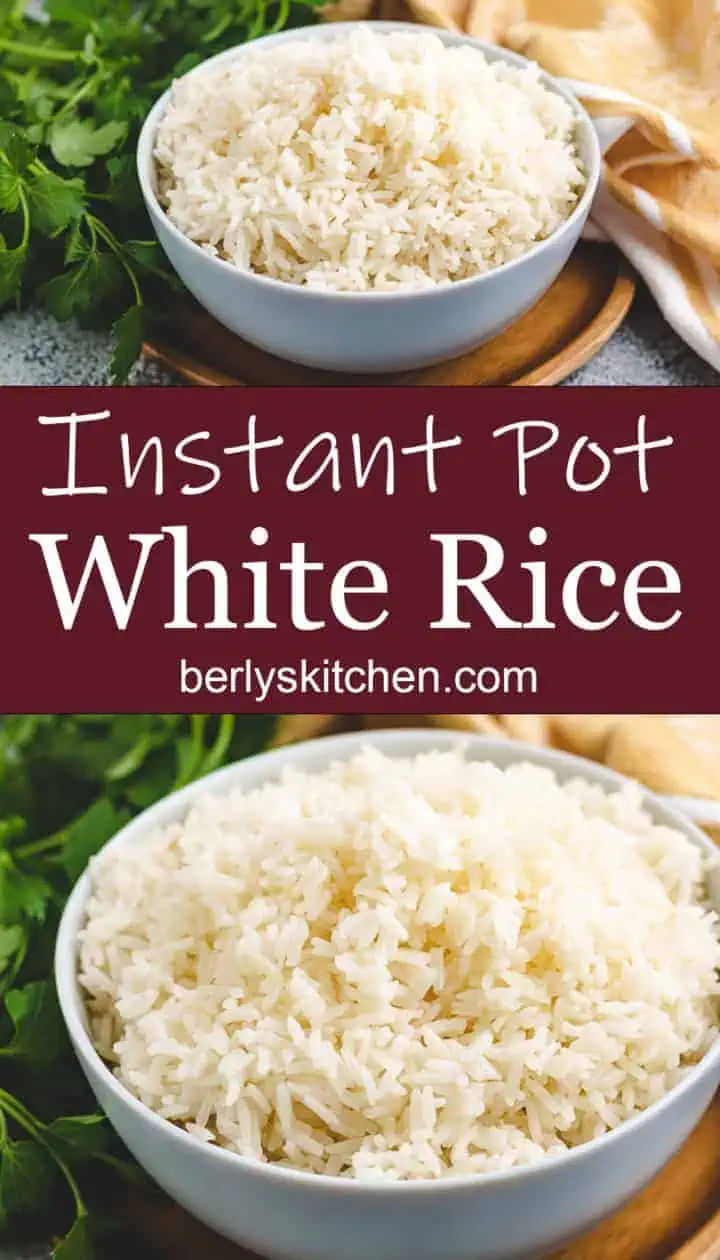
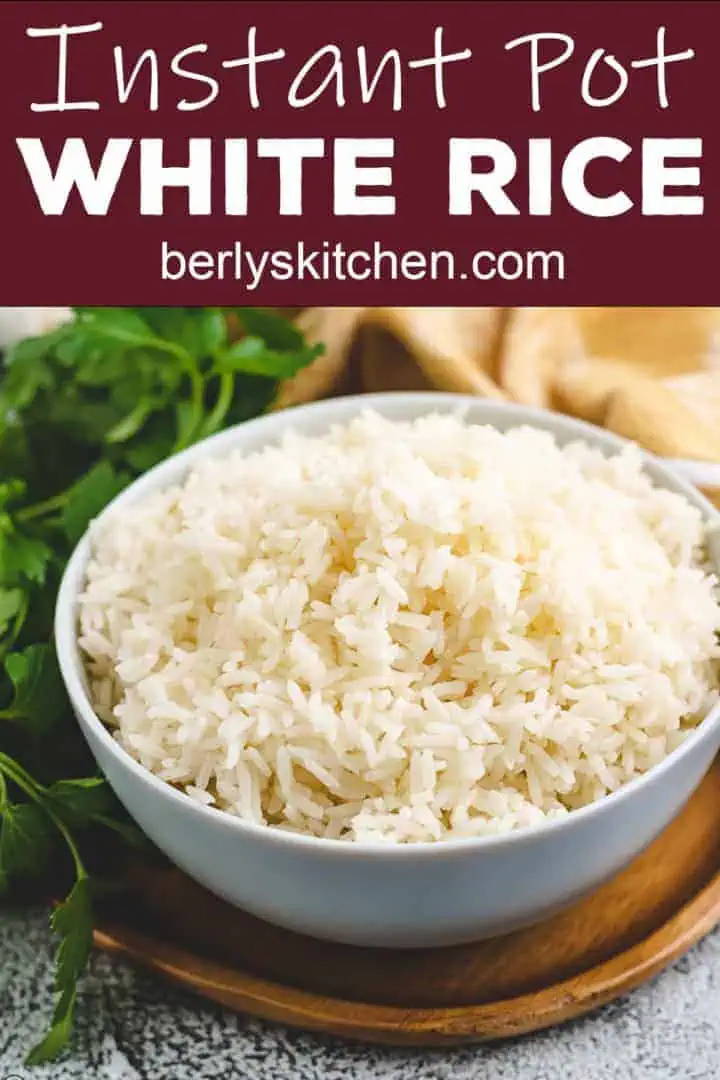
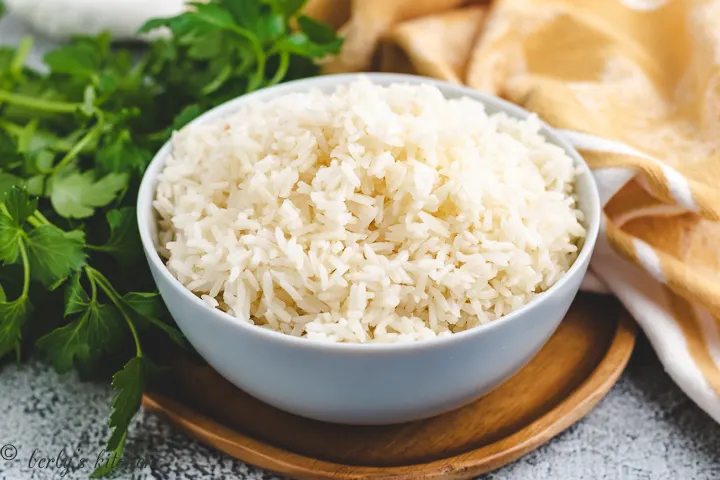
Instant Pot White Rice is an easy and foolproof way to make plain white rice. No more overdone or undercooked rice. Preparing rice in the Instant Pot makes it perfect every time.
Does anyone else have problems making white rice? I’ve always said white rice on the stove and pie crusts from scratch are the two things that give me trouble.
When we got the Instant Pot, rice was suddenly so simple. I’ve even branched out to brown rice, Minute white rice, and Minute brown rice with no issues.
Occasionally, we’ll even use the Instant Pot to make flavored rice like coconut rice or cilantro lime rice. For me, it works more consistently than using the stove top.
Instant Pot White Rice:
Our Instant Pot White Rice only has three ingredients (four if you count the water) and literally takes minutes to throw together. Many sources will say you have to rinse the rice before adding it to the stainless steel liner.
I used to rinse the rice through a mesh sieve every single time I made my Instant Pot white rice recipe. It didn’t matter which brand of rice I was using, it got rinsed for several minutes until the water ran clear.
For some reason, the rice always seemed a little gummy, clumped, and sometimes stuck to the bottom of pot. That seems counterintuitive, since rinsing the rice is supposed to wash away excess starch and keep it from being overly sticky.
Eventually, I started just dumping it in. That worked so much better than rinsing, so now that’s how I do it every time.
I’ve use this method for long grain white rice, Jasmine rice, and Basmati rice, and they all turn out great! We love using the rice in vegetable fried rice, burritos, or broccoli rice casserole.
How to Make Instant Pot White Rice:
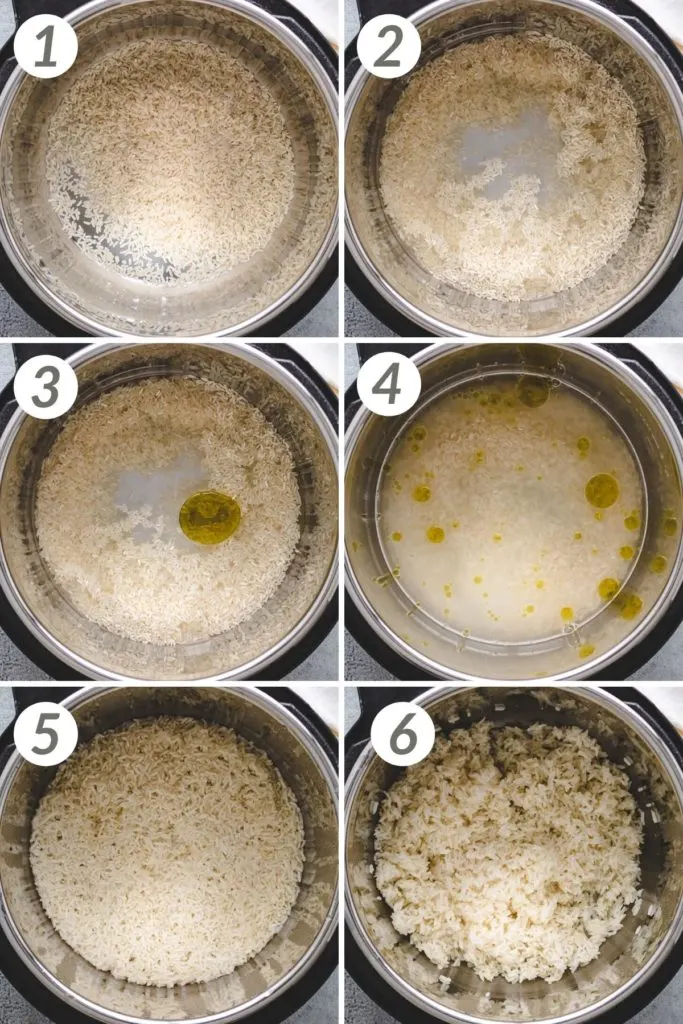
- Since there is no need to rinse the rice, simply add all the ingredients to the Instant Pot, and give them a quick stir.
- Next, close the lid, and make sure the valve is set to “sealing.” Our model has the “Rice” button and allows a toggle from low to high pressure.
- Set the Instant Pot to “Rice” on low pressure. It should automatically set for 12 minutes.
- Every Instant Pot takes some time to come to pressure before it actually starts to cook, so it will take a few minutes to begin to count down the cook time.
- This depends on the pot’s contents, whether it is set to low or high pressure, and the temperature of the ingredients (similar to heating a pot of ingredients on the stove top).
- I record this time when I make the recipe, and add it to the recipe card. However, it’s an average, and doubling or tripling the recipe will change the amount of time it take the pot to “come to pressure.”
- After the Instant Pot comes to pressure and the rice cooks for 12 minutes, press “cancel” to turn off the Instant Pot. This will keep the “keep warm” function from kicking on.
- The “keep warm” function allows the pot to stay at a temperature of about 165°F which can easily dry out the rice and cause it to stick or overcook. Allow the pot to naturally release pressure for 6 minutes before opening the valve.
- If you need to set a timer to watch the time, we recommend setting one on your phone, microwave, or oven instead. Once the pressure releases for 6 minutes (through natural release and opening the valve), remove the lid.
- Use a fork to fluff the rice. It should be al dente or firm when bitten.
- Serve Instant Pot white rice as a side dish with your favorite entrees.
Other Instant Pot recipes to try:
Ingredients
- 1 ¼ cups water
- 1 cup long grain white rice
- 1 tablespoon olive oil
- ½ teaspoon salt
Instructions
- Add rice, water, olive oil, and salt to Instant Pot. Stir so that water covers rice.1 ¼ cups water1 cup long grain white rice1 tablespoon olive oil½ teaspoon salt
- Close the lid, and make sure valve is set to "sealing." Press the "Rice" button and toggle to low pressure for 12 minutes. After the cook time is up, allow a natural pressure release for 6 minutes.
- After 6 minutes, open the valve to release remaining pressure. Remove the lid.
- Use a fork to fluff the rice and serve. Store leftovers in the refrigerator for up to 3 days.
Notes
- The calories listed are an approximation based on the ingredients in the recipe card and a serving size of ½ cup of rice. Actual calories will vary.

I’m glad you do 1-1/4 cups water to 1 cup rice. 1:1 is prevalent on the internet and it needs more water. I’m also glad you have a low pressure recipe. I like to add rice to the “runny” part of chili or ham/beans and cook again. This doesn’t work very well on high. On low I hope to have better results. Thanks!!
Thank you Trawg! We hope you enjoy the recipe. Have a great day!
I have the IP duo 8qt and when I used the rice button after it came to pressure it started at eighteen minuets. I did make six cups though, could this be the reason?
Hi Don!
That’s a great question! We’ve never used an 8-quart, so I’m not sure why it would’ve had an 18 minute cook time. It may have been the 6 cups volume of rice or possibly that the 8-quart is pre-programmed for 18 minutes instead of 12 minutes. Instant Pot customer service may be able to answer that one better than we can. Sorry I couldn’t give you a more definitive answer. We hope you have a great weekend! 🙂
I had a rice cooker for years that made a perfect pot of rice. After a piece broke and parts were not available I began to search for a new one. The Instant Pot was all the rage at the time and the price difference between them was not much. The IP was so much more versatile and when I saw it had a rice button I decided to try it. Found this recipe and I delighted with the results. So far this is the only successful thing I’ve cooked. All chicken recipes I’ve tried I haven’t been pleased with results yet. Still searching and experimenting. But glad my IP makes the rice perfectly.